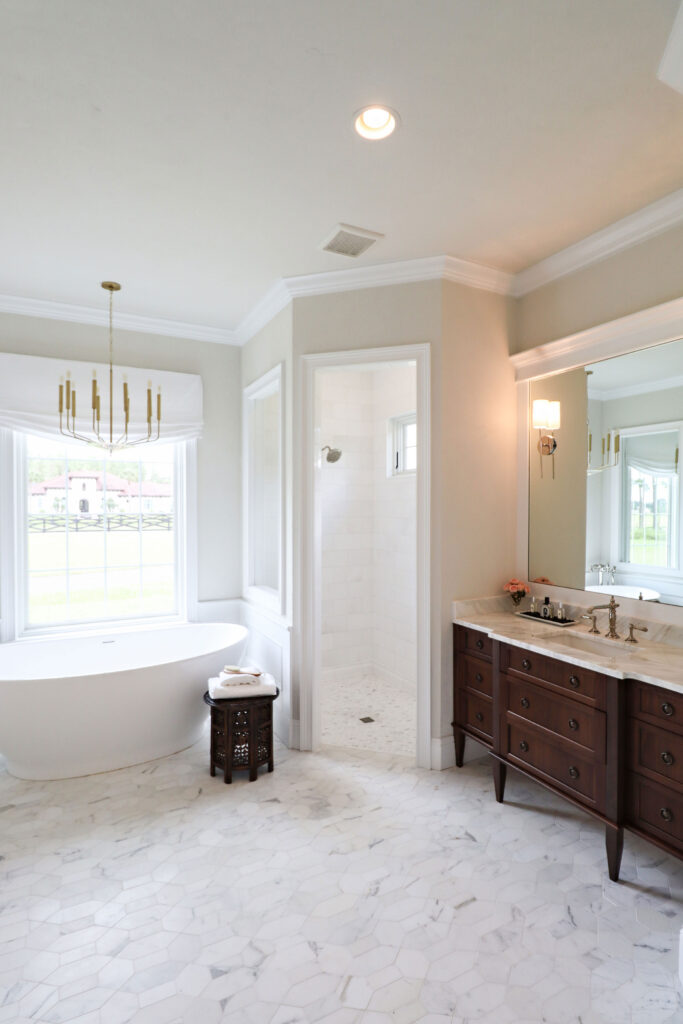
As one of my favorite rooms of the new house, the next room I’m revealing is the Master Bathroom! A beautiful oasis and sanctuary away from the living areas, and a room I love to get ready in every morning. It’s perfect and I hope you love it just as much as me!
Let’s get into the details of the Master Bath!
*If you’re just joining us, this is another installment of a series documenting the building of our personal dream home. So far we’ve tackled: Inspiration | Floorplan | Location | Breaking Ground | Roofing | Windows | Insulation | Sheetrock & Plaster | Selecting Paint | Selecting Flooring | Selecting Bathtubs | Selecting Lighting | Selecting Fans | Selecting Cabinets | Powder Room Reveal | Selecting Countertops | Kitchen Reveal | Whole House Reveal
The Start of the Design
The design for the master bathroom started with the main floor tile. I chose a hexagonal Calcutta marble mosaic that features a central square in each tile. It was quarantined in Italy for 6 months but we happily moved into our dream home with bare concrete floors until it all arrived.
These floor tiles were a splurge but as the main floor tile it was definitely worth it!!
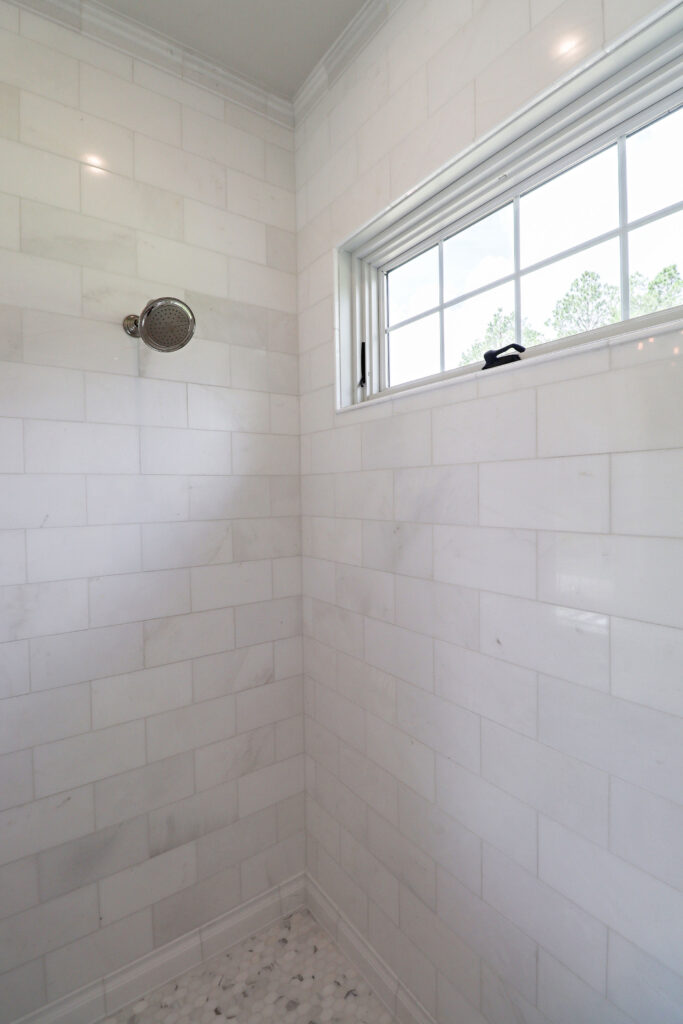
To make up for the floor tile expense, we kept the shower tile inexpensive but made it more interesting and premium looking by adding a marble crown and base. I chose these hexagonal mosaic tiles for the shower flooring to create a more slip resistant surface.
A Show-Stopping Feature
The highlight and main feature of the master bathroom is the bathtub. When I was selecting bathtubs I knew I wanted a show-stopper that felt like a piece of art in the room.
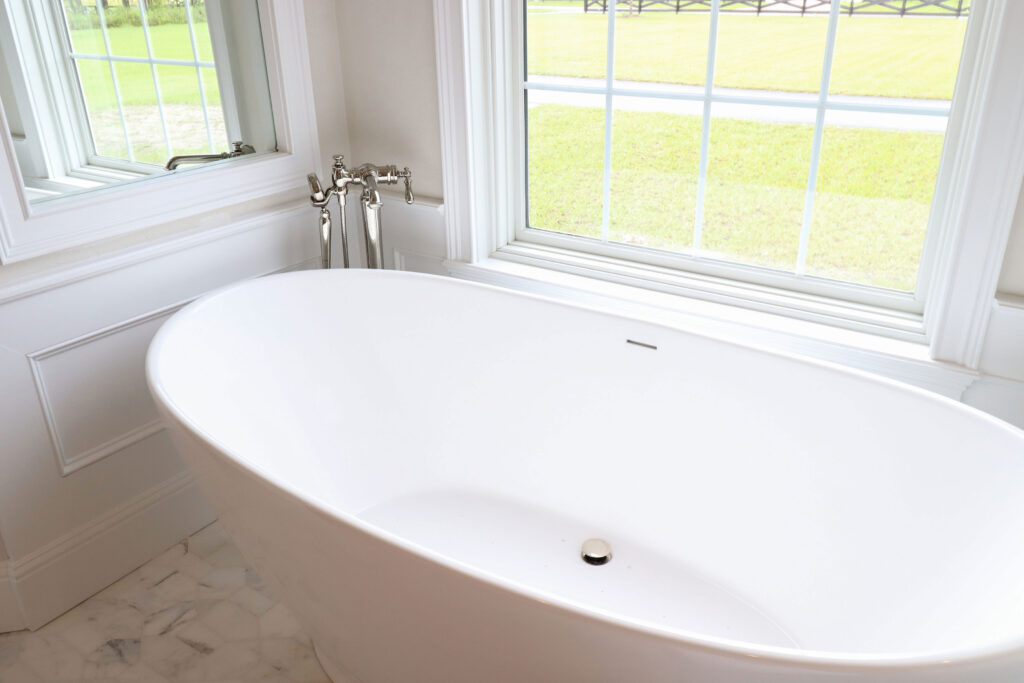
The freestanding bath is from MTI – it’s luxurious and the highlight of the master bath. Everything was then chosen to reinforce its sculptural beauty. For example, we added wainscotting behind the tub to set the stage for it to really shine.
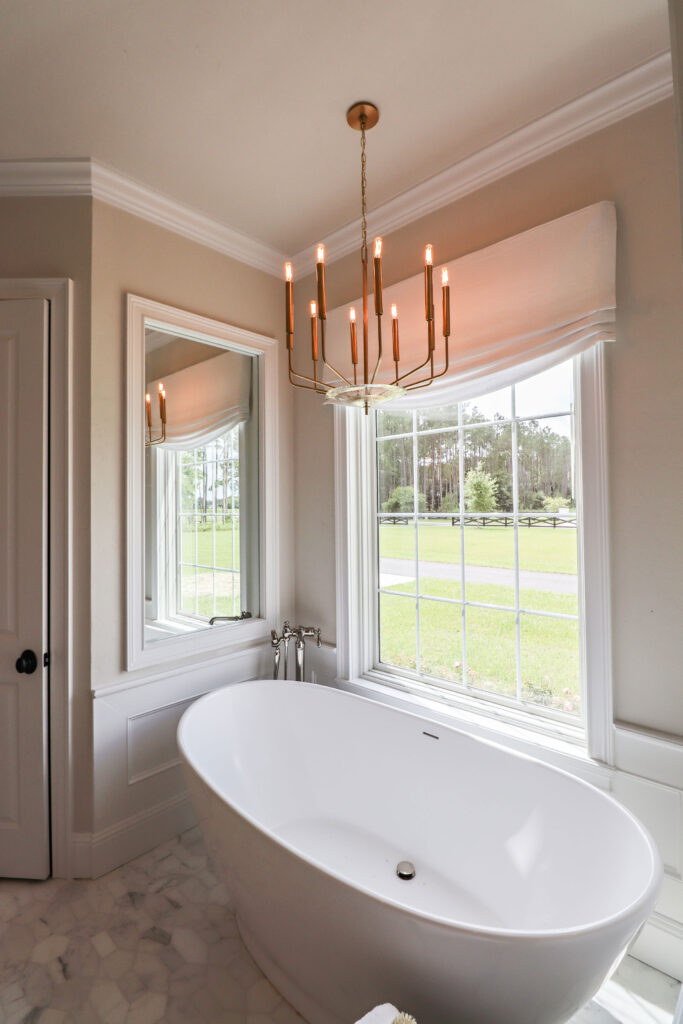
MTI Bathtub with Hudson Valley Chandelier above.
Plumbing
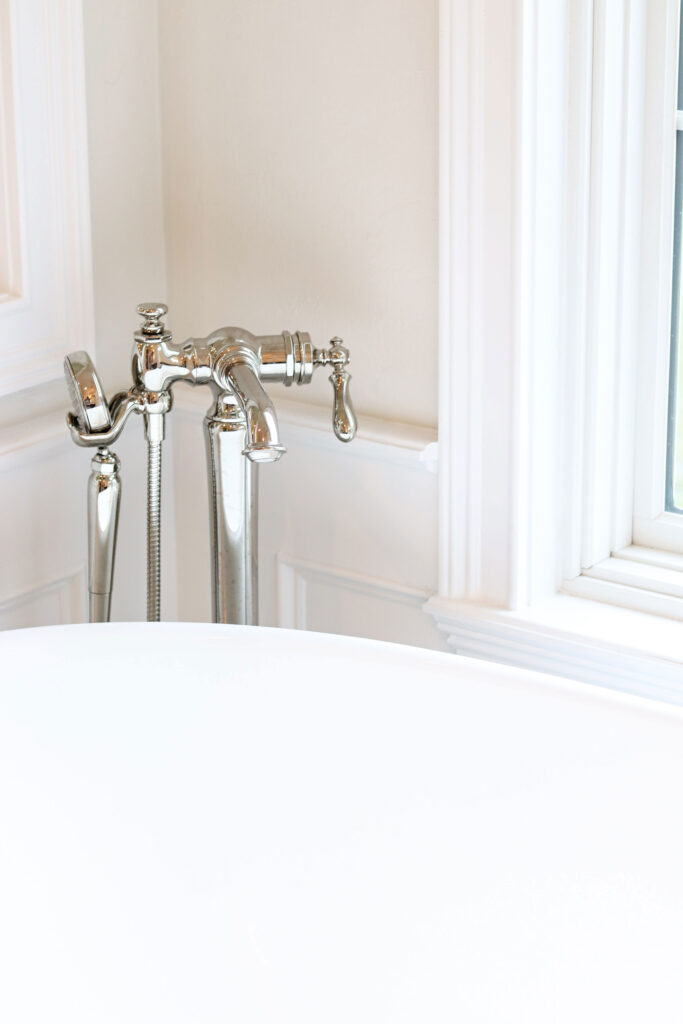
For the plumbing in the master bath we kept the fixtures traditional and chose the Kohler Artifacts line in polished nickel. Nickel is a warmer tone that works better with the wood finishes and marble than a chrome finish would.
Top Tip: If you have a freestanding bathtub and need a tub filler, start there. There are only a few to choose from that you’ll like and from there you can select the shower and sink faucets to correspond with the filler.
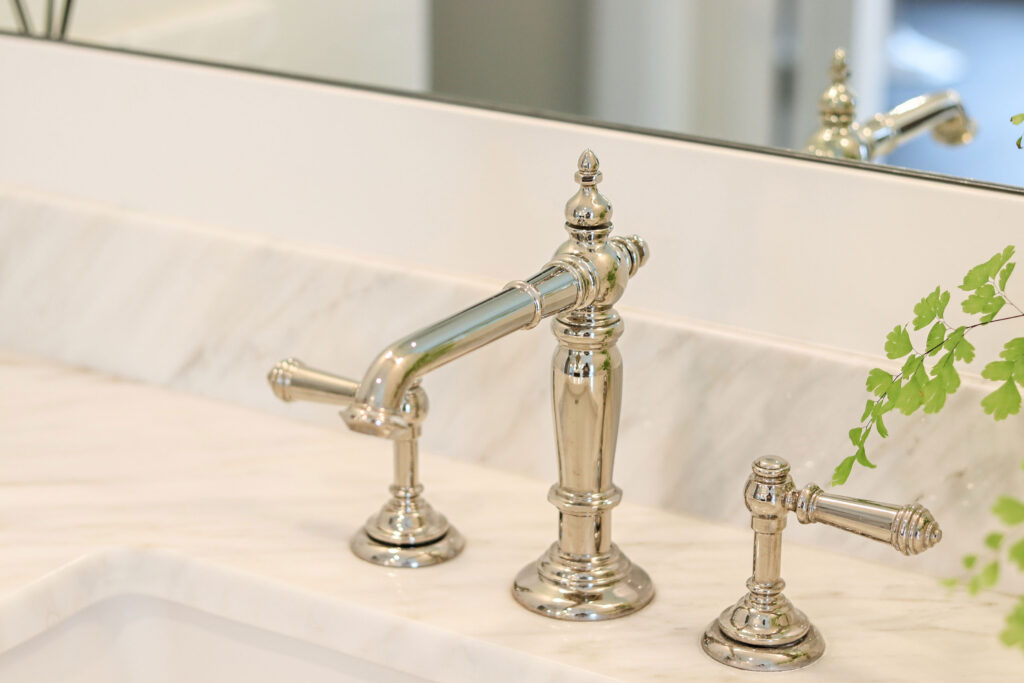
As always, we worked with Carson’s Cabinetry in Florida for our custom cabinets. They were made to look like furniture with a more “dining room sideboard” look. For storage it has a few inches less than your standard vanity unit because of the elongated legs, but it’s all drawers and they’re super functional. In fact – I have more space than I need
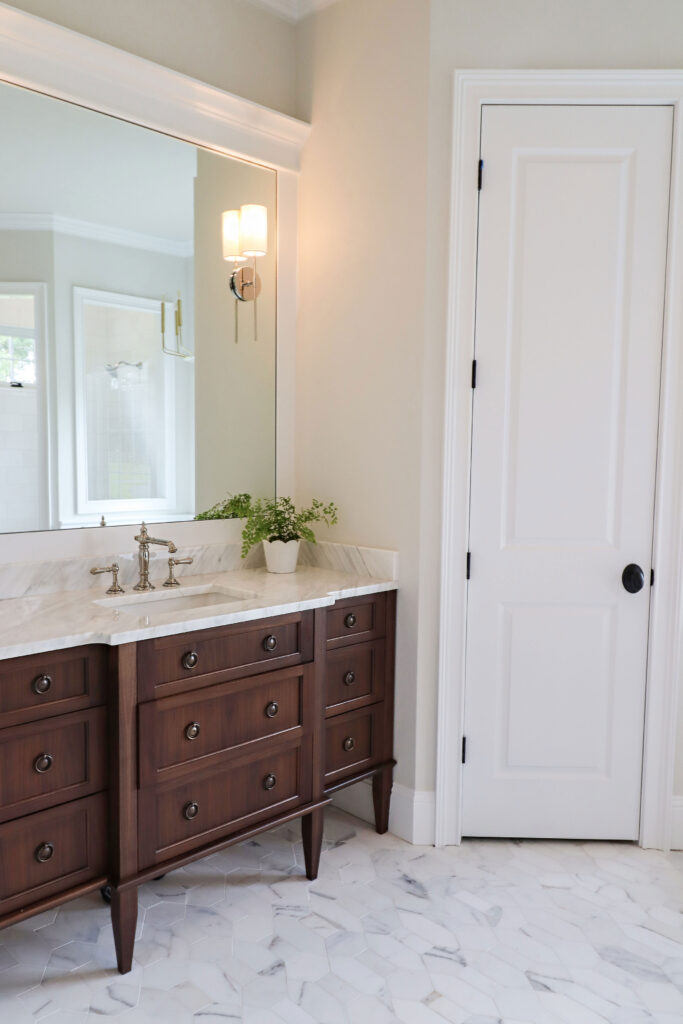
Using a Kohler Undermount Sink, this Sink Faucet and Lever Handles, with House of Antique Hardware to finish the look off. Wall Sconces from Hudson Valley.
To dress the vanity units, I added actual furniture hardware from House of Antique Hardware to it so it keeps with the furniture feel. The center area is bumped out to give the cabinets more visual interest and character. This central area detail really gives a more traditional feel while the rest of the room is more modern and sleek.
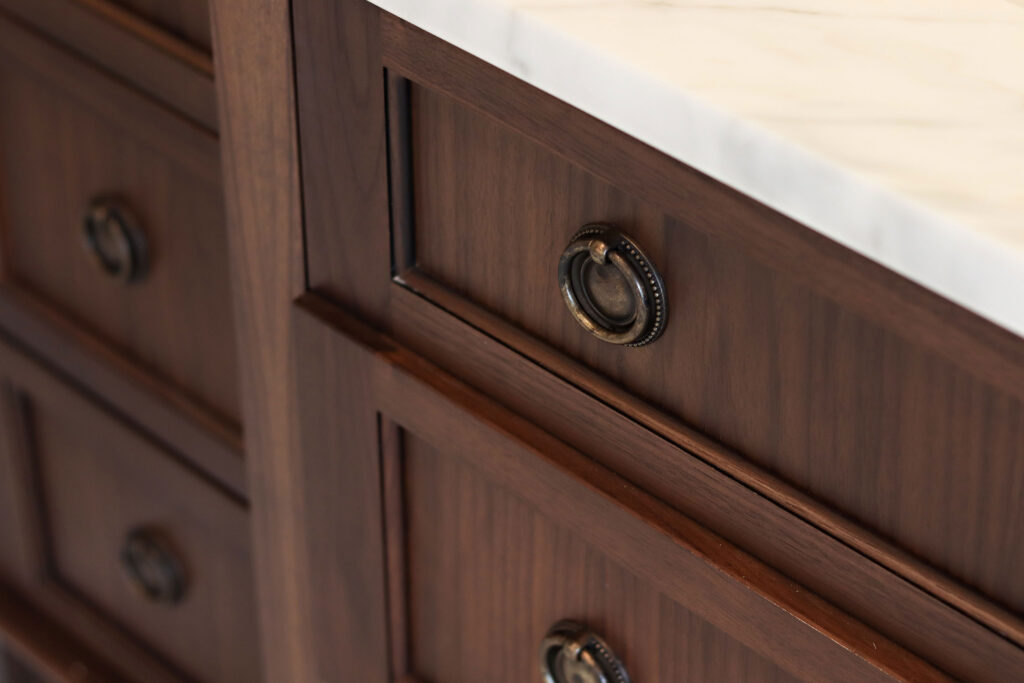
Vanity unit hardware is from House of Antique Hardware.
For the countertops we used the same Calcutta gold marble as the kitchen as the slabs were just stunning at the stone yard!
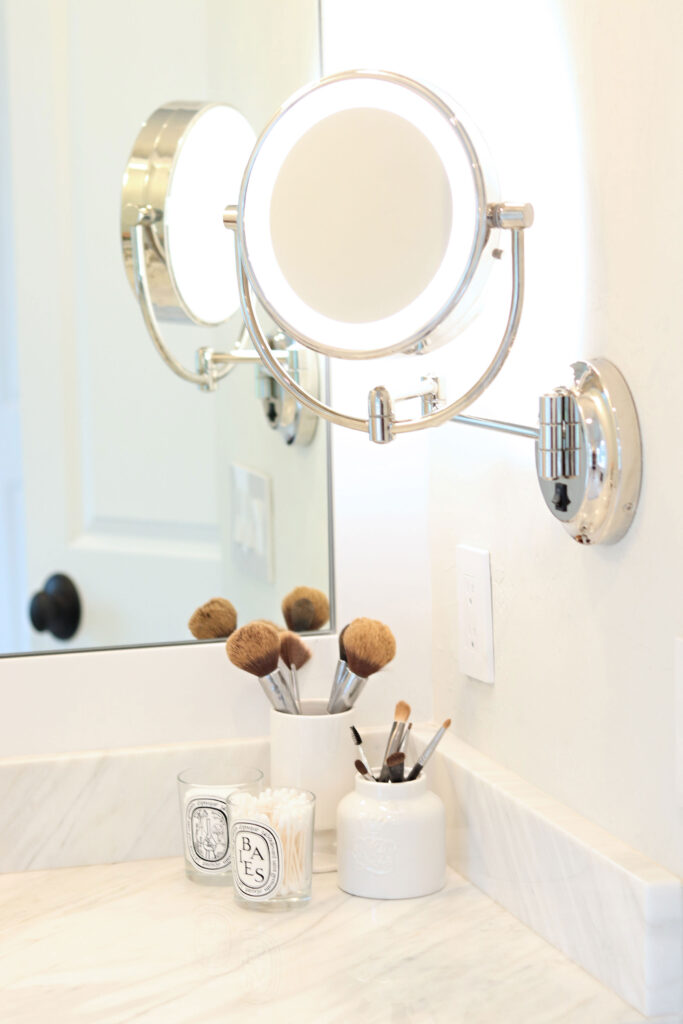
Above the vanity units, a large inset framed mirror simplifies the wall and finishes the silhouette off beautifully. The mirrors also allow for the wall sconces to shine through too. We added a makeup mirror in polished nickel to add extra functionality.
Other Details
I added a fixed roman shade to the window that features an automatic roller shade behind for privacy. This way, the window always looks good!
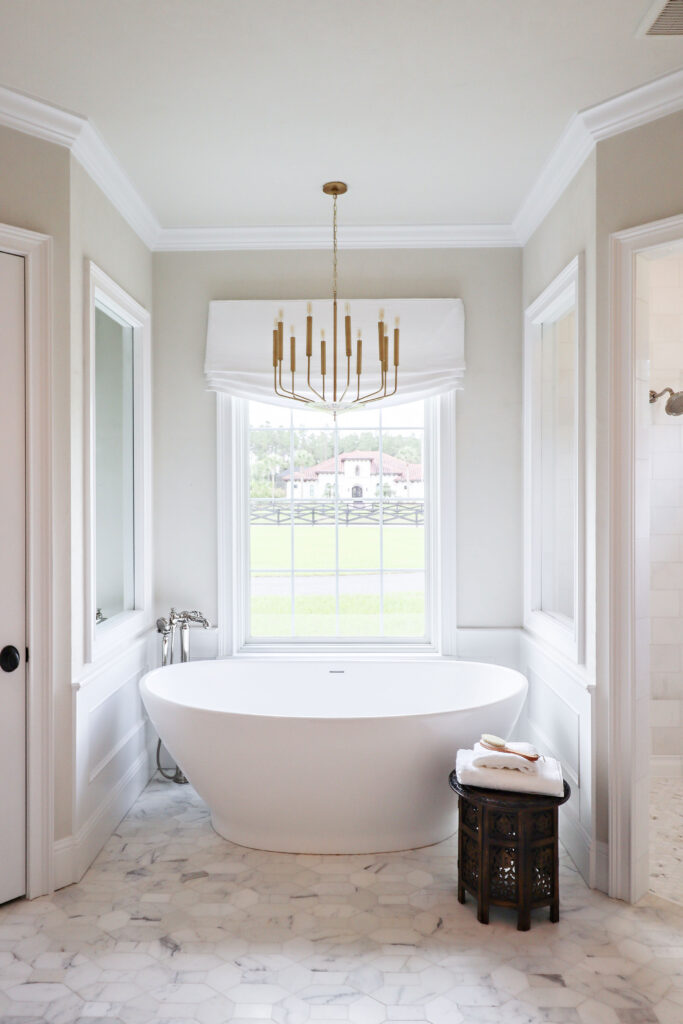
Next to the bathtub we framed out a mirror to the left to mimic the glass graces in the shower. I love symmetry so this was the perfect addition! Plus is reflects light and opens up the bathtub area even more.
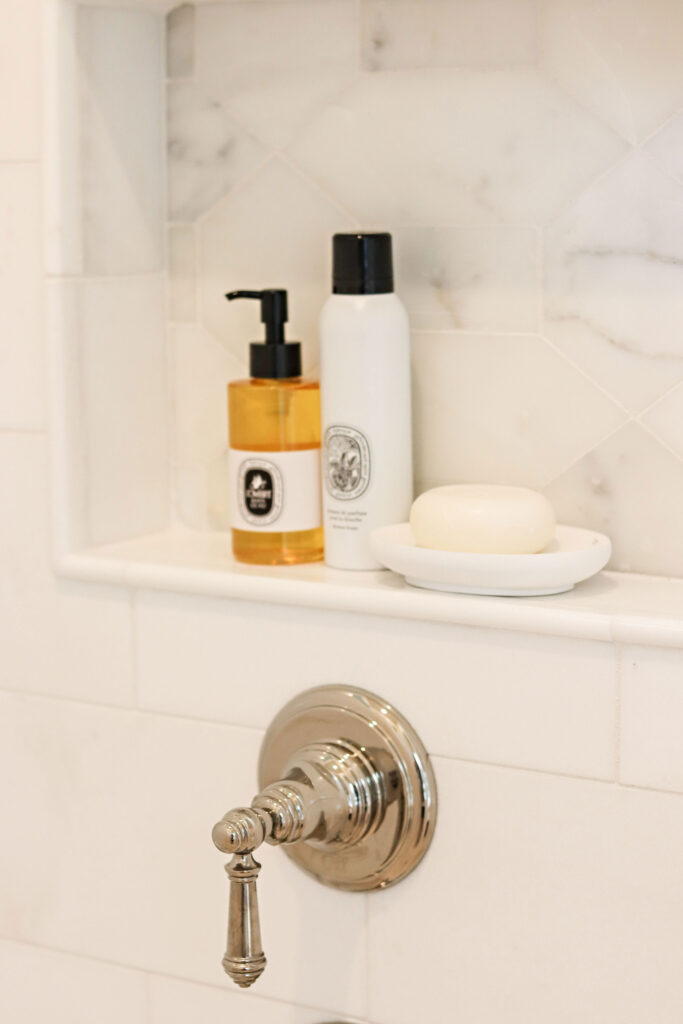
Within the shower we added builtin niches and shelves. I actually brought my shampoo bottles to site one day to make sure the shelf sizes were *just right*! And I made sure to measure and test out the lower builtin ledge for my foot to shave my legs. Being able to measure these practical things on site is a huge advantage because it takes all the guessing out of it!
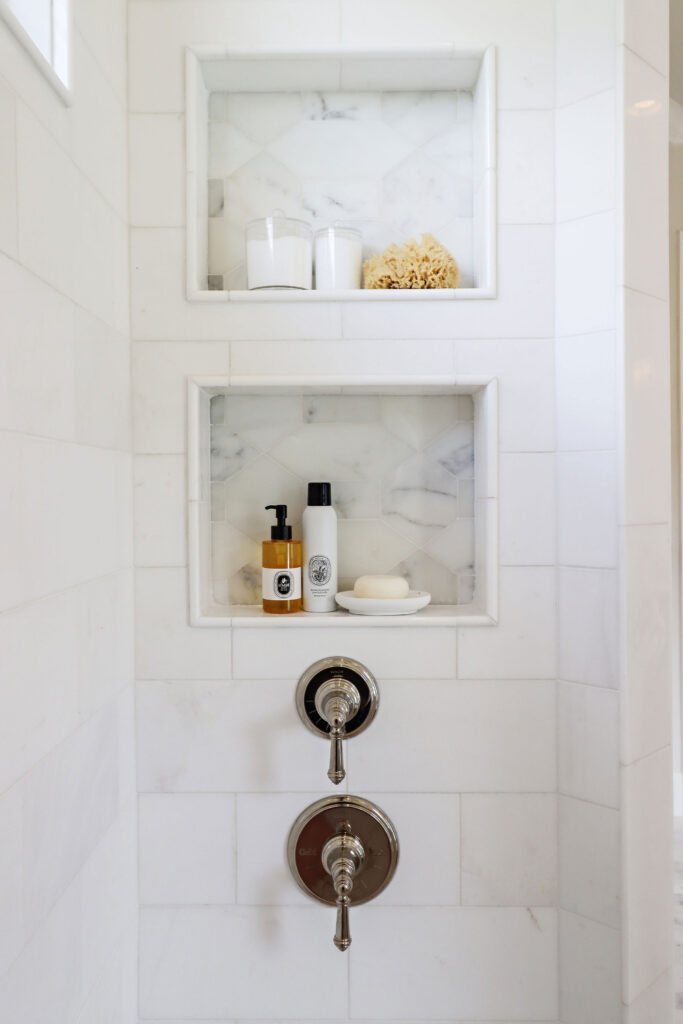
Kohler Thermostatic Valve with matching Volume Control Valve.
The wall color here is the same Evans Greige as the rest of the house. Using the same paint color as the other rooms helps to keep everything cohesive, feeling light and fresh.
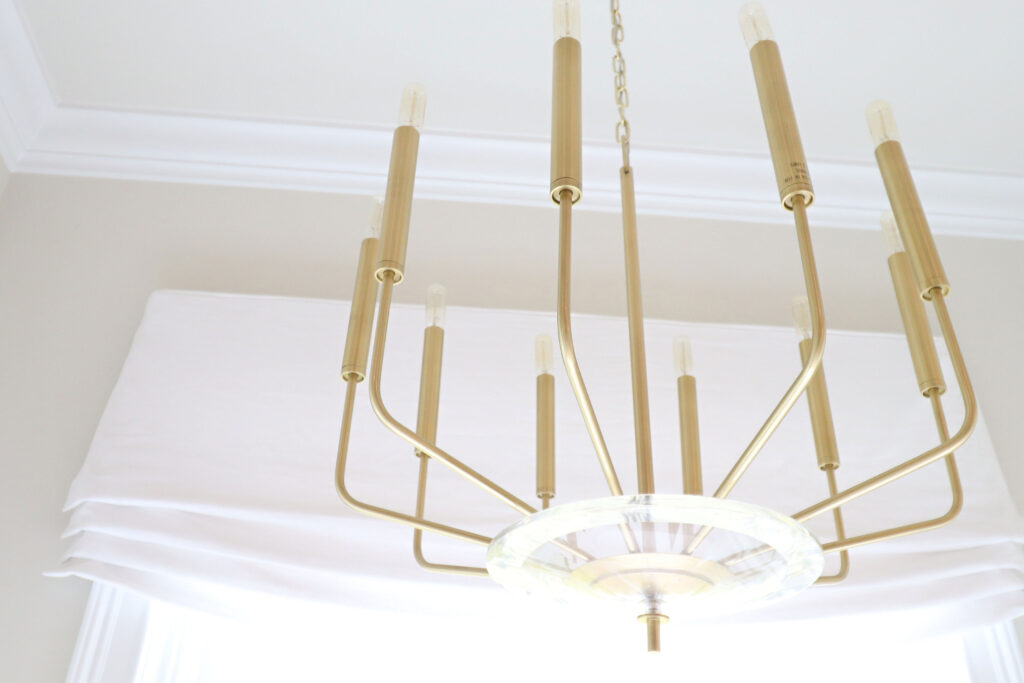
If you needed any more proof that mixing metals is definitely okay – my new master bathroom is the perfect example! Using bronze doorknobs, Antigua bronze cabinet hardware, polished nickel plumbing and sconces, finished off with a brushed gold chandelier. We couldn’t have used any more metals in this bathroom if we tried!
