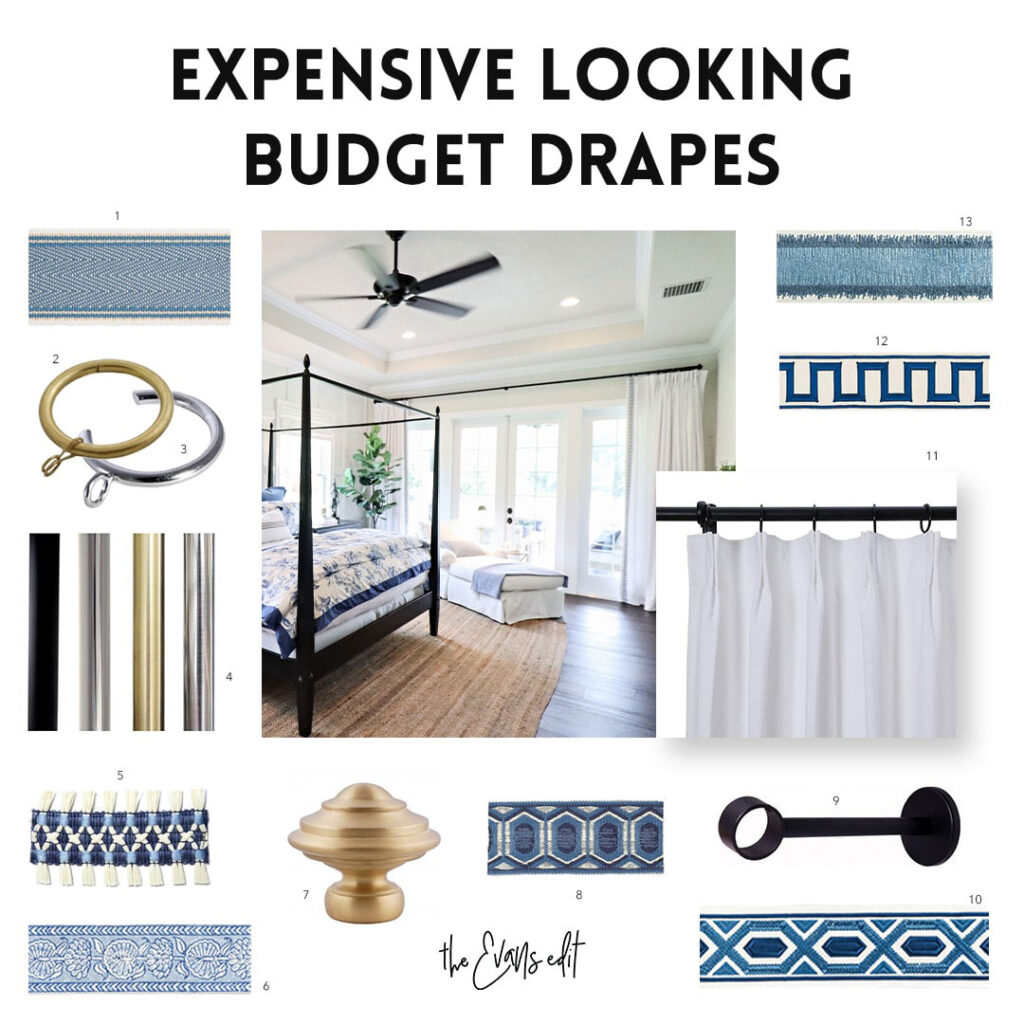
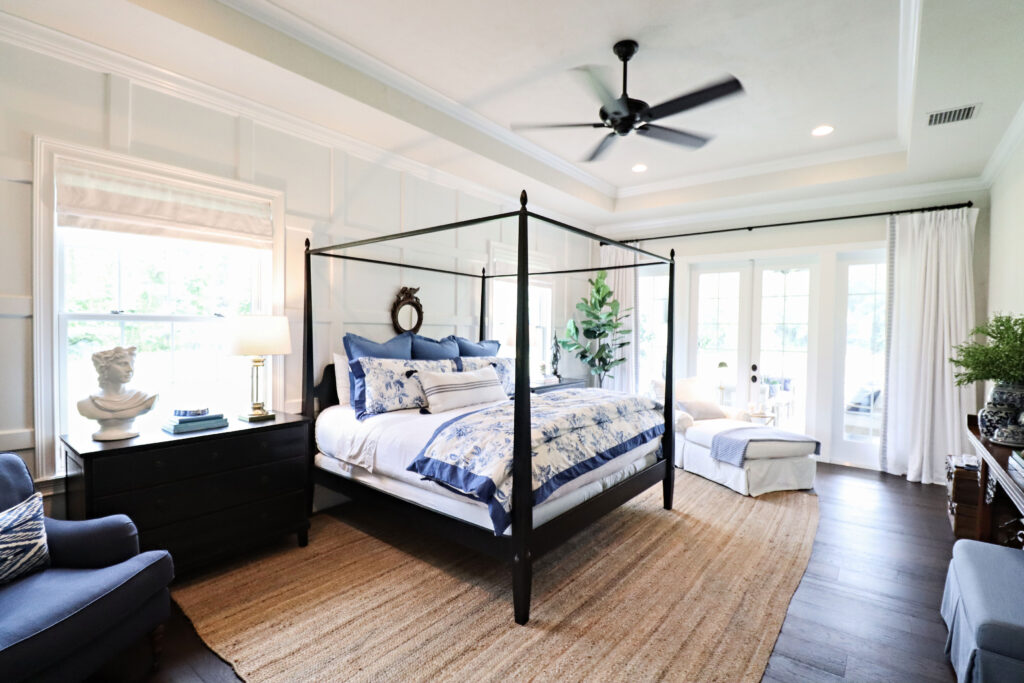
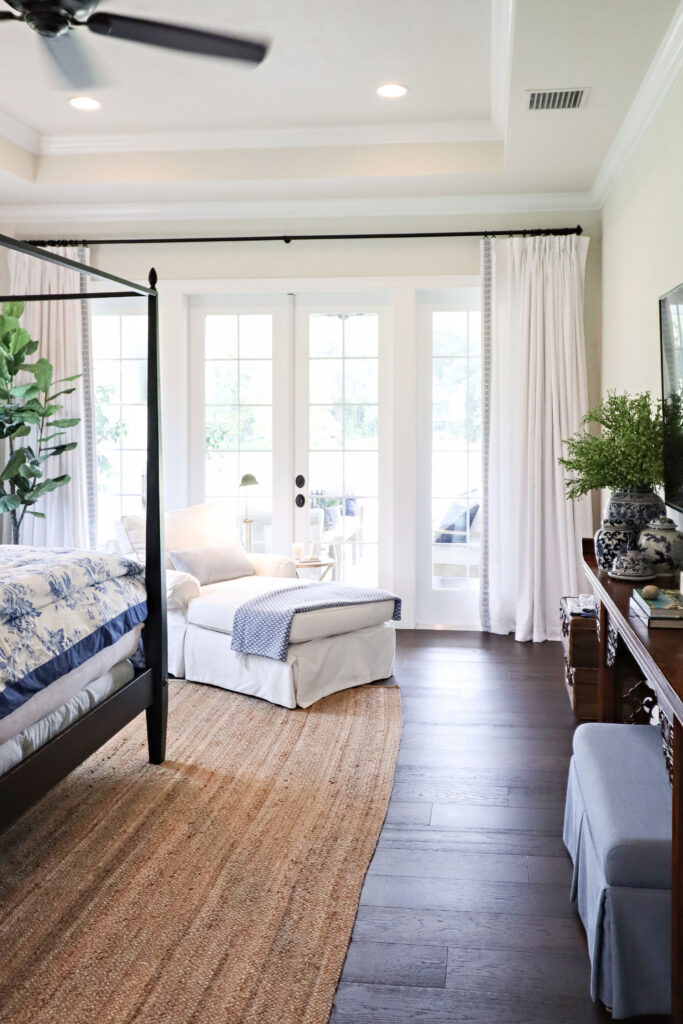
Since publishing my Dream Home Master Bedroom Reveal post, I’ve had lots of messages about how I created the expensive looking drapes! Window treatments can be tricky to get your head around, but once you’ve got the principles down, have the tools you need, and an idea of the look you want – you’re almost there!
So how did I create the expensive looking drapes in my new bedroom?
Read on to find out!
Select the right drapes
The most important element of a window treatment is the drapes themselves.
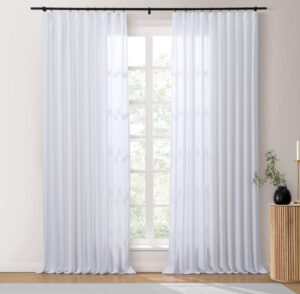
Generally I always choose French pleat or pinch pleat drapery panels because they always look good, and rich every time. You can’t go wrong!
In terms of size for the drapes, when ordering them, double the width for a full look or with pleated ones, it’s 1.5 times to double. For example, if the window is 6’ wide, get a rod that 8-10’ wide if possible. Order drapes 8-10’ wide too.
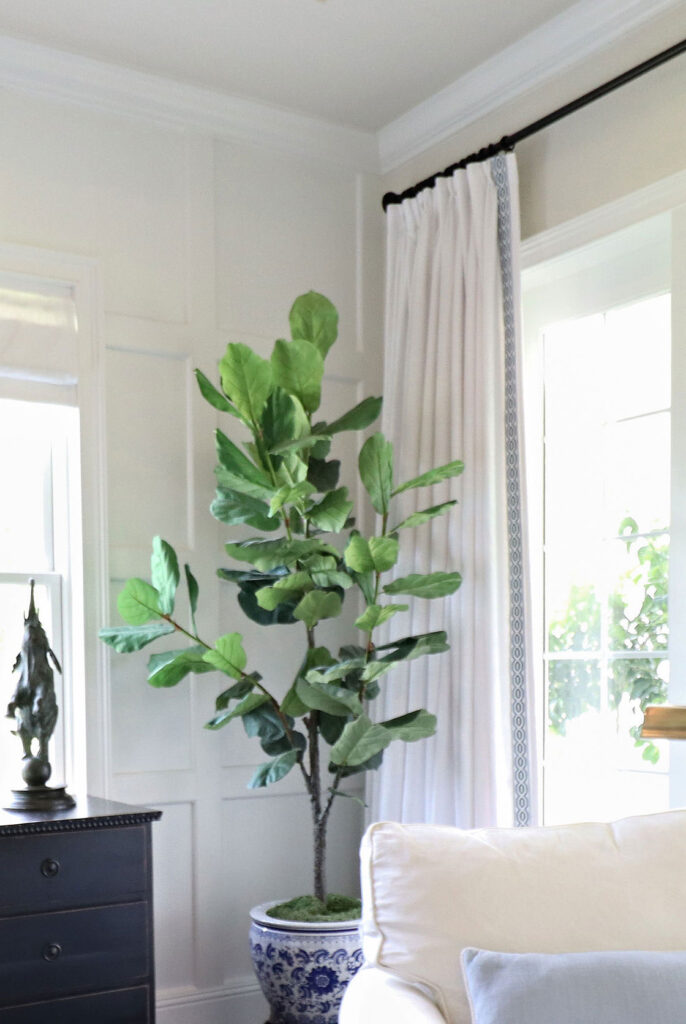
You can keep the drapes plain if you want to, but I personally like to add some interest by adding a trim. This is a patterned piece added to the leading edge of the panel, and is great for adding extra color and visual interest to the window area. It’s a fun little extra that elevates the look!
Adding a trim
To create an expensive look to your window treatments, try adding a trim on the leading edge of the drapes with iron-on tape!
Ballard Designs have a fantastic tutorial – that I followed! – and know you’ll love too.
It literally only takes a minute to apply. Use hot glue to attach the tape and run an iron over the trim to make it adhere to the curtain panel. Et voila!
Here are some trims that I shortlisted:
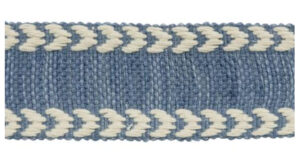
A simple yet effective light blue trim with off-white detailing. Link here.
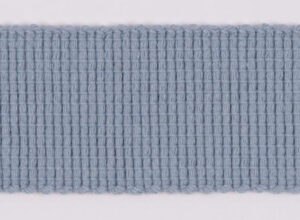
Or keep it even simpler with a plain colored trim! I absolutely love this light blue natural trim. Check it out here!
Curtain rods
The rod you choose to hold drapes can add an extra decorative layer to your room, or you can keep it simple!
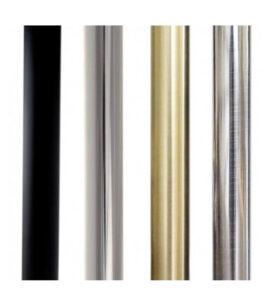
I like to keep the rod simple and clean – and DO NOT use telescoping! Make sure the rod is a uniform width all of the way across. It’s hard to find this but very important to achieve a practical yet stylish look. This exact rod I used has this!
As a general rule, I take the drapery rod out as far past the window as possible. This is so when they stack up they don’t cover the window much, but effortlessly dress either side of the window. It also means you maximize the amount of natural lighting coming through into the space!
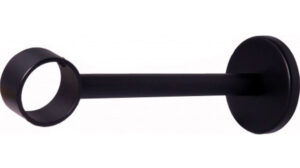
Then, there’s the brackets and rings to add. Don’t cheap out on the brackets – they are part of the design and add functionality to the window treatment.
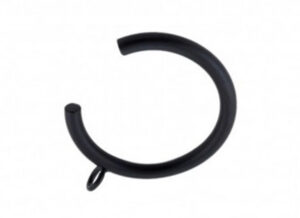
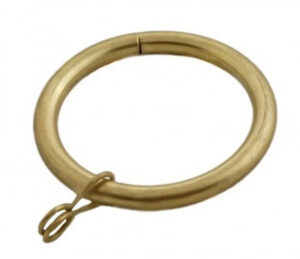
The secret to full coverage looking drapes? Is the c ring I have linked later. It allows the drape to slide past the center bracket effortlessly.
My exact configuration
The secret to my exact window treatment configuration?
Here is the rod configuration I use – it looks perfect every time! No telescoping rods which I hate. This is smooth all of the way across.
Here it is!
Curtain Rod – Make it wider than the window so the drapes can stack on other side as much as possible. I typically use black and you decide on the width. Click here for the exact curtain rod I use!
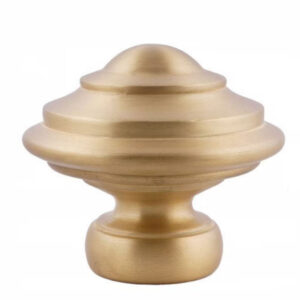
Finials – You need 2 of these, one for each end. Click here for the finials I have!
Rings – Black.
If you want to be able to close completely get a set of the C-ring also so it will bypass the center bracket and close up completely. Click here for the C-Rings.
