


Over the past year, I’ve worked on a complete redesign of a medical office in Gainesville, Florida. Slightly stuck in the 90’s, this office was ready for a complete redo! This very busy practice sees hundreds per day and it was time to give these patients a more modern place to visit. Let’s take a look at how it came together.
The Before


The 2 Concepts Presented
I created two distinctively different concepts for them to select from. Since this portion of the practice sees mostly women, I created a soft “color” version and a refined “neutral” version.

Colorful pink and green option

Refined neutral option
Which would they choose?
The Selection
A neutral palette was selected with lots of texture and rich details. Greige, white, beige and gray were the settled on color scheme. Split face travertine at the entry and a gorgeous custom made reception desk were the focal points.


Design via Carson’s Cabinetry
The After
We couldn’t be happier with the results! A beautiful office now greets the hundreds of patients seen each day.
Debra Main, the company’s Marketing Director, sums it up like this. “Recently we’ve undergone a major renovation because we want to improve our patients’ overall experience. We believe that patients chose their health care providers based on who can respond to their needs and the sum total of their interactions while they are in your office. If we can make you comfortable in this environment, it becomes a better experience for you.”
Let’s take a look!


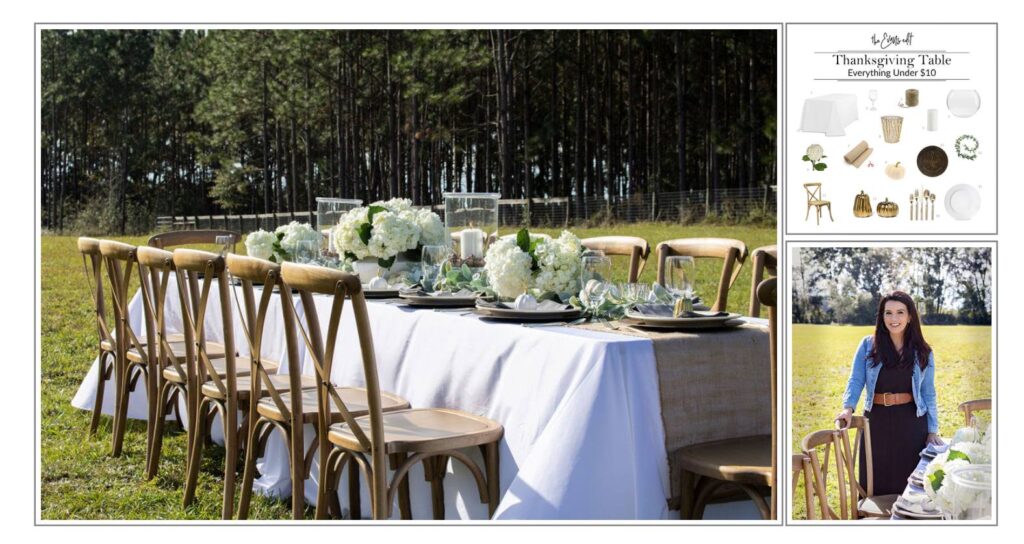

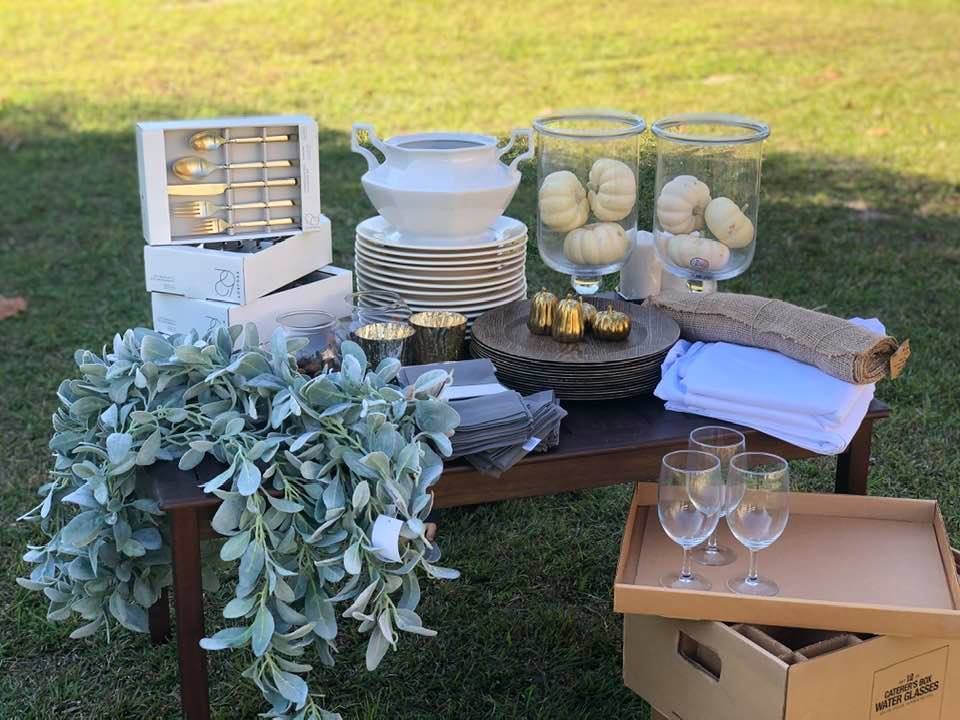
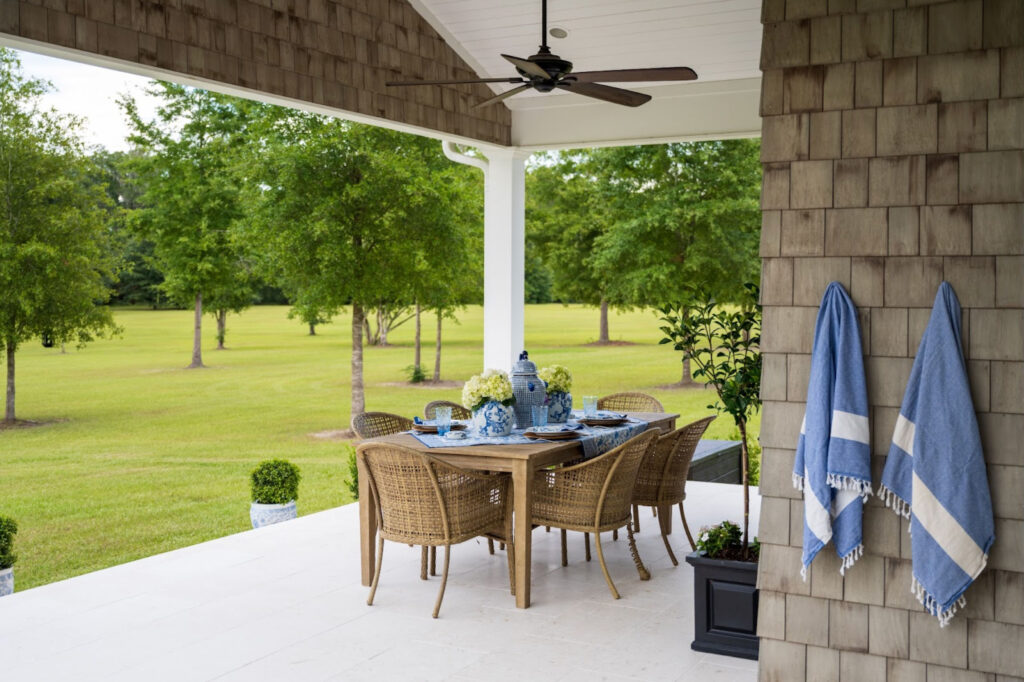
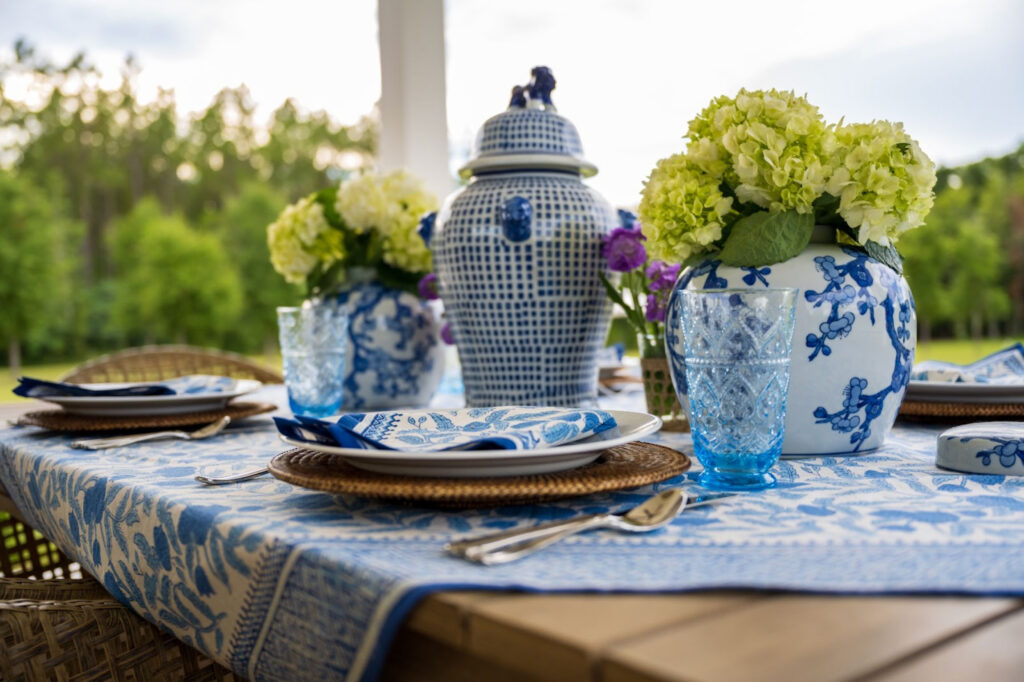
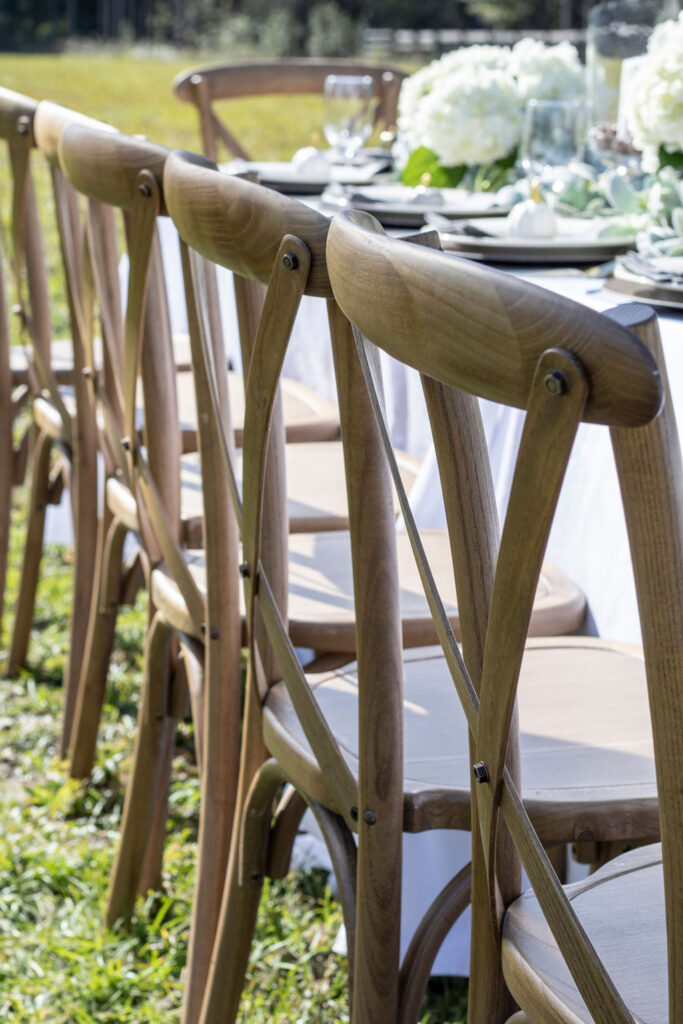
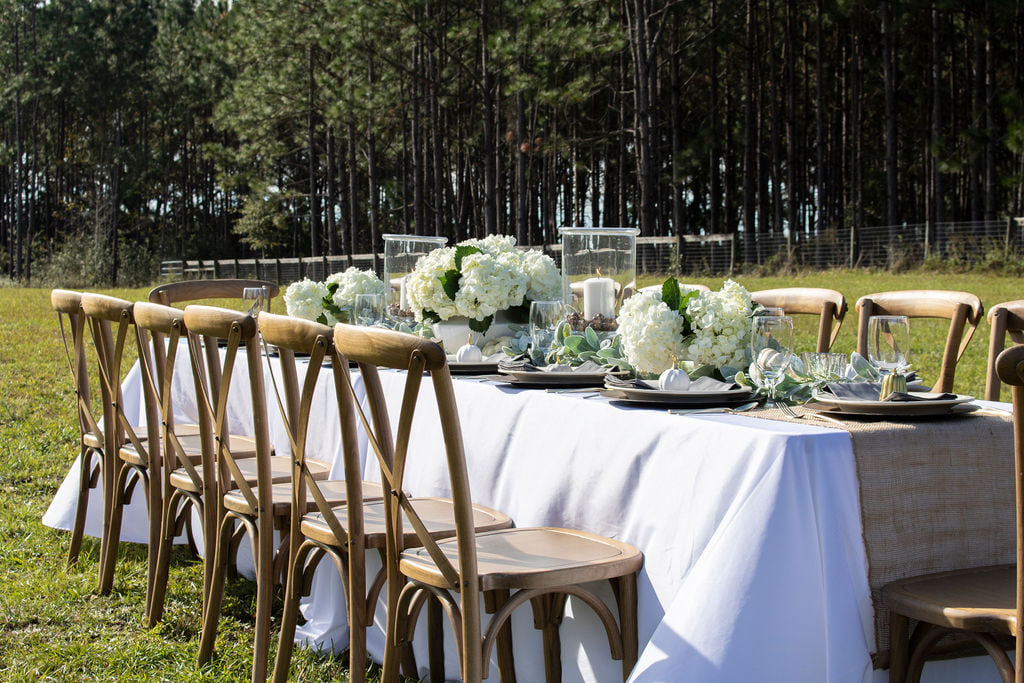
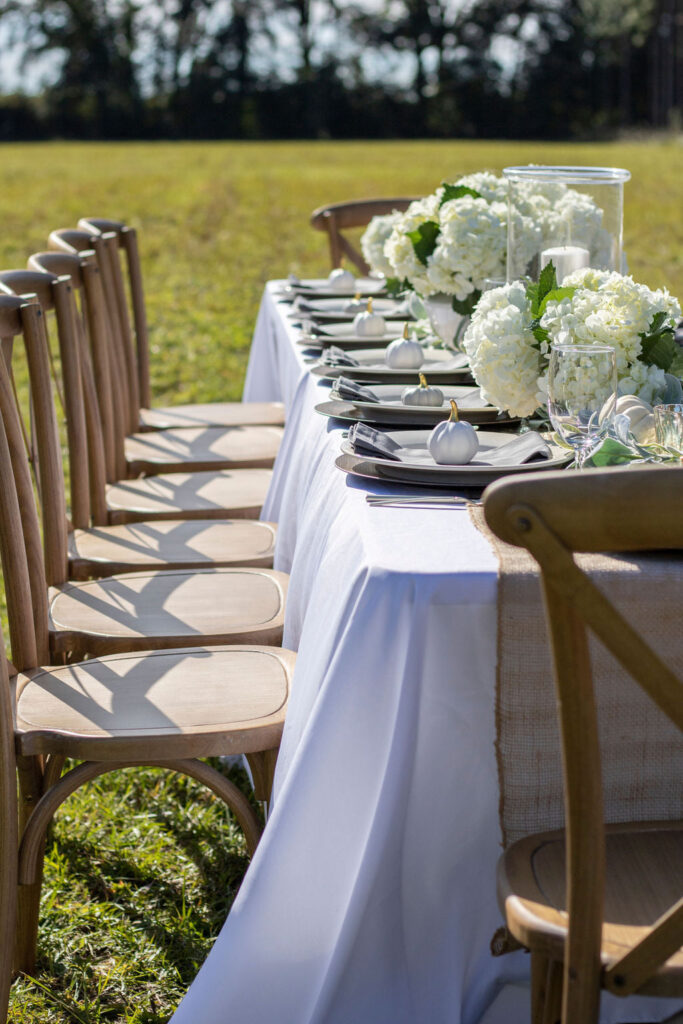
This year, while we’re building our “Dream Home”, we are in a rental that won’t hold our 14+ crowd for Thanksgiving. I’ve decided to take it outside and create a casual, but chic table right on the property. I love how it turned out and I spent NO MORE THAN $10 ON ANYTHING! Let’s take a look…every single item is linked below.
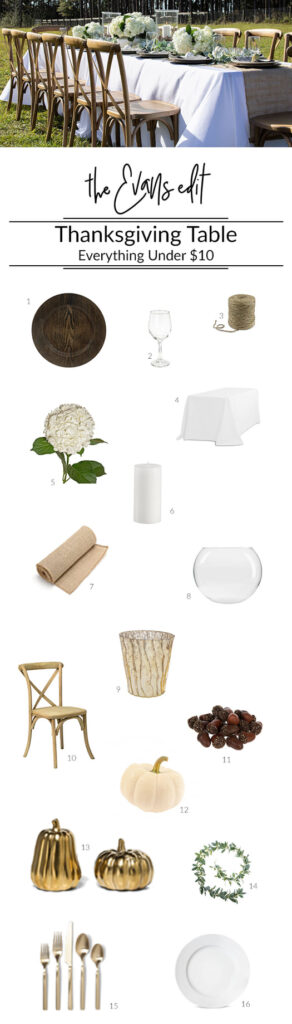
1 | 2 | 3 | 4 | 5 | 6 | 7 | 8 | 9 | 10 | 11 | 12 | 13 | 14 | 15 | 16
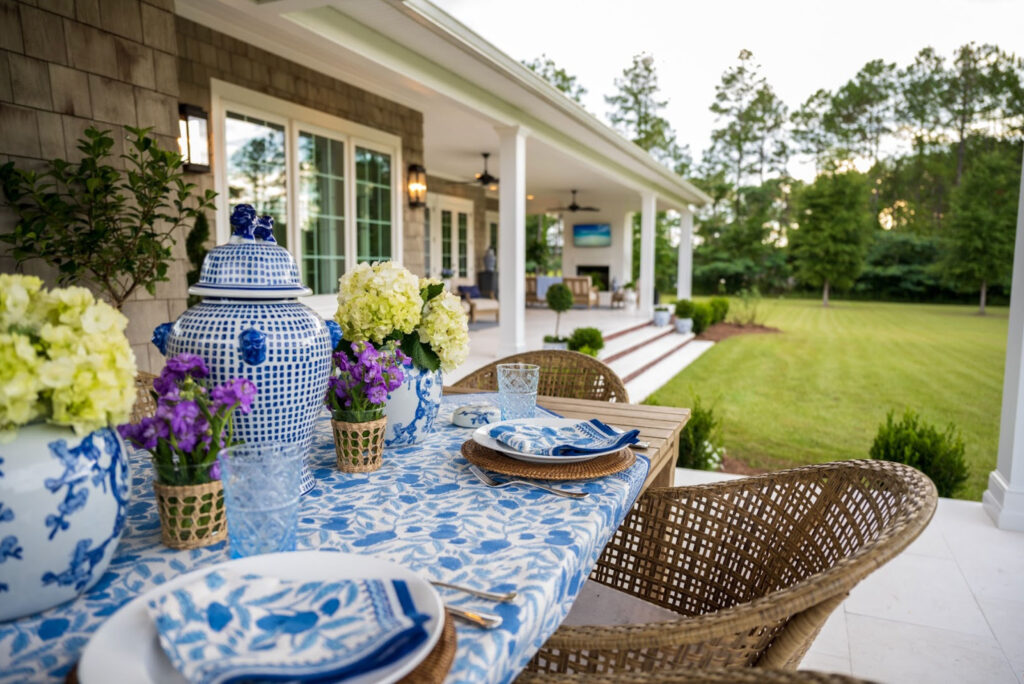
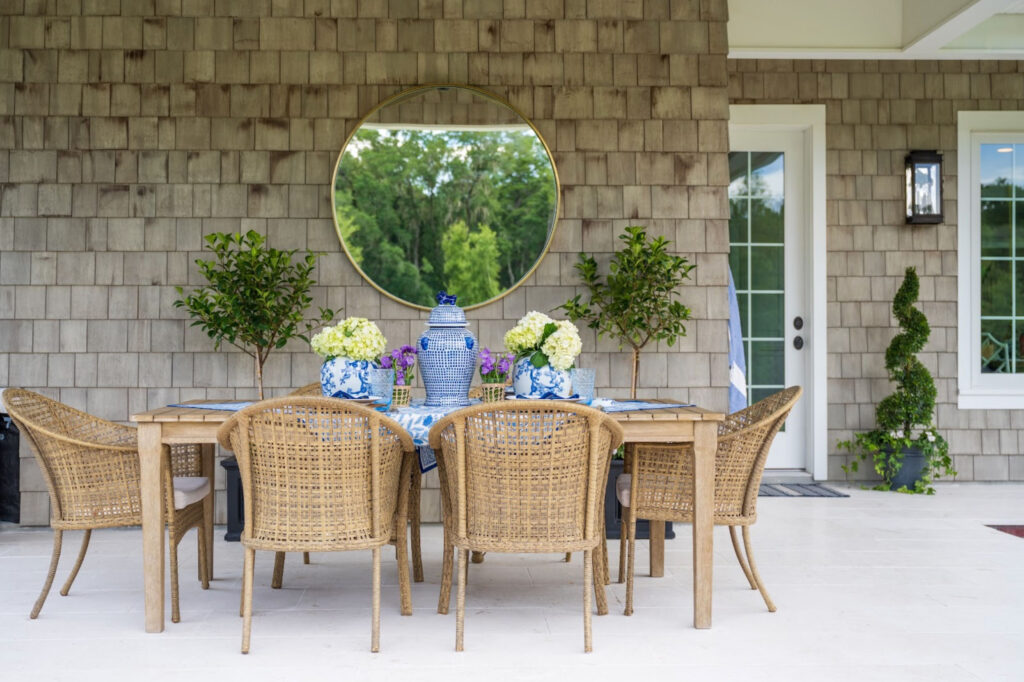
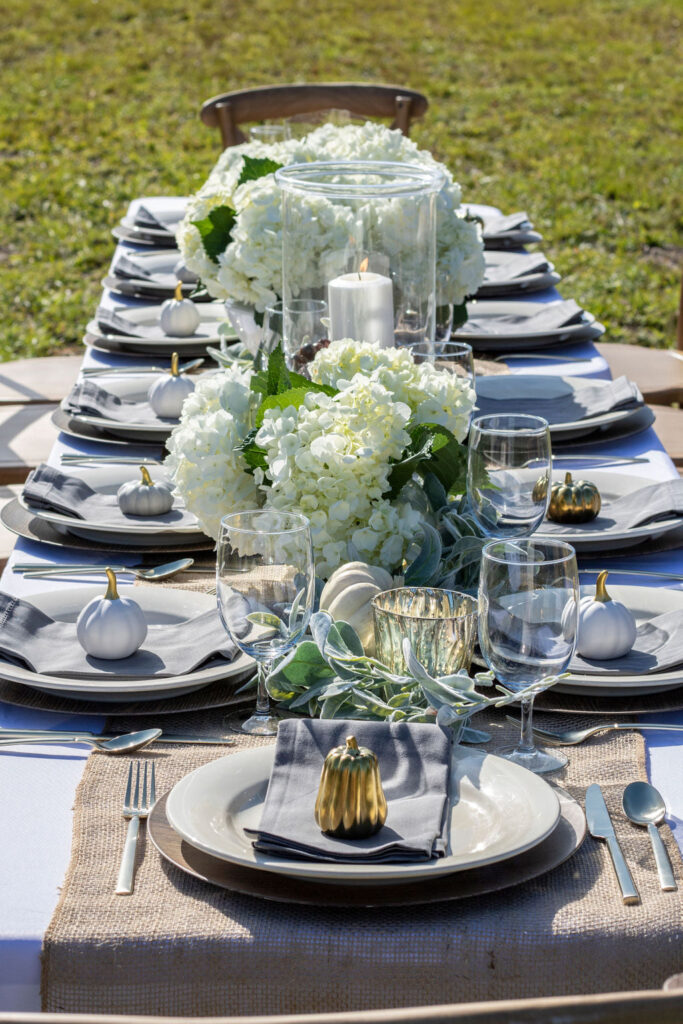
Click on the numbers above… or let’s walk through it together.
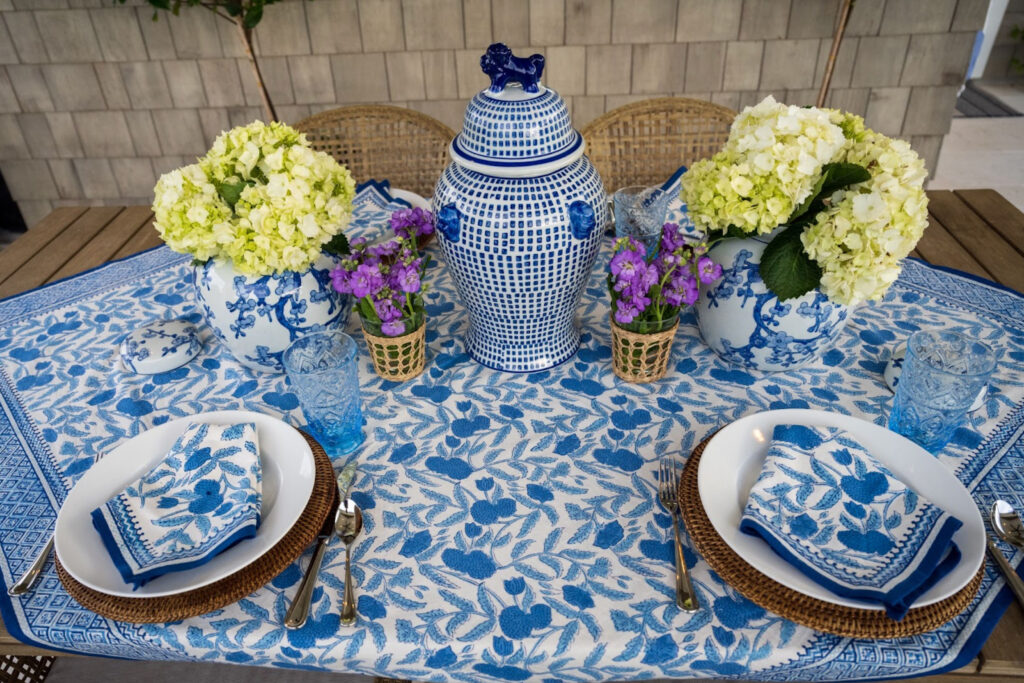
Flatware in champagne gold. Each piece came in at $5
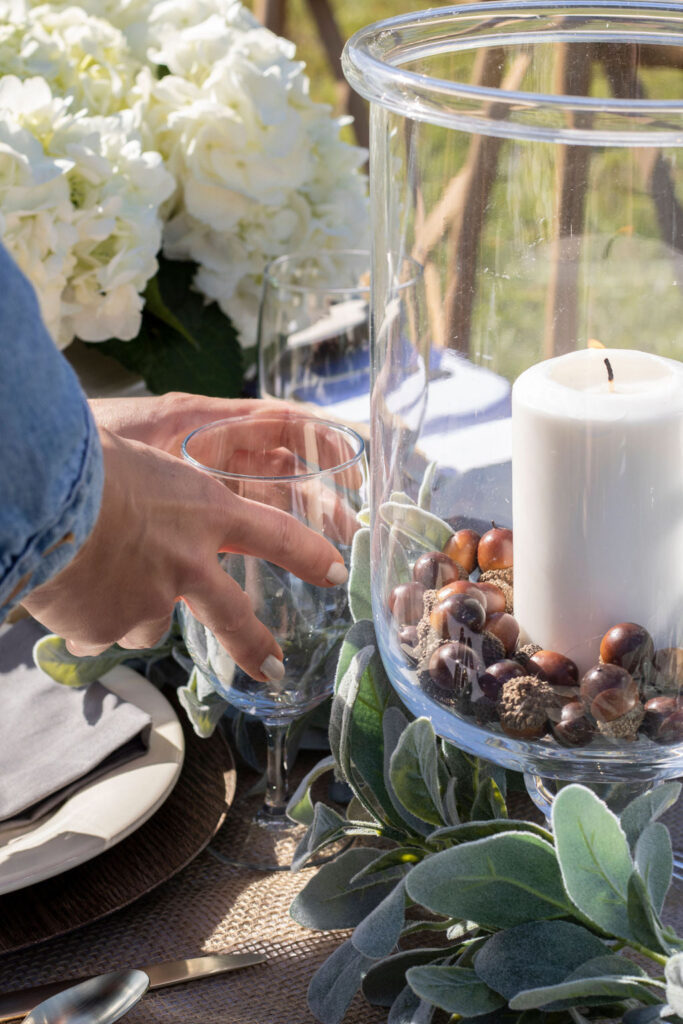
Water goblets on sale for $7 each
Tablecloths from Tablecloth Factory at under $6 each
Burlap runner $7.99
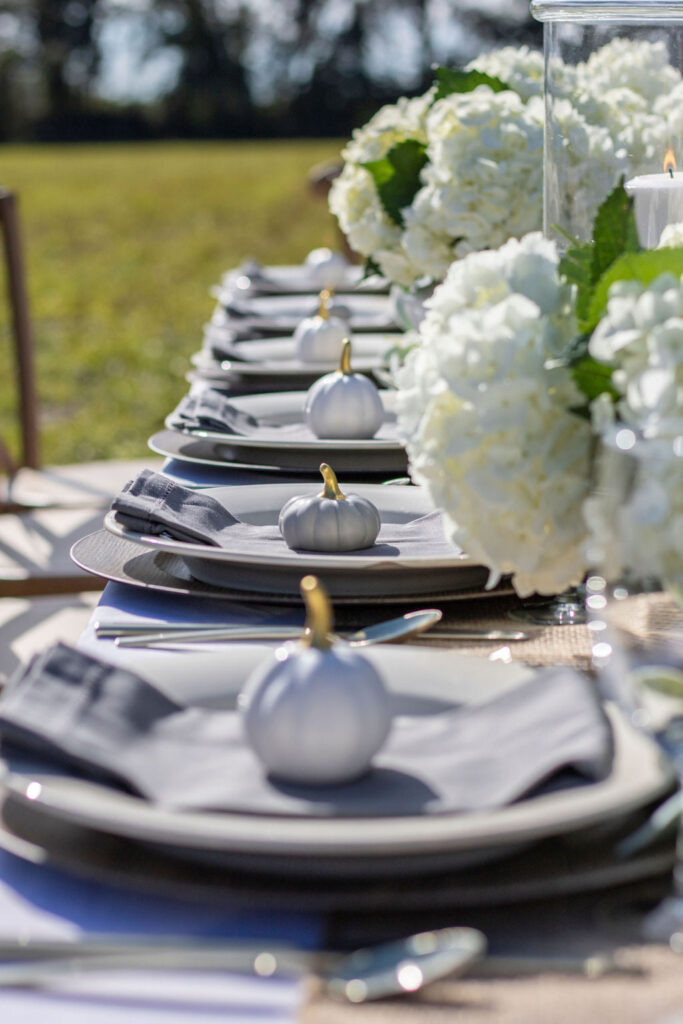
Wood-look charger plates $1.99 each
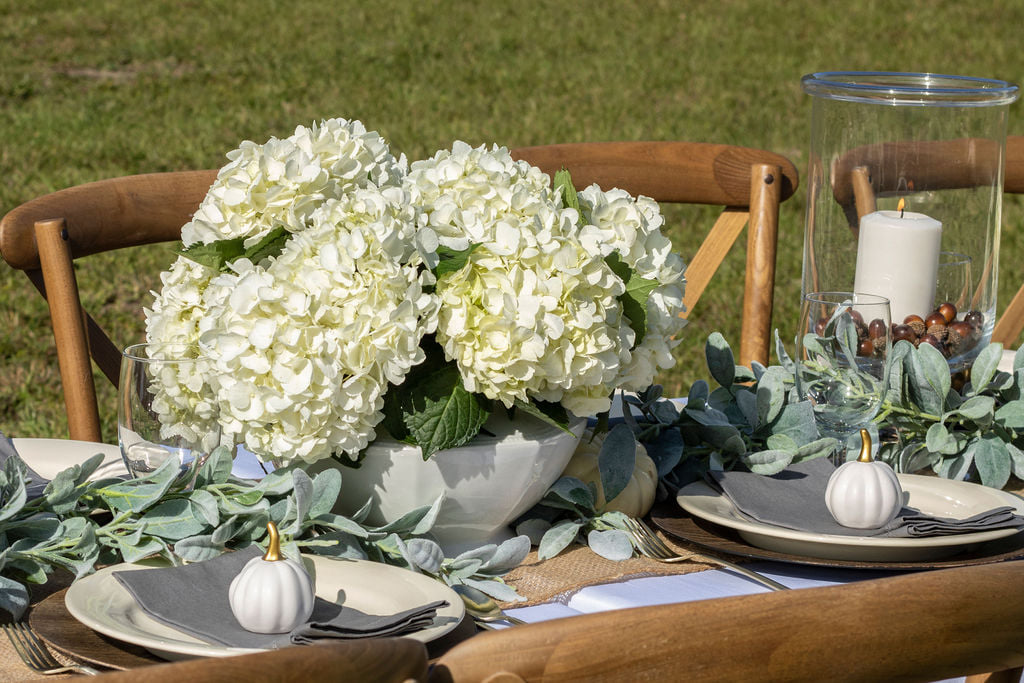
Lamb’s ear garland $9.99 each
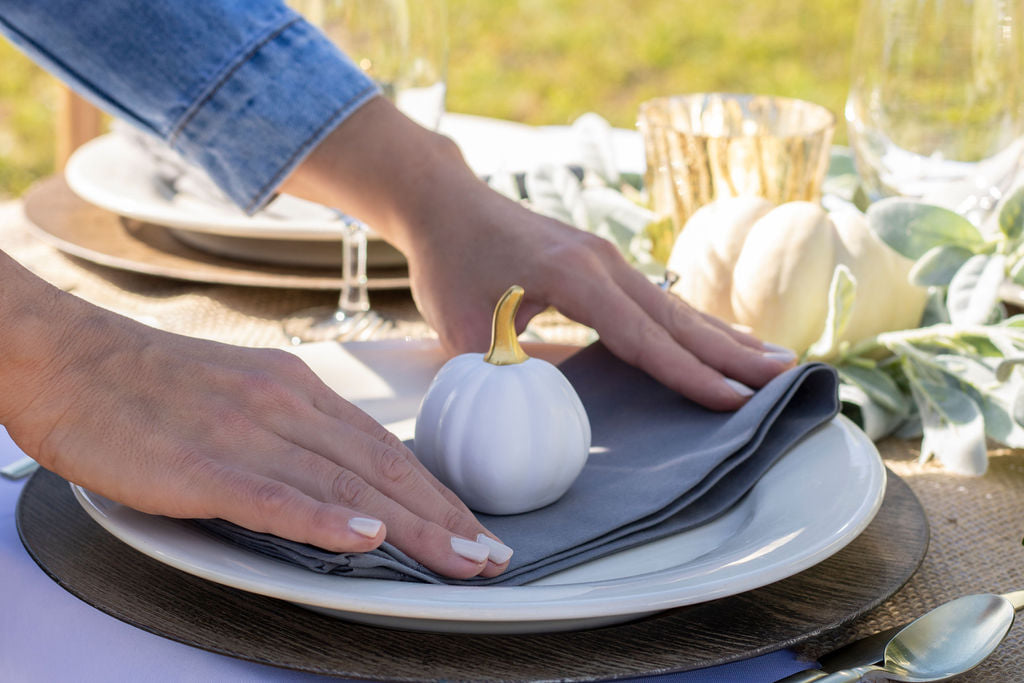
White plates $2.99 (on sale)
Gray fabric napkins $2 each (on sale)
Gold pumpkins on each plate $9.99 each
Glass bubble vase $3.99 each
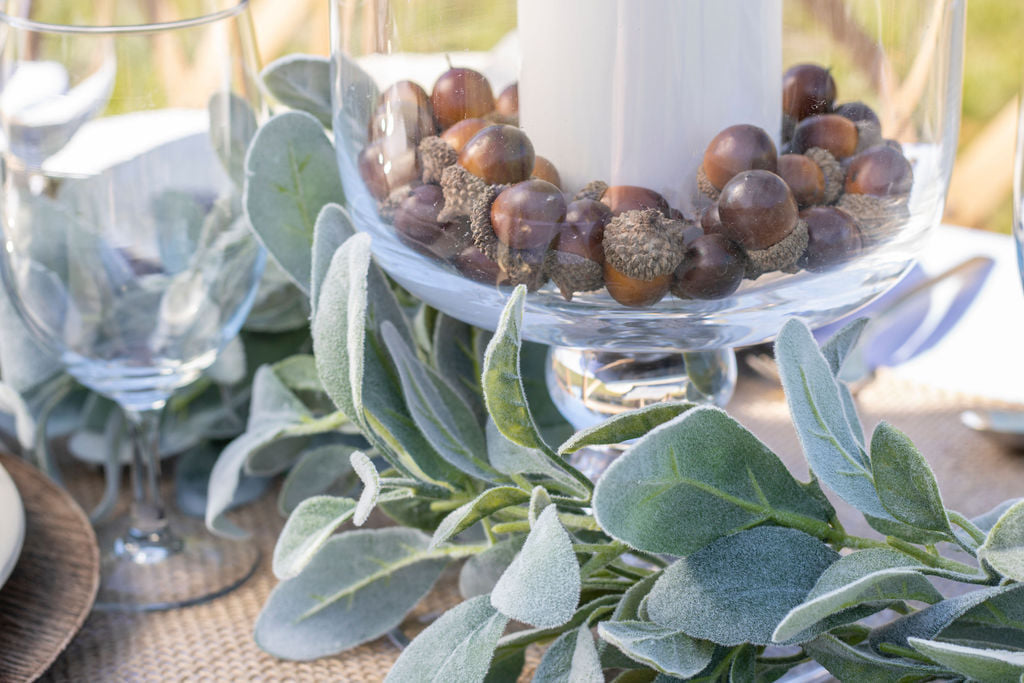
Gold mercury candleholder $5.99
White candles $3 each
Twine $5.99
Acorn filler $2.99
Farm chairs rented for $8 each from PRE Events
Soup tureen used for centerpiece $9.99 (from TJMaxx)
Candleholders were on Facebook Marketplace for $8 each! You can find the originals on WSHome.
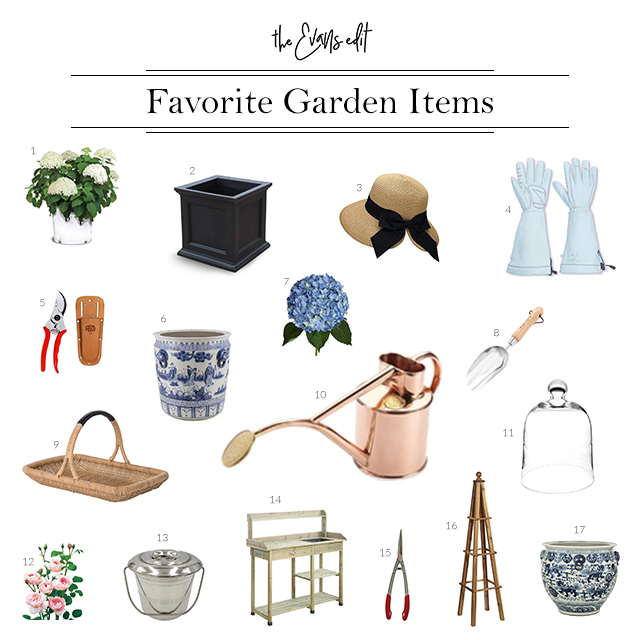
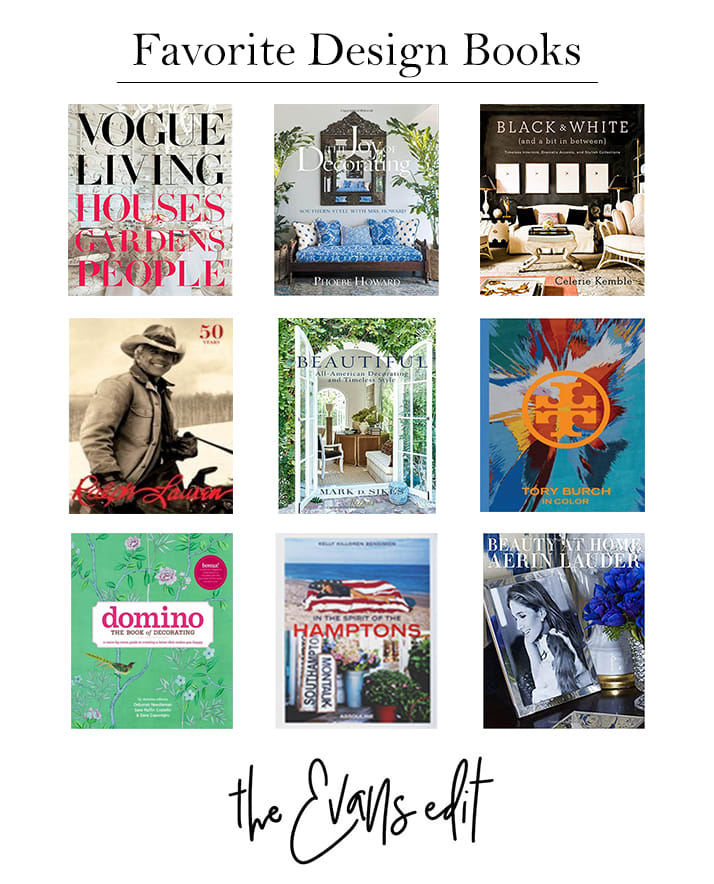
Here’s a handy dandy chart for your Pinterest board.

1 | 2 | 3 | 4 | 5 | 6 | 7 | 8 | 9 | 10 | 11 | 12 | 13 | 14 | 15
So, what do you think? I’d love to hear!
-Lori