How exactly does online Interior Design work? Let’s follow an actual project I completed recently and find out! The home is in Greenwich, Connecticut and I’m in Florida, but no problem. We worked together for 10 days and the result is amazing! Happy client, happy designer. Boom! Let’s walk through the process together.
1 Design Brief
A fun, young family moved from hip San Francisco to very traditional Greenwich, Connecticut, they wanted a room just as lively as they are. Typically known for a very traditional design aesthetic, we wondered, can you DO color in Greenwich? Yes, yes you CAN and we are here to prove it!
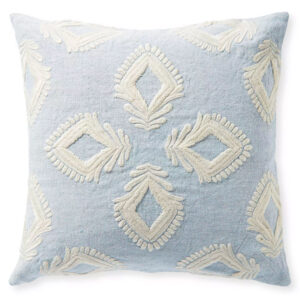
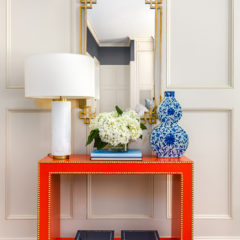
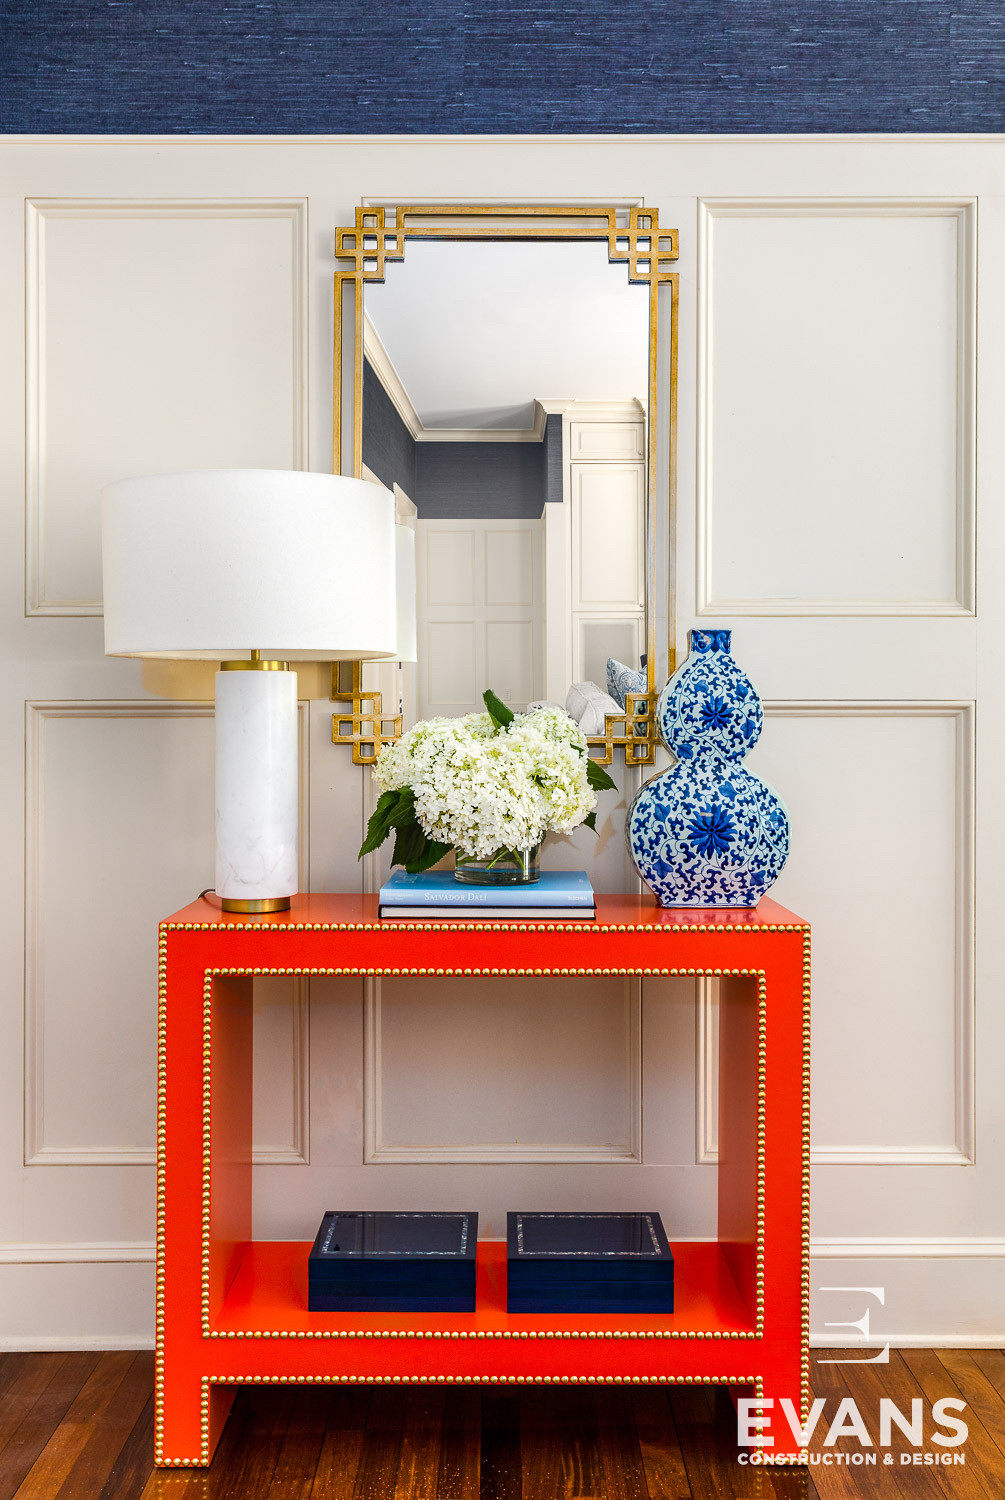
Flooded with natural light and open to a beautiful view, this Family Room serves as the center of the home. They wanted something not too serious, not overly fancy, but still sophisticated. Pulling from a navy and orange color story, Evans Construction & Design created a perfect hang out spot for watching TV, playing games and entertaining.
The entire design process was handled online from our office in Florida to their home in Connecticut and took 10 days. We started with their floorpan.

2 Concept
After receiving a floorpan and a few inspiration images, Evans Construction & Design got to work on the initial concept board. A mix of overall inspiration images, colors, textures and actual pieces, this concept board serves as a starting point for discussions to make sure everyone is on the same page.

3 Design Time
After the thumbs up was given on the Concept Board, we moved into the actual design of the room. The Design Board shows each item we are proposing and how everything works together. The client and I went back and forth until she was completely happy with everything.

4 Final Design Package
After 10 days of tweaking, we settled on a final design. I love, love, love how it looks! The client then received a Final Design Package with a floorpan, instructions for setting everything up and a shop-able list, with links to order everything.


5 Room Reveal
Over the course of the next month or so, everything arrived and client followed the setup directions to a “T”. Let’s see how the room turned out! Photography by the AMAZING Andy Ryan.


Here’s a handy graphic for your Pinterest boards fro future reference.

So are you ready to try online design for yourself? Let’s do it! Find out all the info to work with me here. It’s super fun and easy, and less expensive than you might think! 🙂
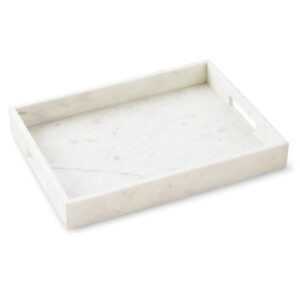
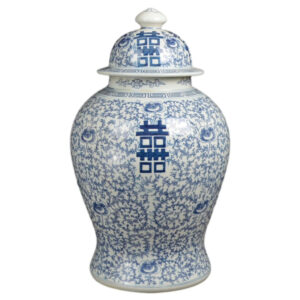
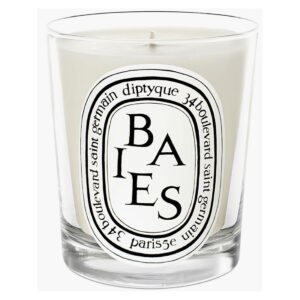
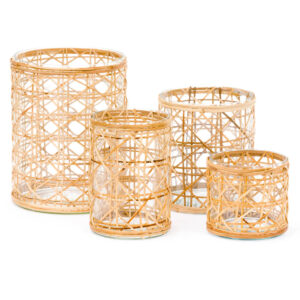
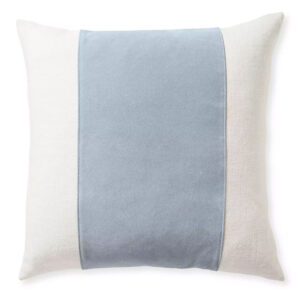
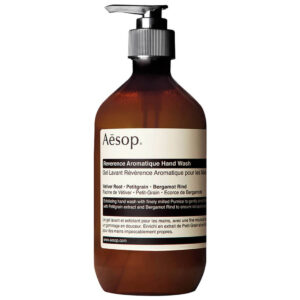
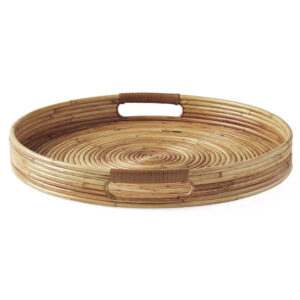
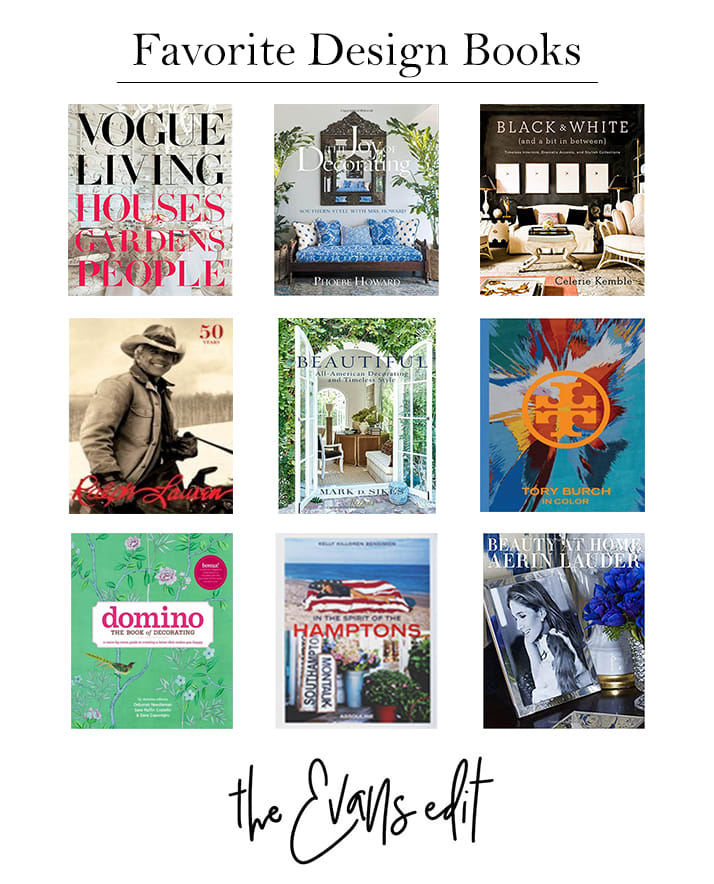
Get The Look
Recreate the look for yourself! Click on the links below