Choosing paint can be one of the trickiest things to do in any home! Color, type, finish, brand… there are a ton of things to consider. When it came to selecting paint for our new dream home I knew it wasn’t going to be easy.
Luckily, I’ve always preached a little system I created years ago, for a fool proof way of selecting paint! It’s an 5-step process which I’m going to share with you all today in the context of how I chose the paint colors for my new house.
*If you’re just joining us, this is another installment of a series documenting the building of our personal dream home. So far we’ve tackled: Inspiration | Floorplan | Location | Breaking Ground | Roofing | Windows | Insulation | Sheetrock & Plaster | Selecting Paint | Selecting Flooring | Selecting Bathtubs | Selecting Lighting | Selecting Fans | Selecting Cabinets
My Paint Color Selecting System
So this is my infamous paint color selecting system for selecting a main interior color.
1 Inspiration – Find your inspiration and research it
2 Chips -Narrow it down to a handful of colors and grab some chips from the paint store
3 Actual Paint – Buy sample cans of your favorites and put them up on the wall
4 Live With It – Narrow it down to 2 or 3 and paint a large area of each
5 Commit – Make your choice and never look back!
Now we can have a look at each of these points in relation to my home so you can see it happening first hand.
Step 1: Inspiration
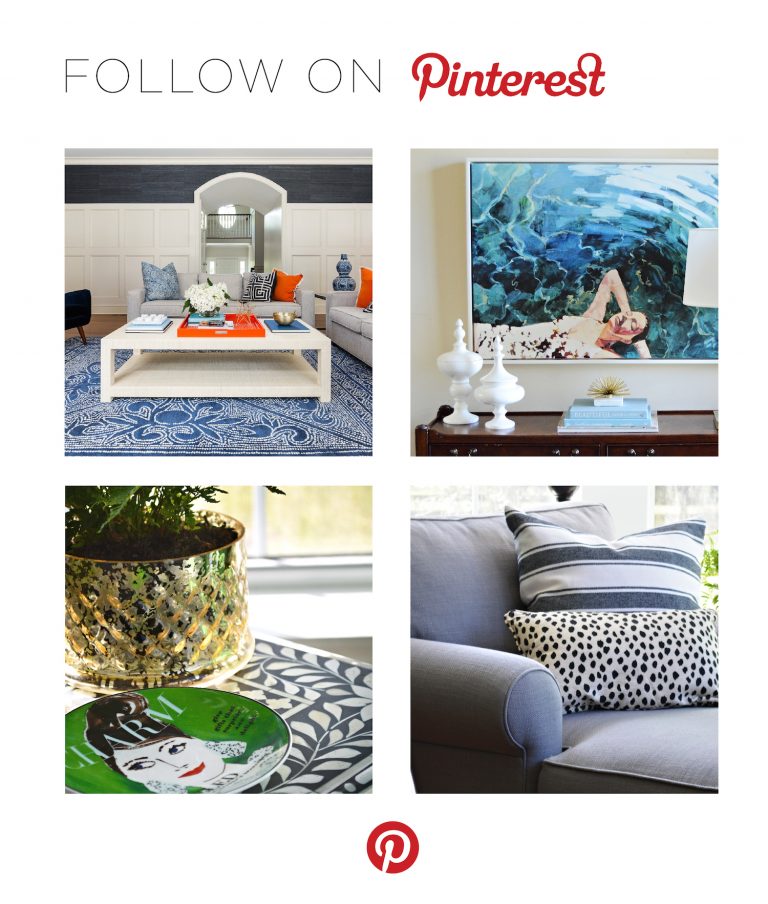
I knew what I wanted, I just wasn’t sure how to get there. I wanted fresh, clean, light and bright…but not white. We have a ton of beautiful moulding and trim work that I wanted to showcase with contrasting wall and trim colors, so white-white wasn’t going to cut it. I already had a ton of images saved on my Pinterest boards. A quick look shows some commonalities.
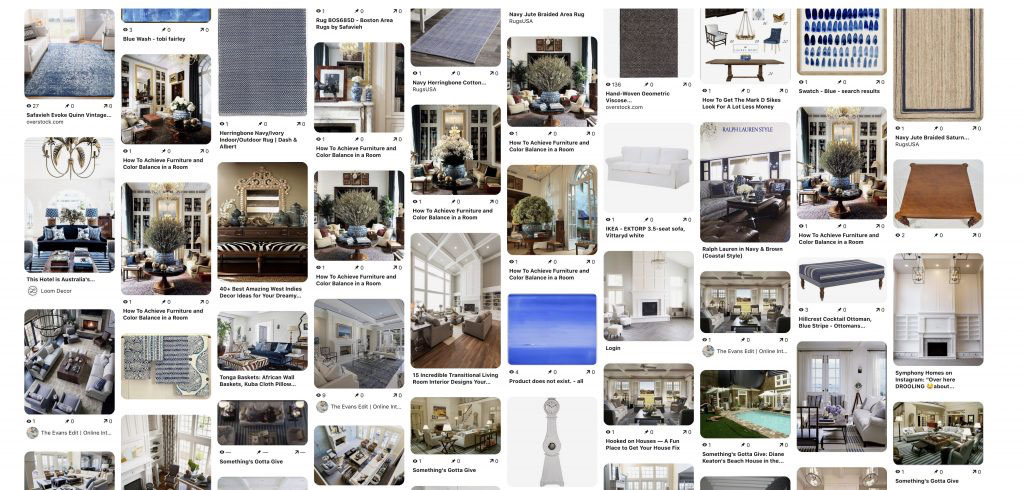
So, then I narrowed it down and looked at a few rooms to dig into and a few colors to consider. Yes, screens alter the color, but you can get a sense of how it will look overall before you dive into the actual samples.
Step 2: Chips
Next up, let’s look at a few actual paint chips.
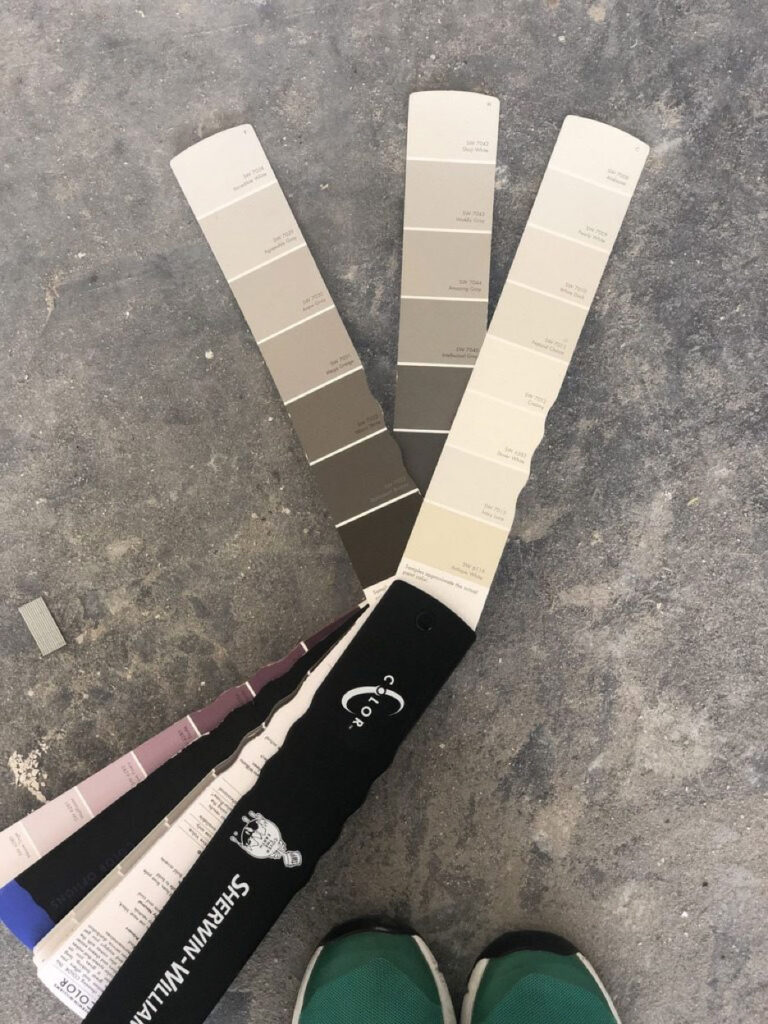
In my practice I use large foam paint boards for clients, so I pulled out those that corresponded, also. I put them in one of the rooms to look at, then switched up their order.
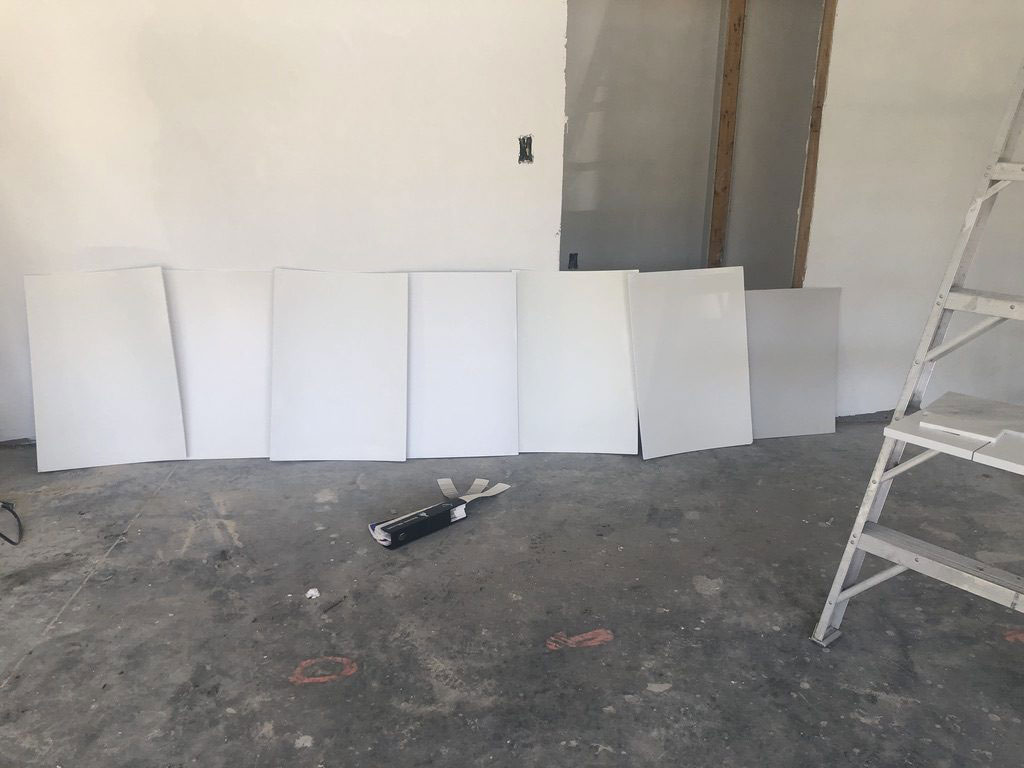
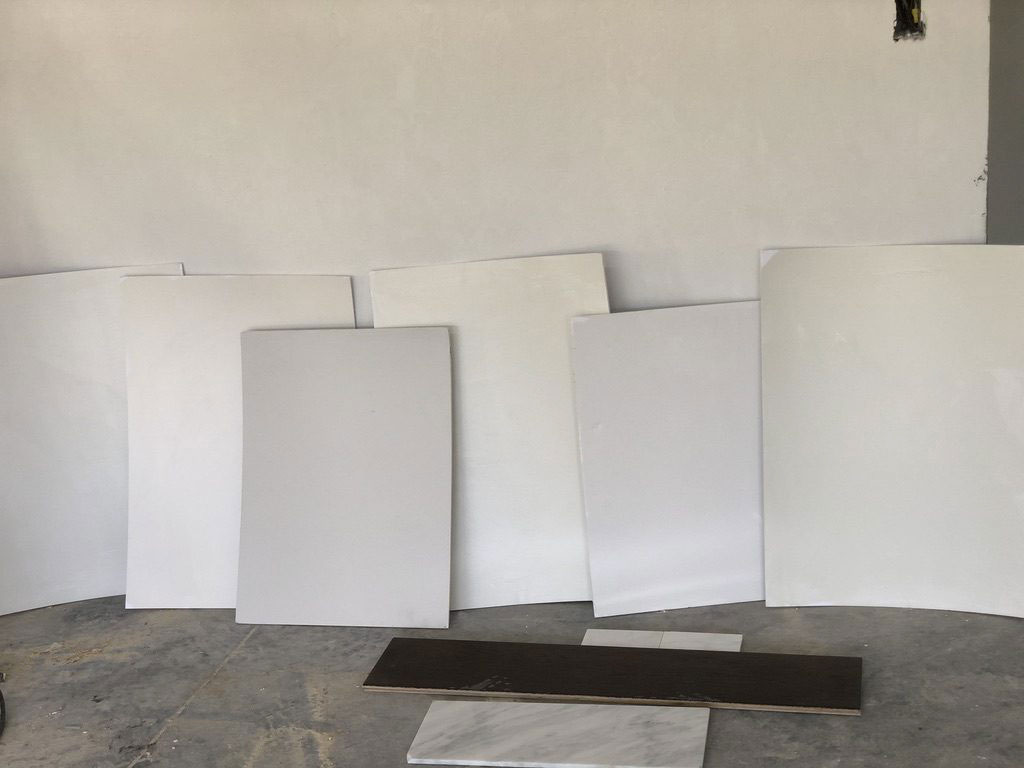
Paint Colors Considered
These are the paint colors I considered for the house…
•Natural Choice SW7011 by Sherwin Williams
•Shoji White SW7042 by Sherwin Williams
•Classic Gray OC-23 by Benjamin Moore
•Oyster White SW7637 by Sherwin Williams
•Heron’s Plume SW6070 by Sherwin Williams
•Ivory Lace SW7013 by Sherwin Williams
Step 3: Actual Paint
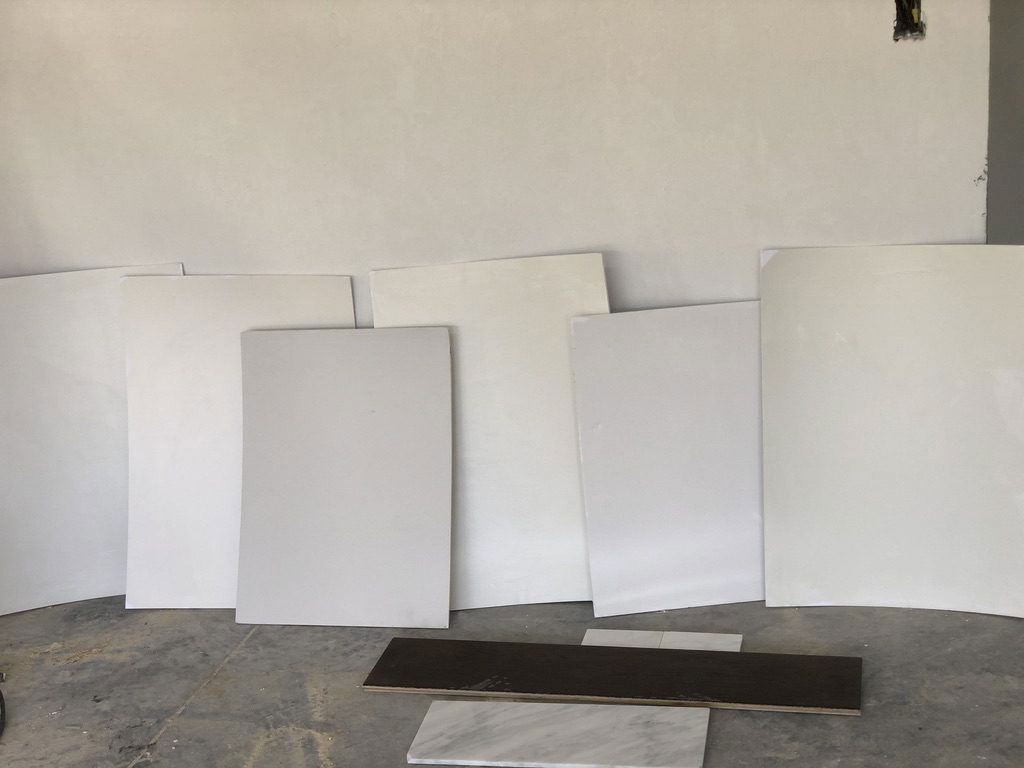
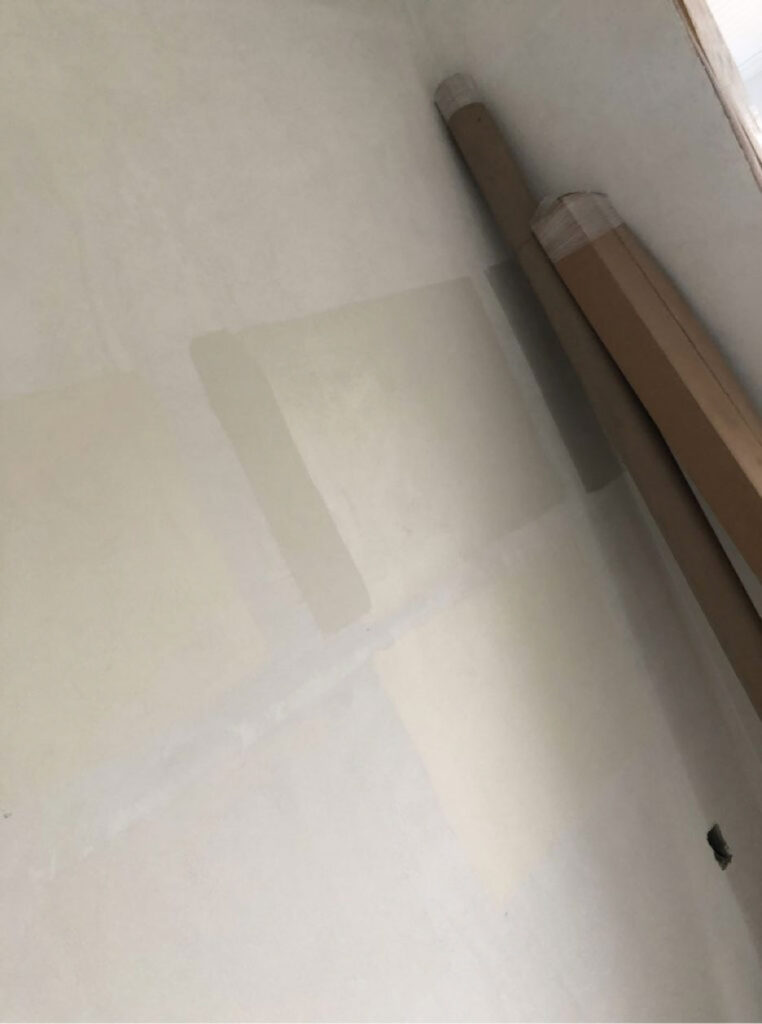
I then narrowed down my choices, bought some little sample paint cans from my local store and put them up on the wall. This is a really important thing to do because the lighting in each house can vary a lot due to sunlight.
Then, I put them on an adjacent wall to see how the light changed them.
starting from top left to right, then bottom left to right
• Natural Choice SW7011 by Sherwin Williams
• Shoji White SW7042 by Sherwin Williams
• Classic Gray OC-23 by Benjamin Moore
• Oyster White SW7637 by Sherwin Williams
• Heron’s Plume SW6070 by Sherwin Williams
• Ivory Lace SW7013 by Sherwin Williams
From seeing the different paint colors in various lights (from painting squares on two different facing walls) I could start making decisions to narrow the selection down even further.
Step 4: Live With It
I’m starting to see a few favorites here, so let’s dive in a little deeper to those. I painted an entire corner out in one and added the flooring selection (which is GORGEOUS) and the cabinet and tile colors. It’s looking good!
Make sure you buy sample paint cans in the finish you intend to use if you can. Believe it or not – the color of the paint can change depending on the finish you choose. Don’t believe me? Check out my previous post on Why Sample Cans are Probably Messing You Up.
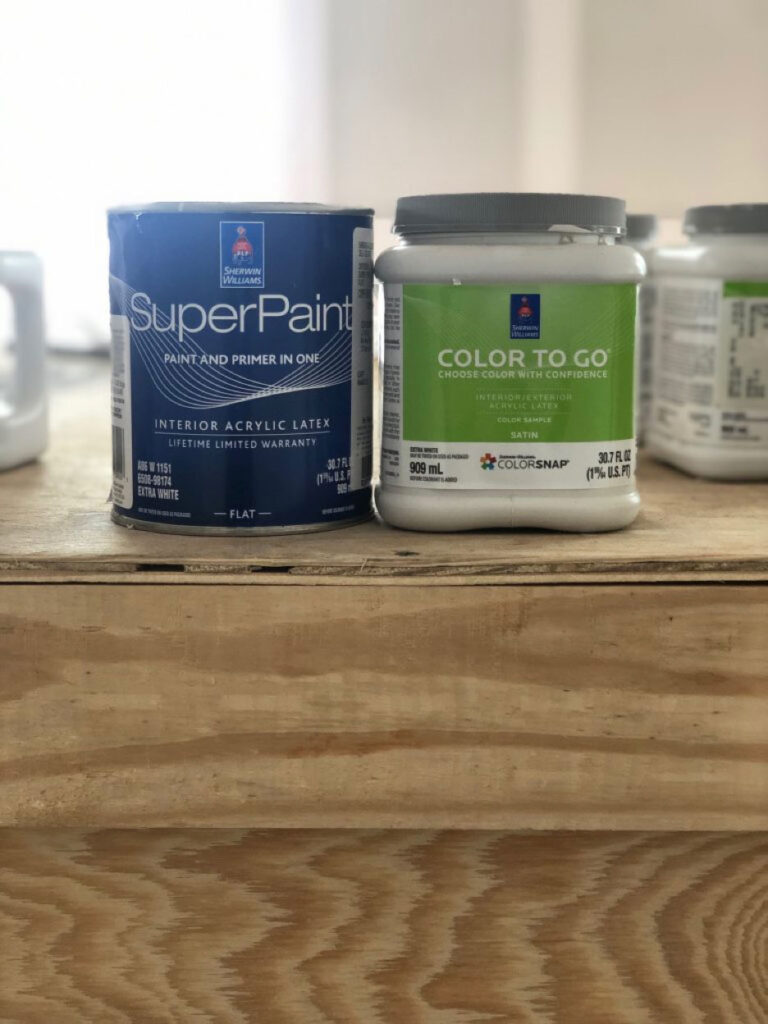
I think you have to be very aware that that the little sample cans are likely NOT what you are going to be painting in. It’s totally worth it to go ahead and buy a quart or even gallon of the EXACT paint you plan to choose, before you decide on the final color. Most people do not use Satin for walls, so you will likely need to do this.
This is the larger paint can vs. standard sample paint…
I couldn’t believe how different the paint color looks with the two different finishes!!!
Let’s Talk About Finishes
Now that we’re talking about finish…what exactly are the finishes available?
Flat (Matte): No shine at all. Perfect for for low traffic areas like living rooms and bedrooms, as well as ceilings. It’s my go to every time.
Eggshell: Has a tiny bit of shine and is a good choice for moderate traffic areas such as living rooms.
Satin: Has a bit more shine and works well in high traffic areas. It is also super wipeable which is why it is perfect for kids, kitchens and bathrooms.
Semi-Gloss: Shiny but not glass-like. This is what you should use on cabinets and trim.
Hi-Gloss: Shiny! This gives an almost glass-like finish and is perfect for high use surfaces or furniture.
I stick with FLAT personally because I love the matte finish.
Step 5: Commit! Our Final Selection
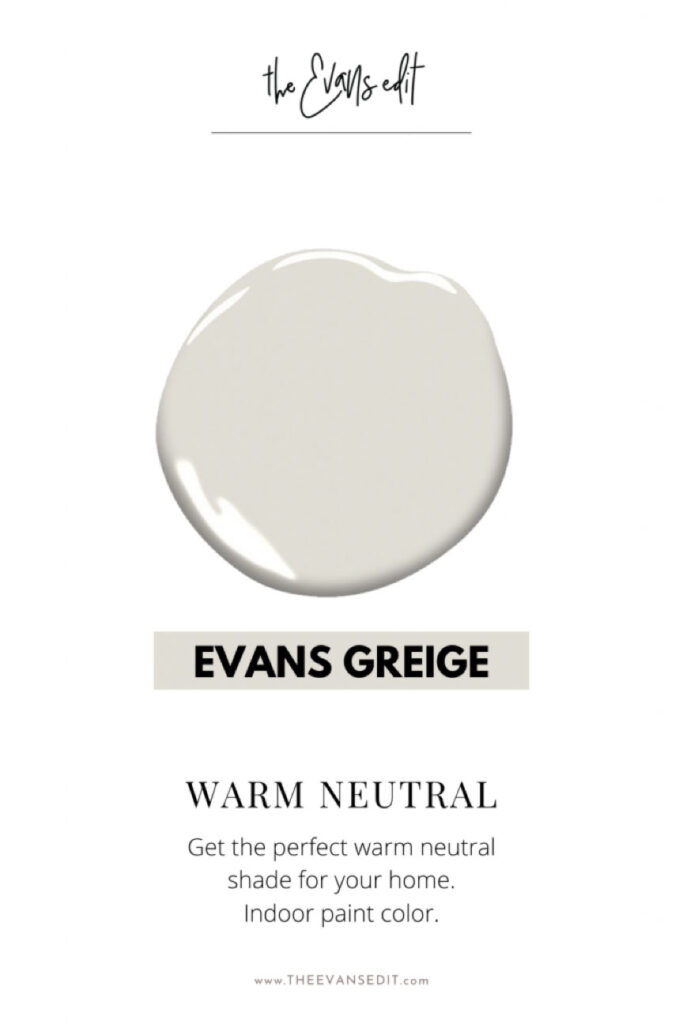
What did we ultimately decide on? We decided to tweak some of the standard colors and create a “custom color”. I like to call it Evans Greige. It’s the perfect balance of gray and beige without any harsh blue undertones. It’s the perfect warm neutral. It’s very light, which will be new to us in our personal home, but is just what I want. The white cabinet door contrasts with it nicely, which is perfect! What do I use for trim? I’m using white cabinets in the Kitchen and I typically color match them for the trim throughout. This is going to be perfect!

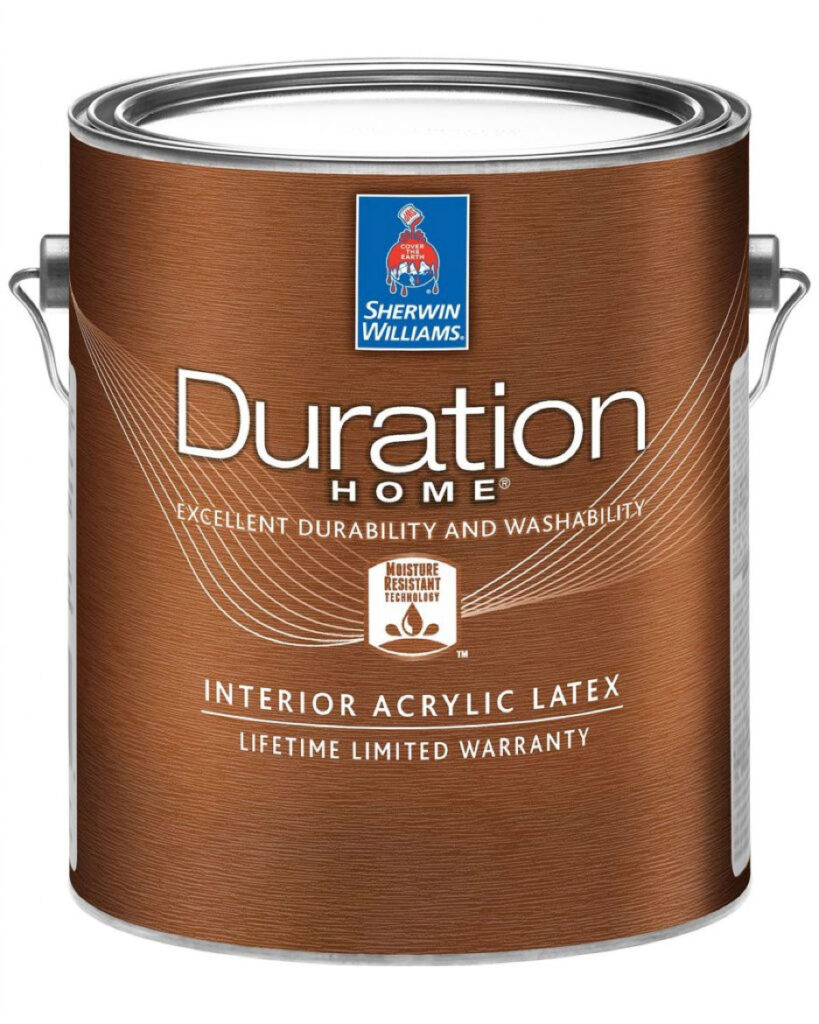
We decided to go with Sherwin Williams Duration paint in the Flat finish. It is perfect!
If you’re interested in the exact formula I ultimately decided on, please click here where it is available for purchase ($29). 🙂 Feel free to pin.
