What do you do when you REALLY want to create the closet of your dreams, but don’t have the budget for it? You know, the closet that you see in all of the magazines…fresh, bright, light…organized with tons of storage. Custom closets like this can easily cost over $30K. Well, I spent about a tenth of that and created my own perfect dream closet using IKEA and Walmart. Really!
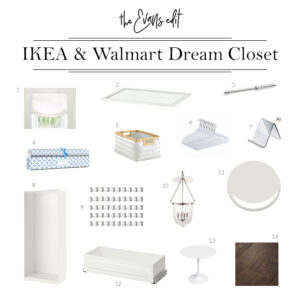
In this reveal post I’m dissecting the design of my Master Closet so you can design and build something similar. Don’t worry, all of the links are below along with a handy-dandy image to pin on Pinterest for future reference. It’s all the way at the bottom of the post.
OK, so let’s walk through it together!
The Dream of a dream Closet
Most women have their vision of a dream closet, and I’m no different. I’ve dreamed of having my very own walk-in closet space for as long as I can remember, so designing this for the new dream house really is a dream come true.
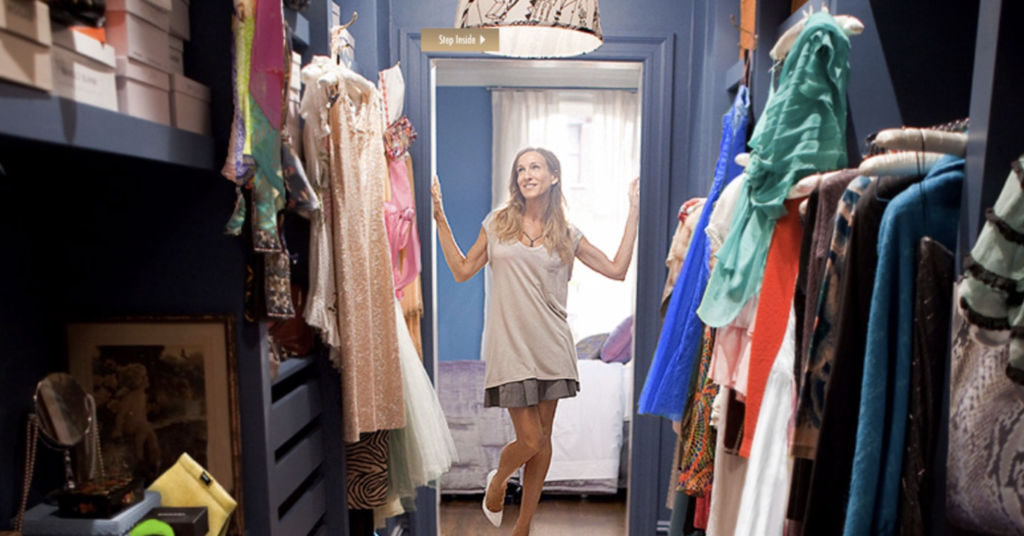
where to begin
Instead of going down the custom cabinetry route, I decided to use a premed “system” and adapt it to what I wanted. I have seen a TON of different lines over the years, from Home Depot to The Container Store, to IKEA.
It was actually a no brainer no use the IKEA PAX system. It is relatively cheap (or at least cost effective compared to custom cabinetry) and there are lots of bells and whistles you can add on to fully customize it.
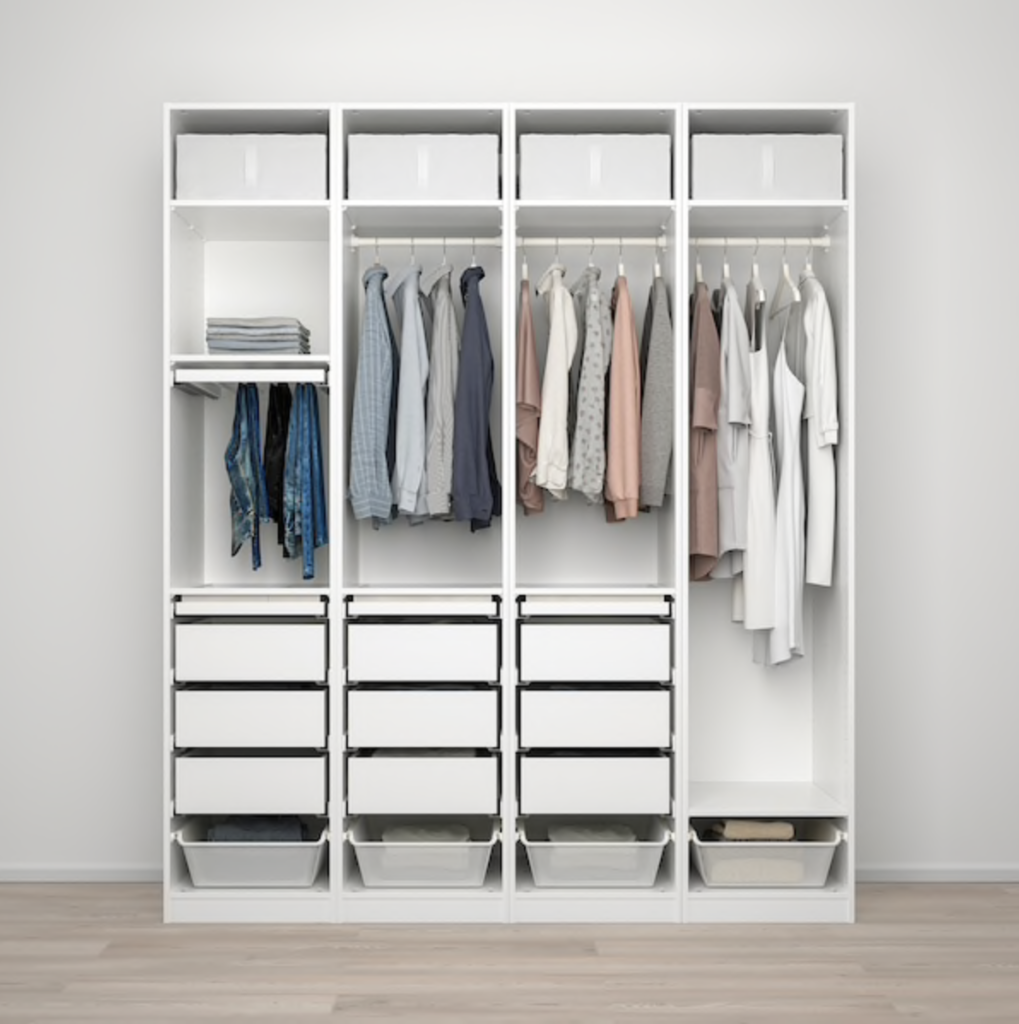
IKEA's pax system
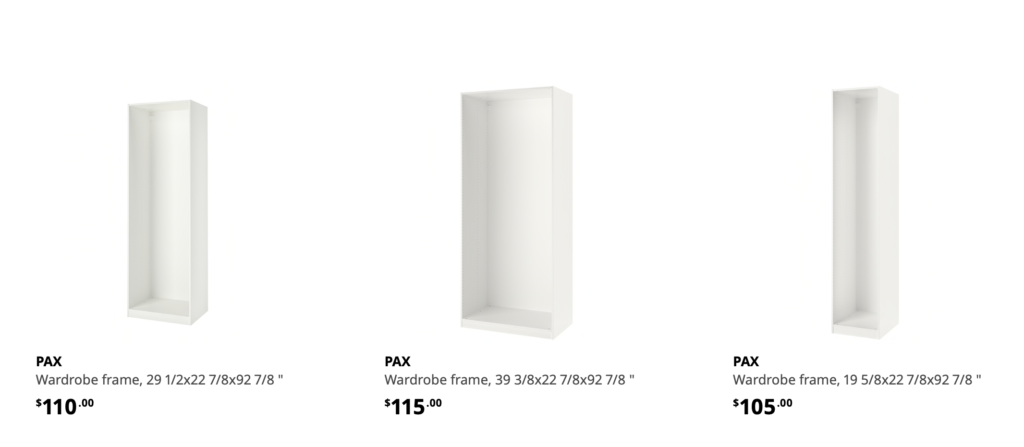
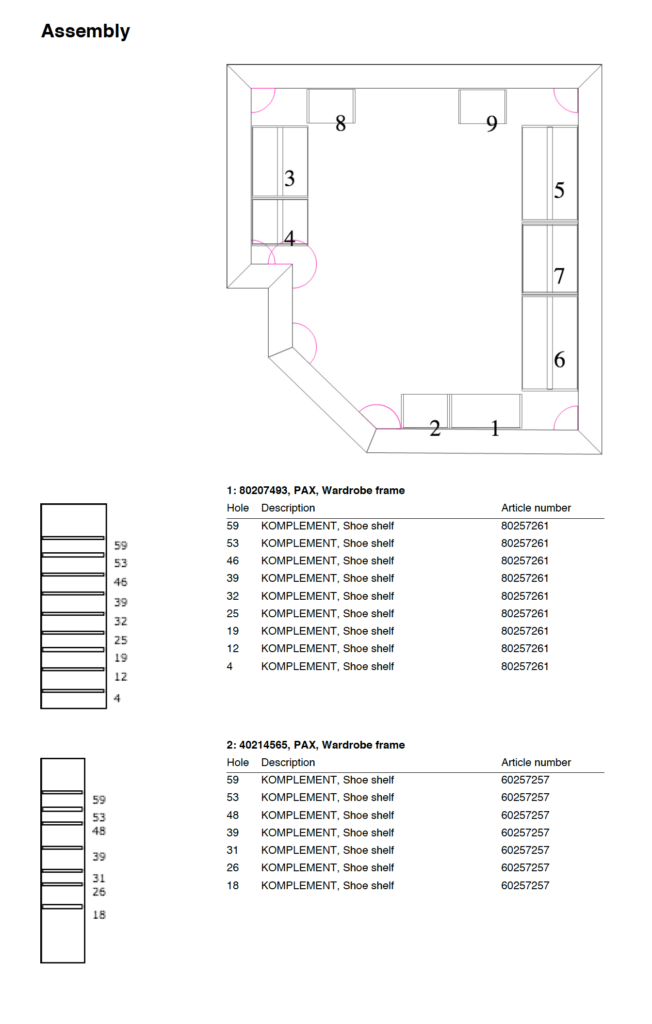
The IKEA website really walks you through the process. The basic PAX system is comprised of empty bookcase-style units, called wardrobes, that are available in 3 widths, 2 depths and 2 heights. You can create a floorpan easily there and play around with all of the configurations.
I created my room and played around with the configurations. A few slight tweaks were made to this, but this is the basic layout. It leaves the corners of the room unused and that’s fine with me. I hate having things fall into corners where you can’t reach. The PAX system has units that extend into the corners, if you’d like to use them.
I knew we would be adding “fillers” with wood to make it all look seamless, so I didn’t worry about the gaps either.
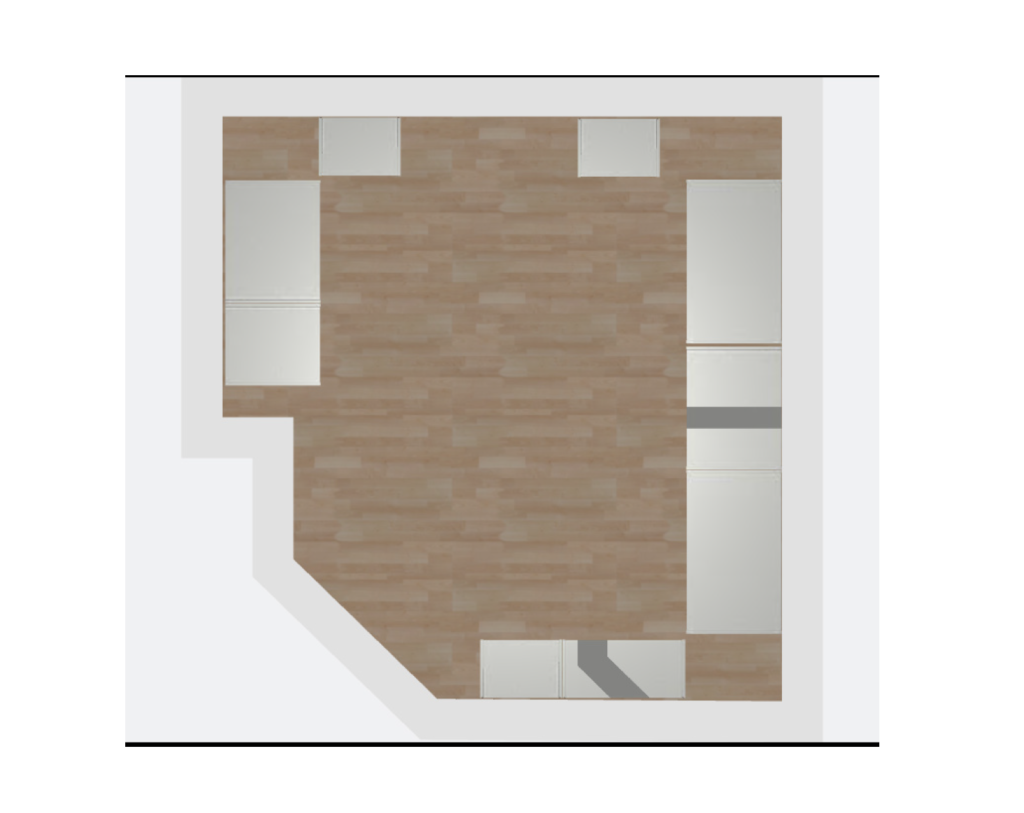
Once you have it all set, it spits out a plan with instructions and a product list for you. It even tells you which holes to count up to and use. I ordered everything online and had it delivered. Done and done!
INStallation...
and a few additions
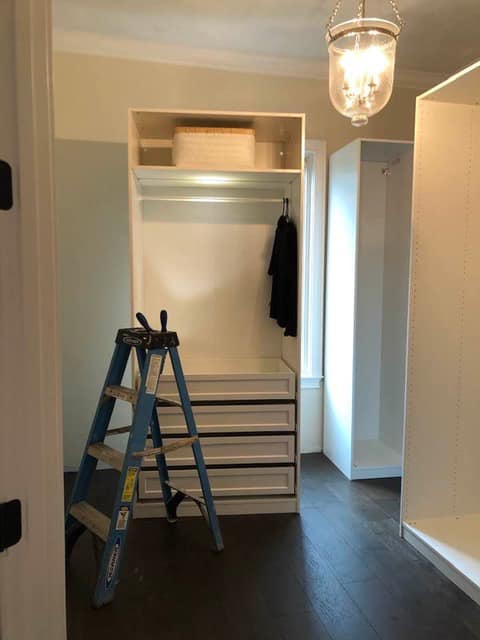
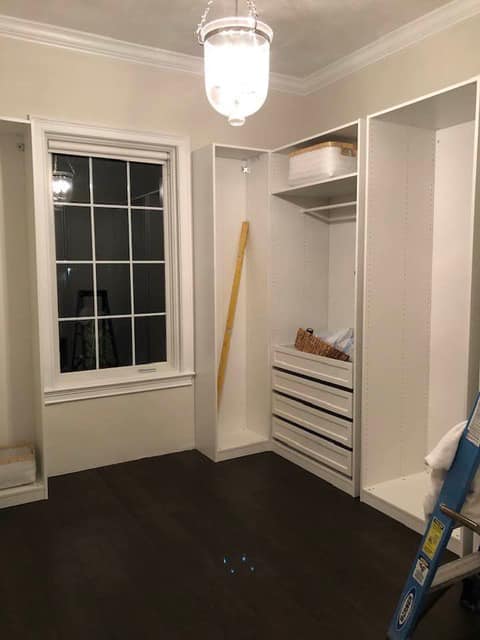
Finishing off the top of the PAX system was crucial to the success of this closet design. My husband built a platform on the ground all of the way around, along with a top rise and crown to make the whole run of storage areas appear taller and to get the crown up and over the window frame.
For the window area we built in a window seat which has become a fabulous space to either put shoes on or sit and relax before starting the day. This built in window seat has been made with the same detailing as other parts of the PAX add-ons we did so everything looks cohesive.
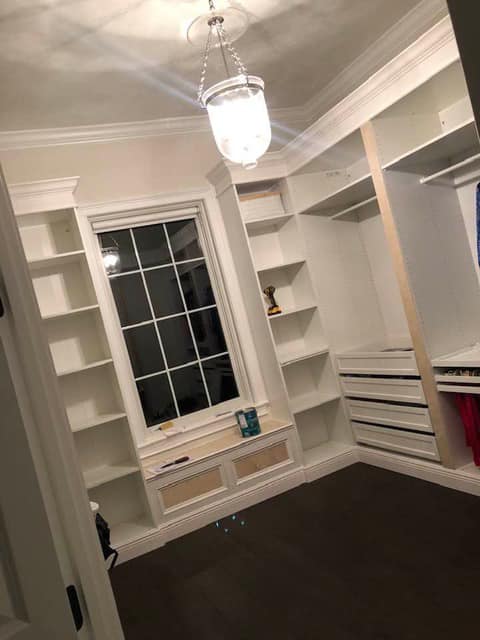
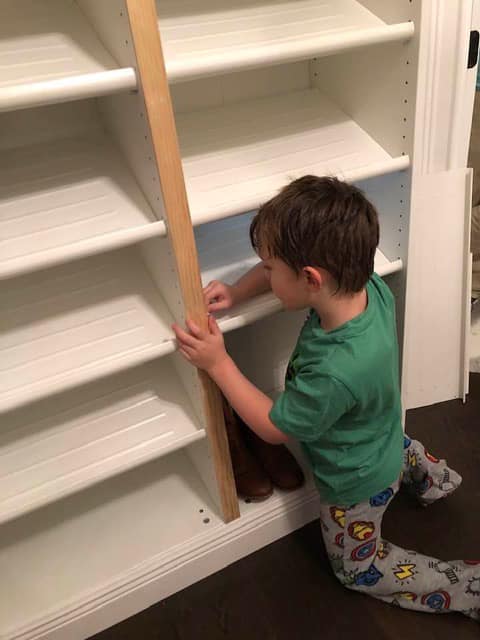
Now, let’s talk about the $1 secret to the whole closet! See my cute little sidekick? He’s putting in 3200 of these little plug-ins to cover the holes for the adjustable shelves. I actually paid him, along with my daughter’s best friend, to put these in. (Thanks Grace!) This is the key…believe me when I tell you that this is what makes the closet look complete and finished. They were 100 for a $1 and they made the whole closet look seamless. See below for the info. Total game changer!
the Reveal
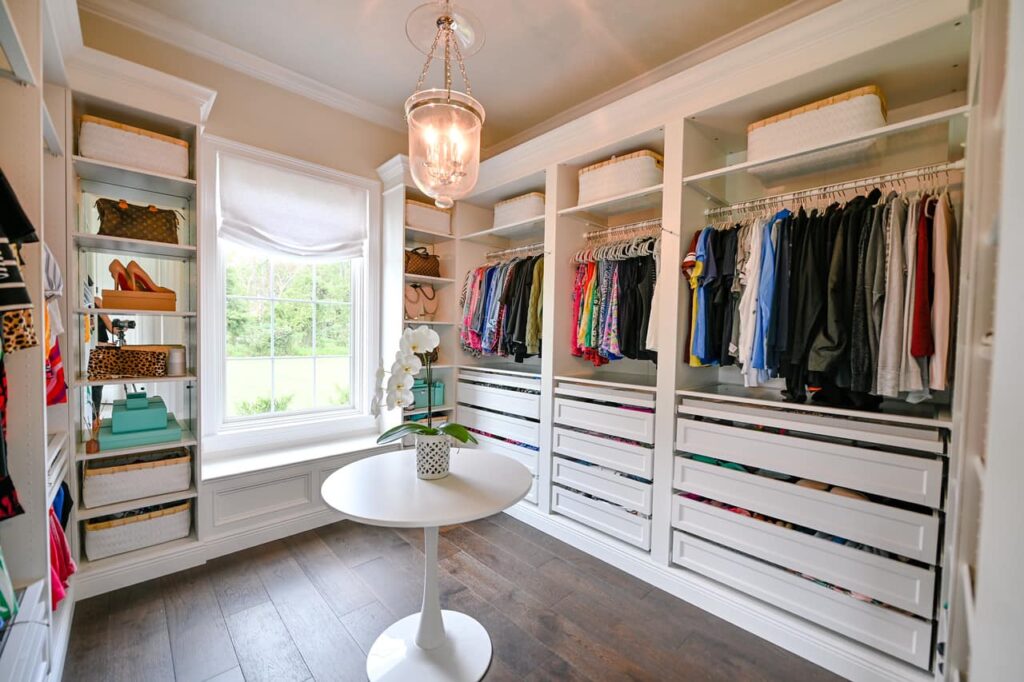
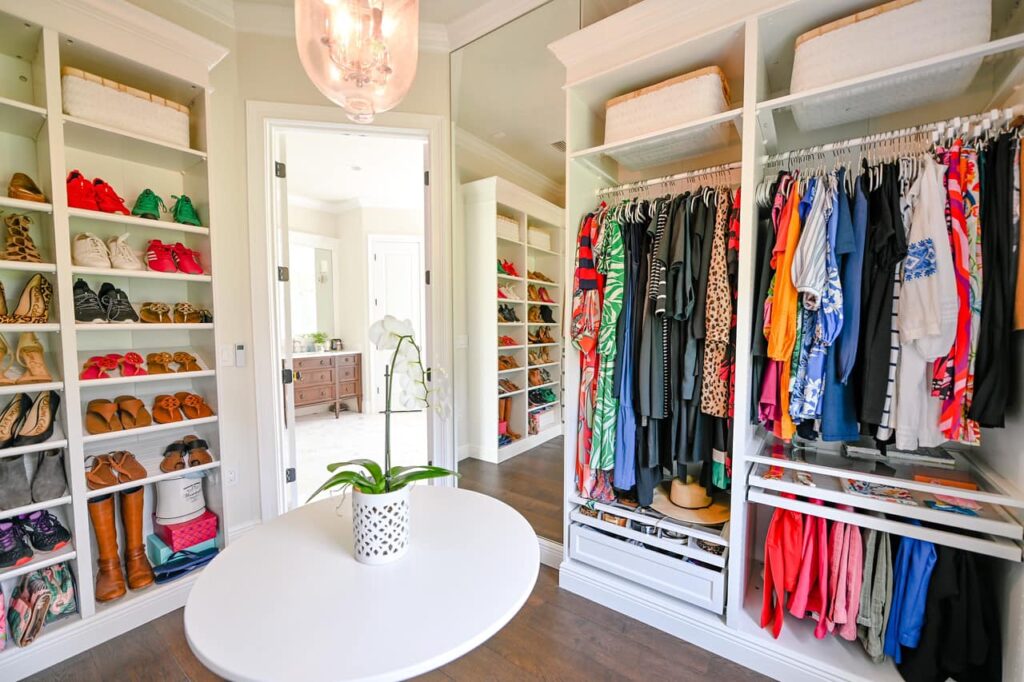
I am beyond pleased with how this came together! It’s bright, fresh, clean, organized…everything I wanted!
All the details
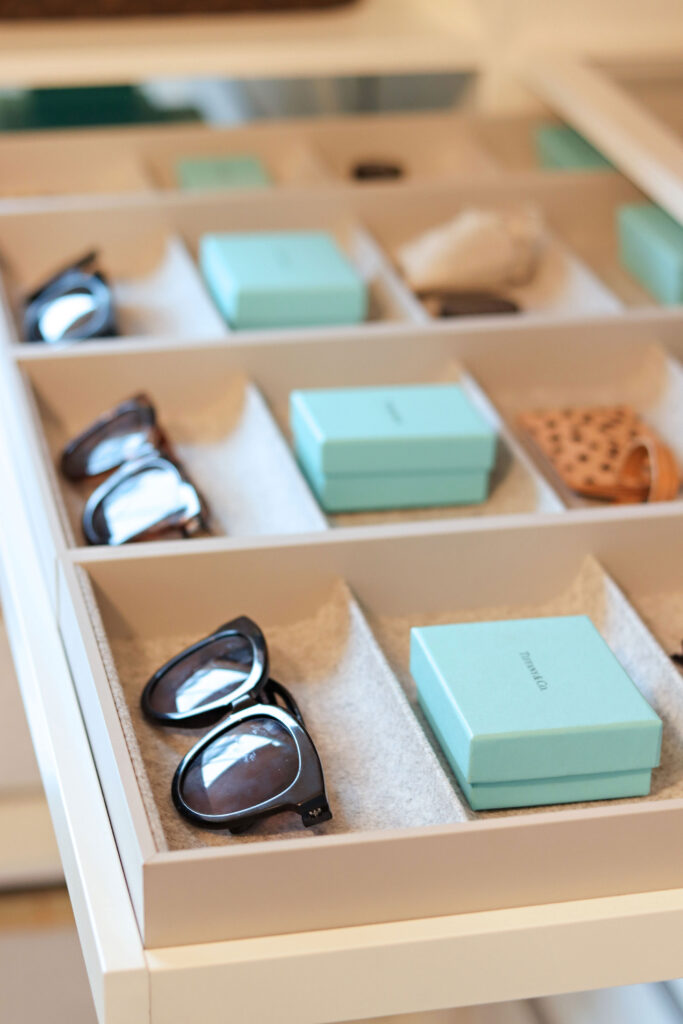
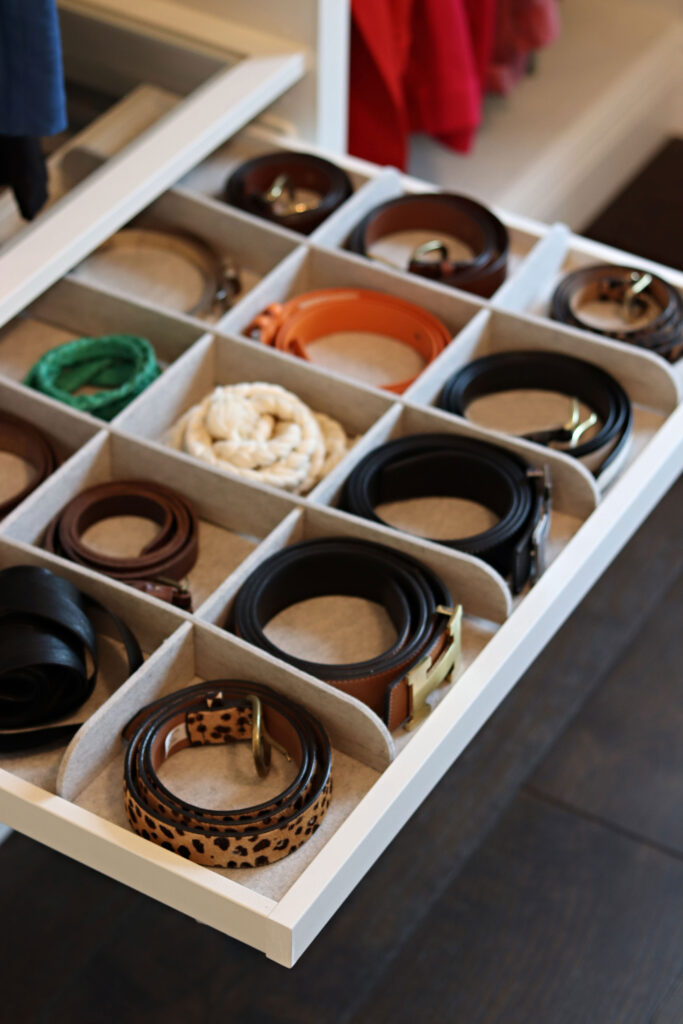
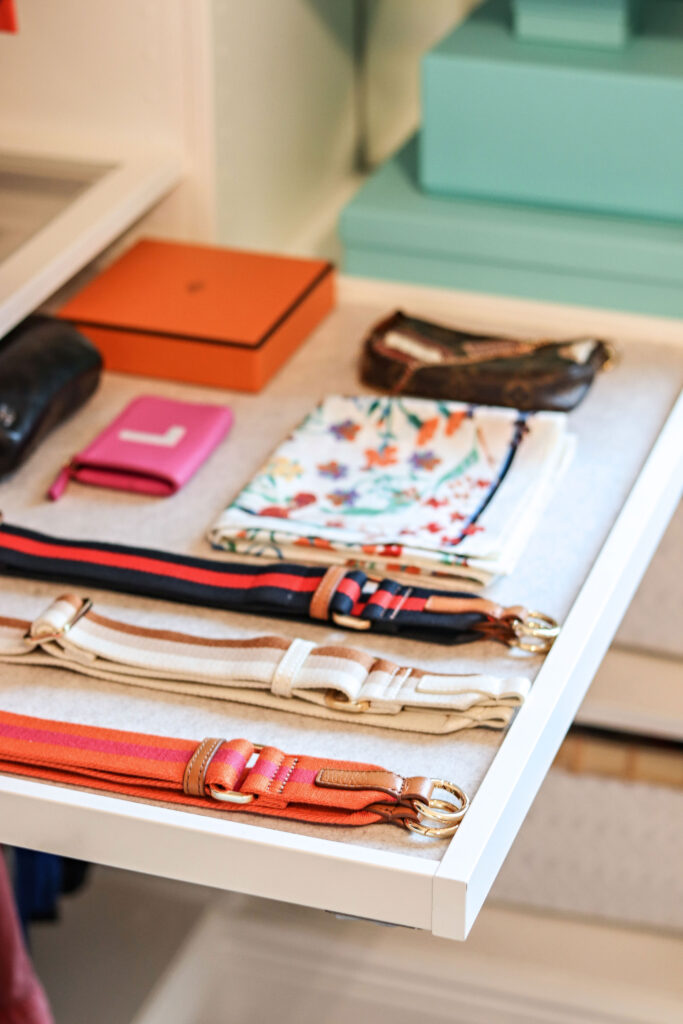
All the fun trays, pull outs and details are what made this closet so special. Let’s take a look!
top tips
- Use white cabinetry. It looks rich and it’s easy to add color matched trim
- Glass shelves are your friend! Use them wherever you can
- Pick one hanger and stick with it. Buy extras for future use
- Find a basket or storage solution you like and repeat it
- Fill in the holes where the adjustable shelves go
- Use valet rods wherever you can
- Have mirrors cut to back your open bookshelves
- Line your drawers with paper that smells amazing!
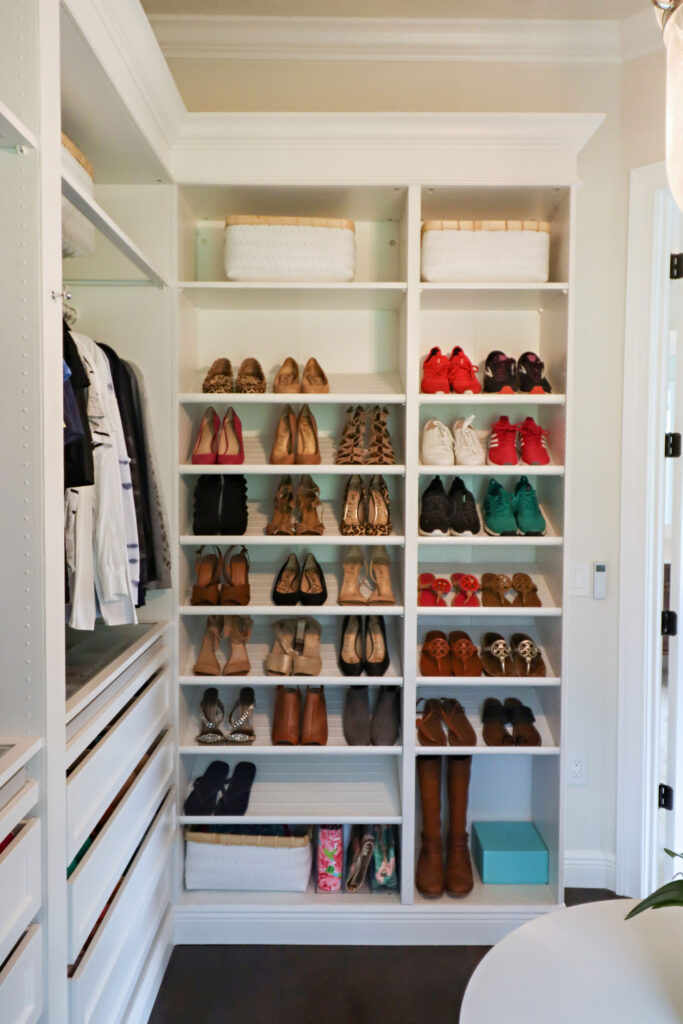
Something that made a HUGE difference was selecting a key piece to repeat throughout. The Container Store Hamptons basket is repeated throughout the closet so it keeps the whole space looking and feeling clean.
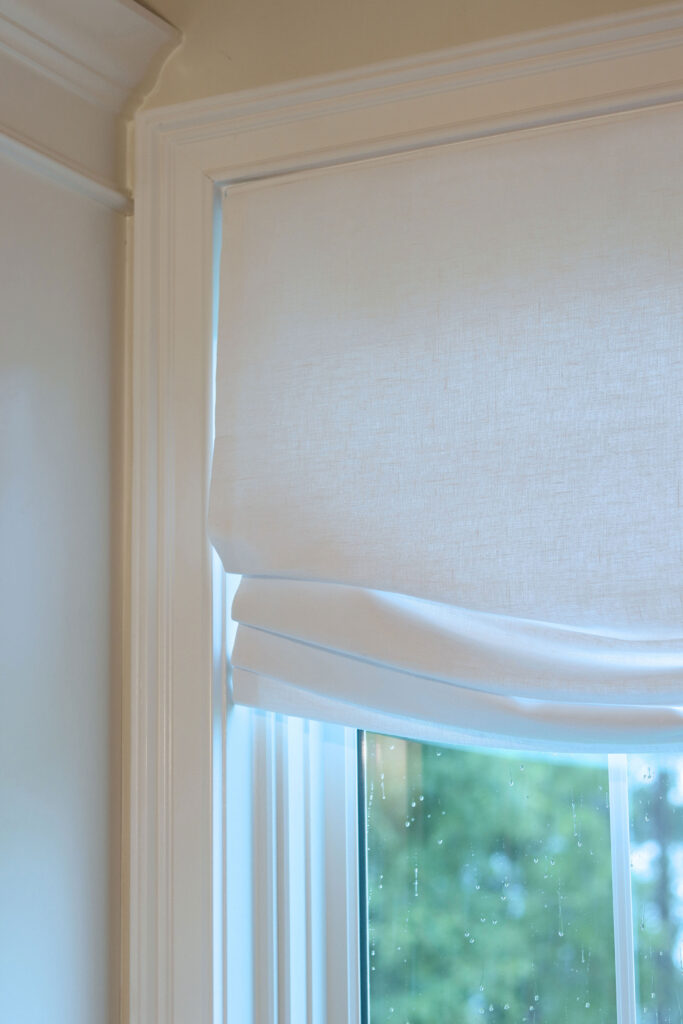
To soften the large window, I added a linen fixed roman shade with an automated roller shade behind for privacy. Layering window treatments in this way allows you to have the flexibility you need for privacy while always maintaining a polished and finished look.
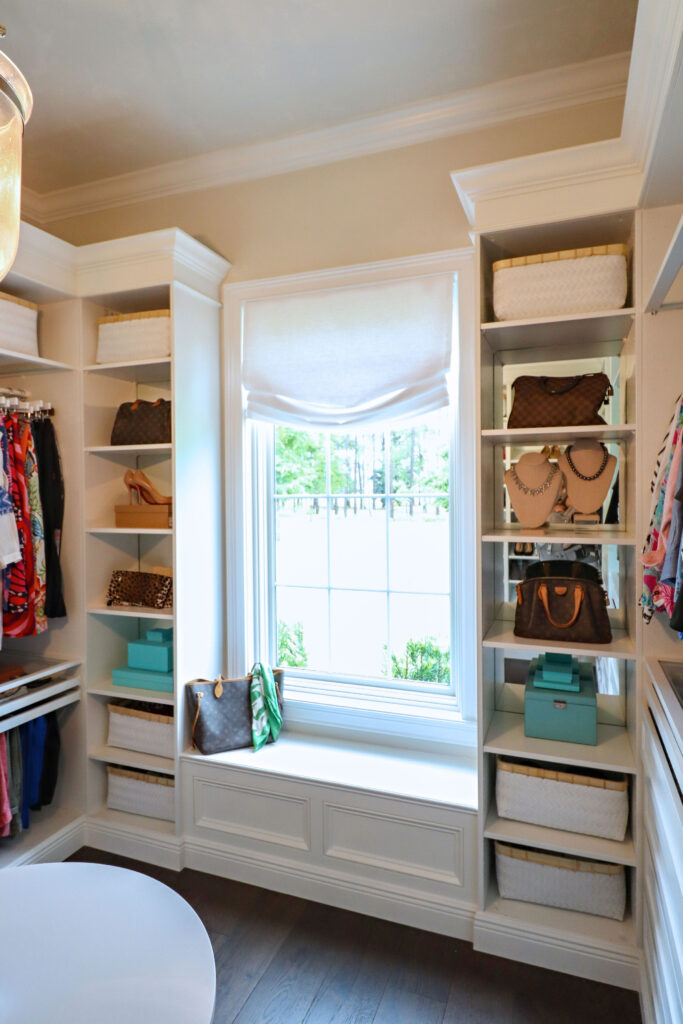
To keep the closet feeling light and fresh we used glasswork shelves throughout to help keep things open. We also backed the open shelves with mirrors to reflect more light around the room, and to make it appear more luxurious. Adding valet rods where needed throughout too.
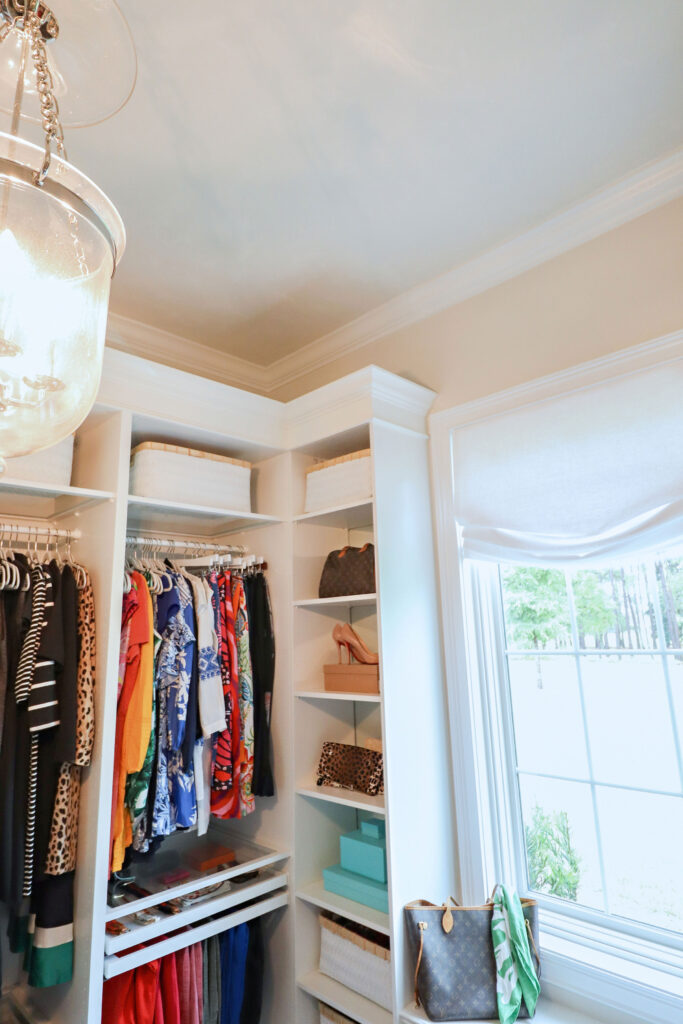
A key element of the master closet that is a non-negotiable finishing touch is the hangers. Gone are the days of using mixed hangers! I’ve chosen one style of hanger only, and stuck with it for everything. This one, seemingly small detail makes the world of difference to the final look of any closet.
I had always dreamt of having a built-in island in my closet, but honestly it just seemed too big and invasive. I added an inexpensive round table in the center to make an island instead. I always make sure this is topped with fresh flowers or a plant.
Above the table I chose this gorgeous caged style pendant light from Hudson Valley!

ALL the links

So what do you think? I’d love to hear! I you have any questions about the IKEA PAX system, let me know! I’m happy to share my product list or help you in any way I can.


