Spitting on your finger to hang the perfect artwork? Stuffing pillows that are too big into covers for the perfect fit? Stacks on stacks on stacks of coffee table book? Yes, yes and yes! These finishing touches make the room! Over the past 20+ years, I’ve collected seven of my favorite and today I’m revealing them to you.
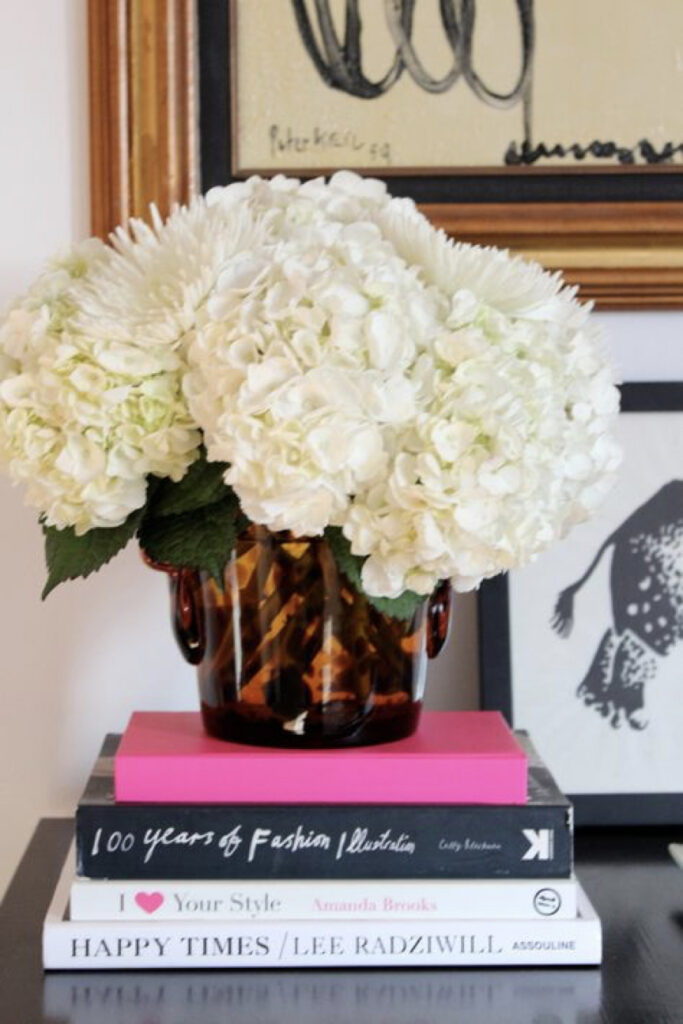
1. Buy Coffee Table Books You Love
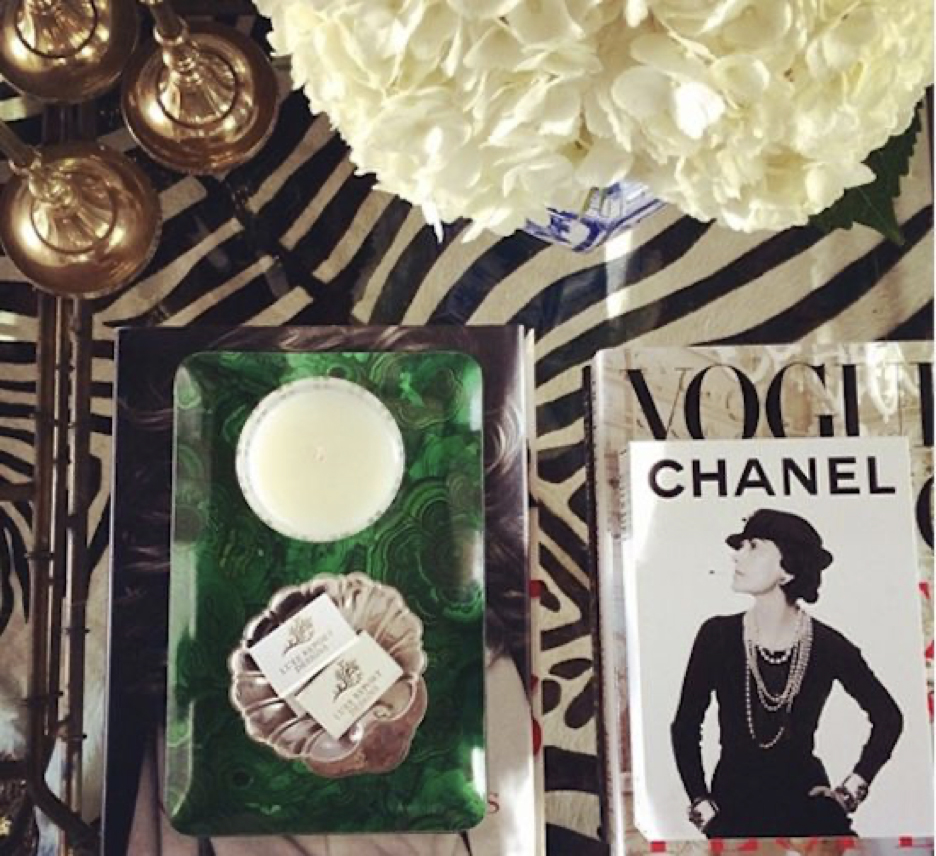
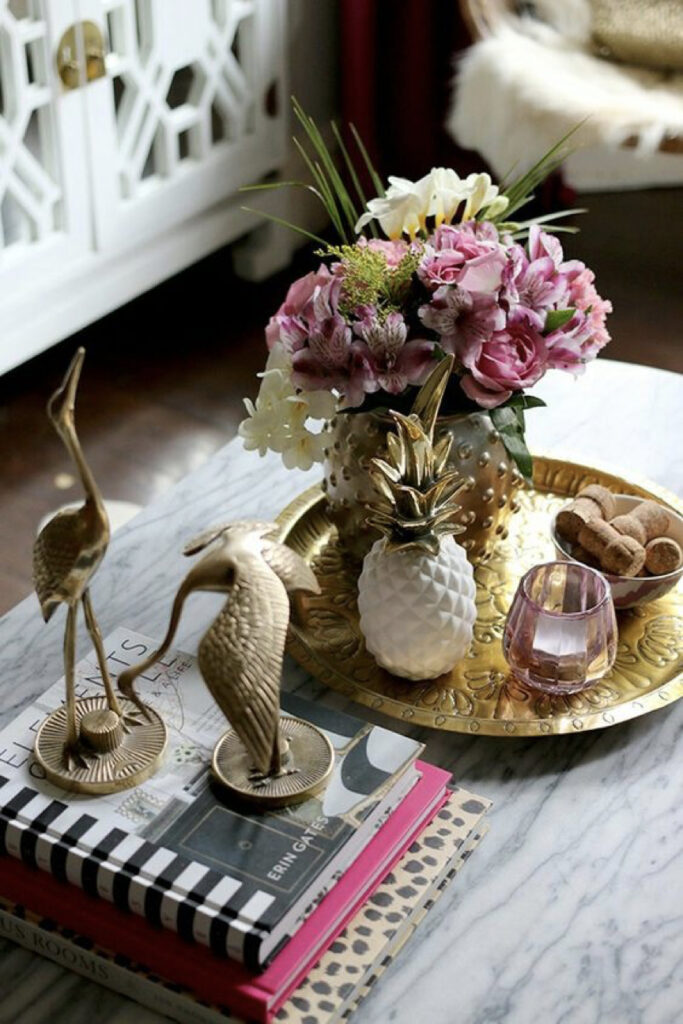
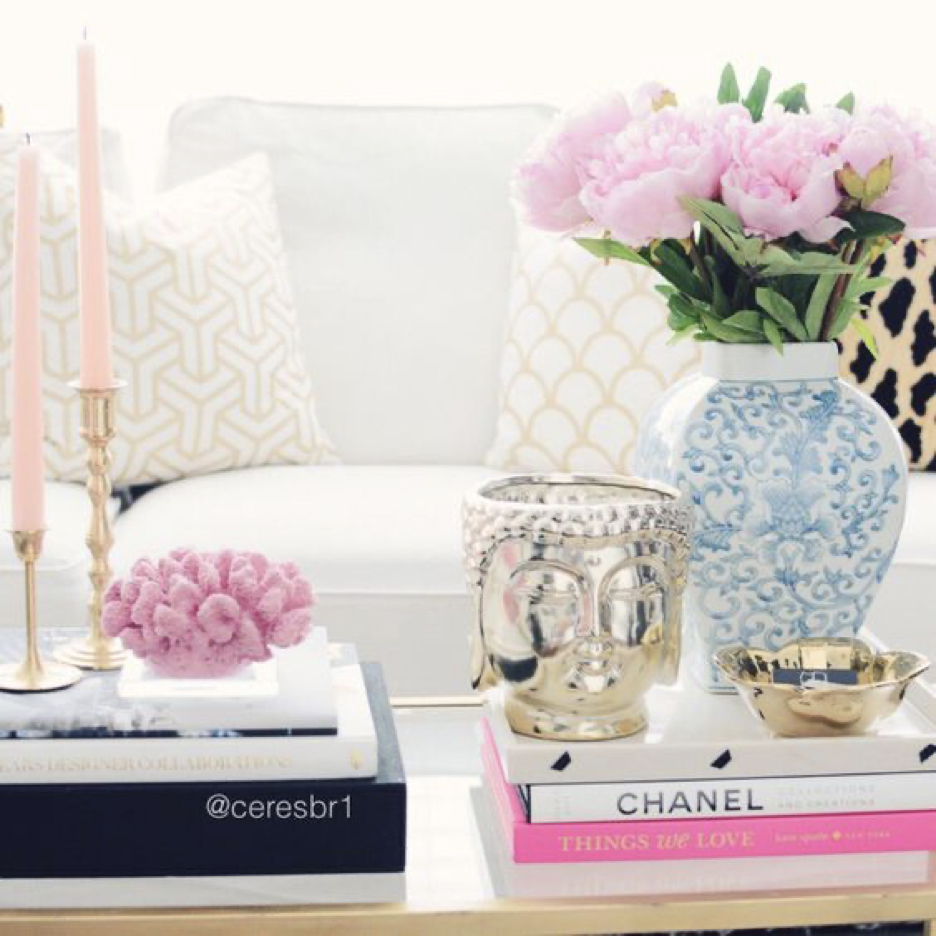
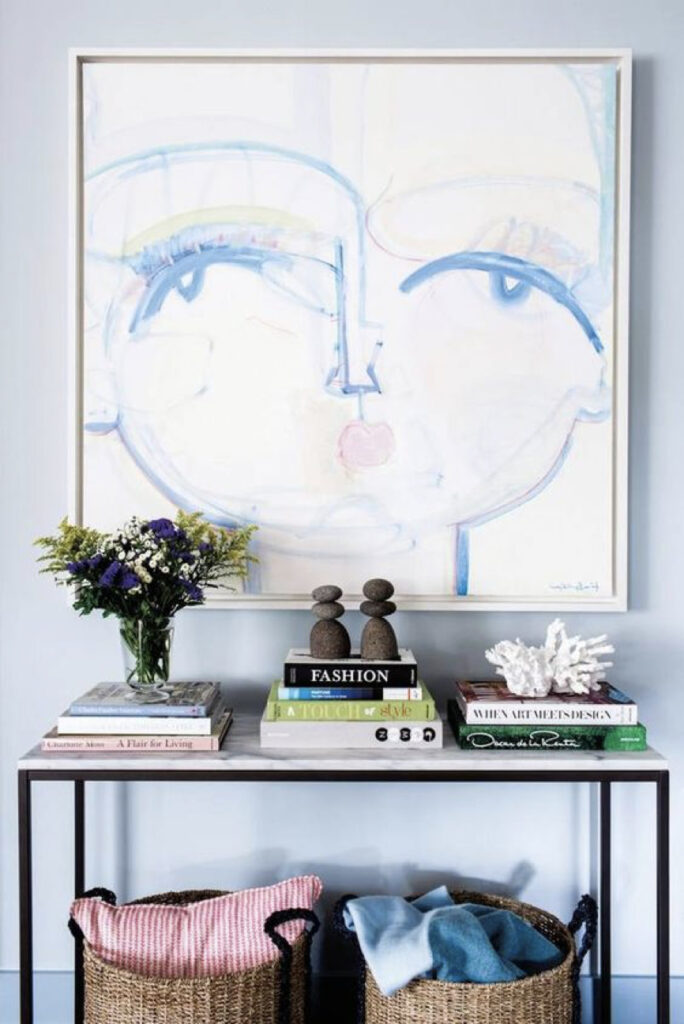
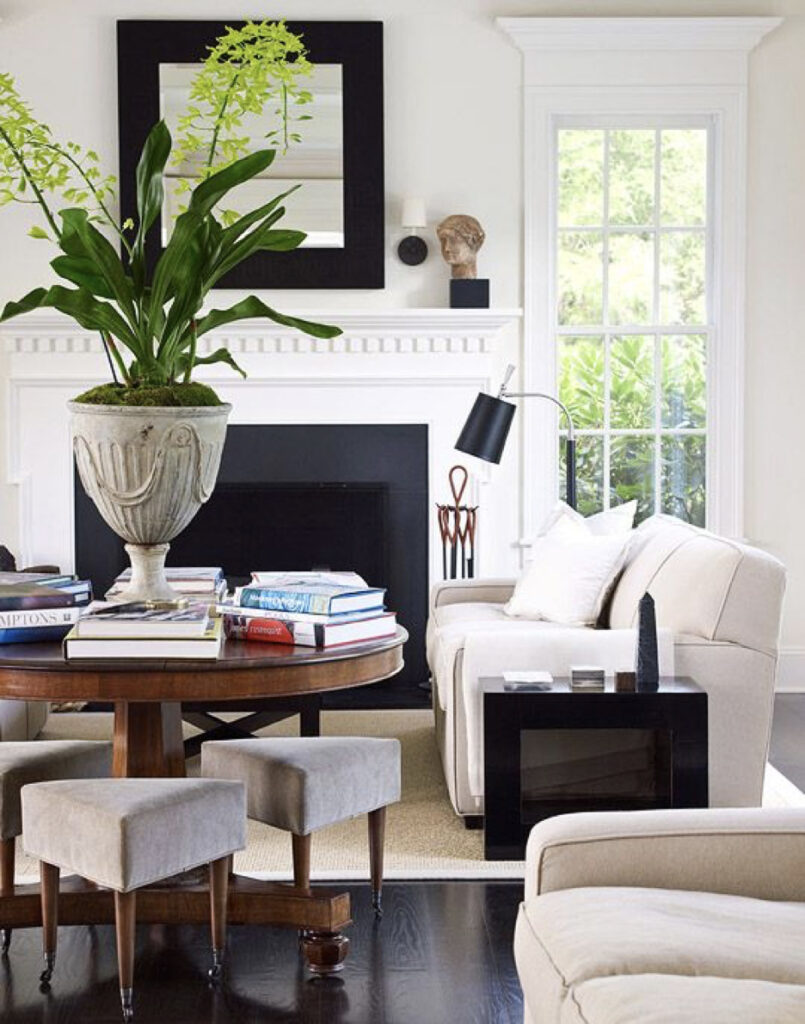
One of the very best tips I have is to splurge on coffee table books you’re drawn to. They are super useful for adding dimension and height to coffee tables, console tables and bookshelves. Stack them, lean them, even open them and you’ve instantly elevated your design. Using topics you love (gardens, photography, you name it) or places you’ve traveled is the perfect way to inject a bit of personality into your room. Want to really take it up a notch? Have some of your favorite family photos made into a custom coffee table book.
2. Create Your Own Paint Color
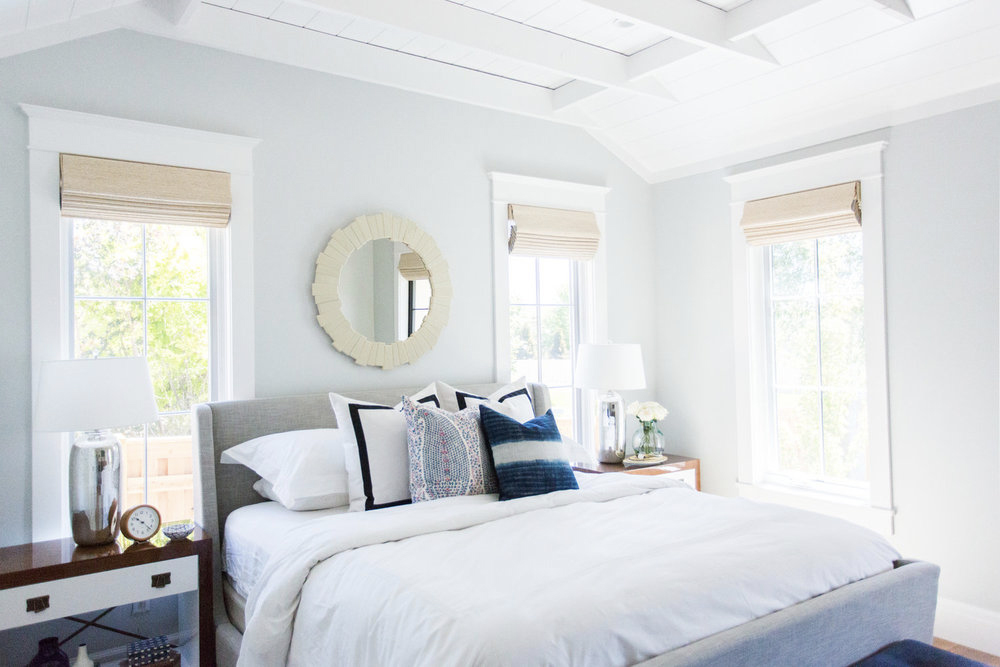
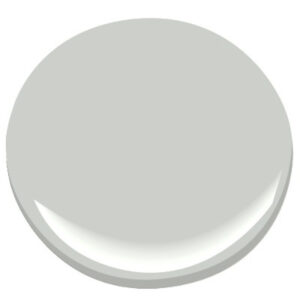
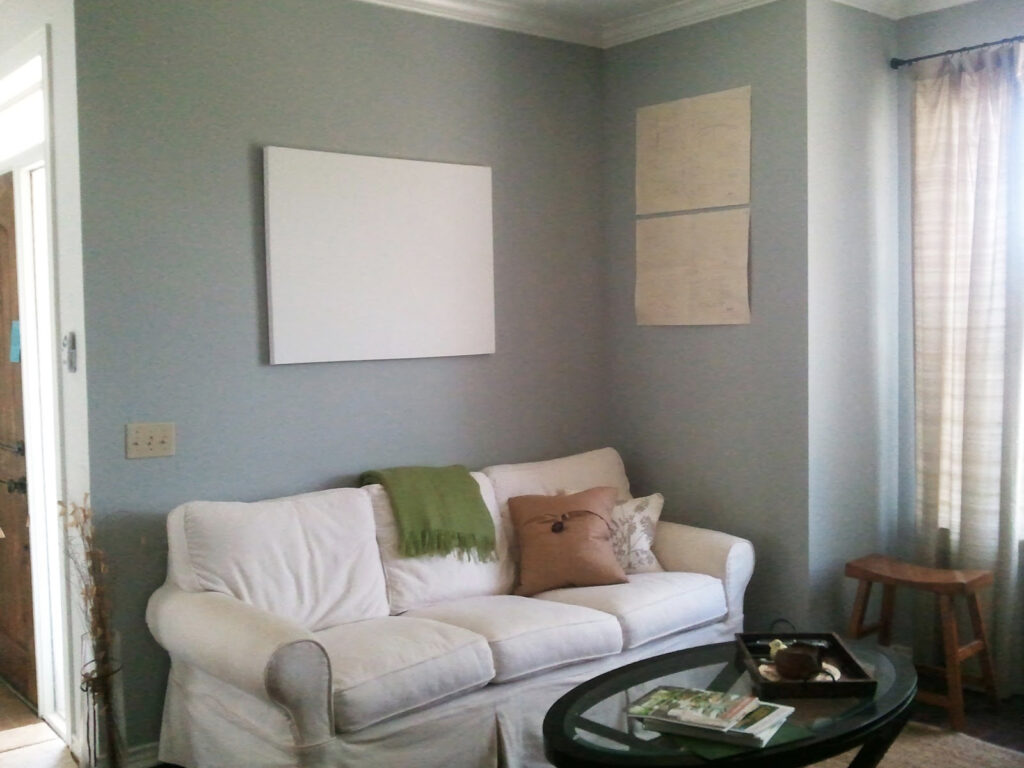
Can’t settle on the perfect color for your room? Love your sample but fear it’s too dark? Create your own color by having the paint store cut the color you love by half or a third. It will give you the same color, but with less intensity. Bonus, no one else will have it and you can name it whatever you’d like!
3. Layer Rugs
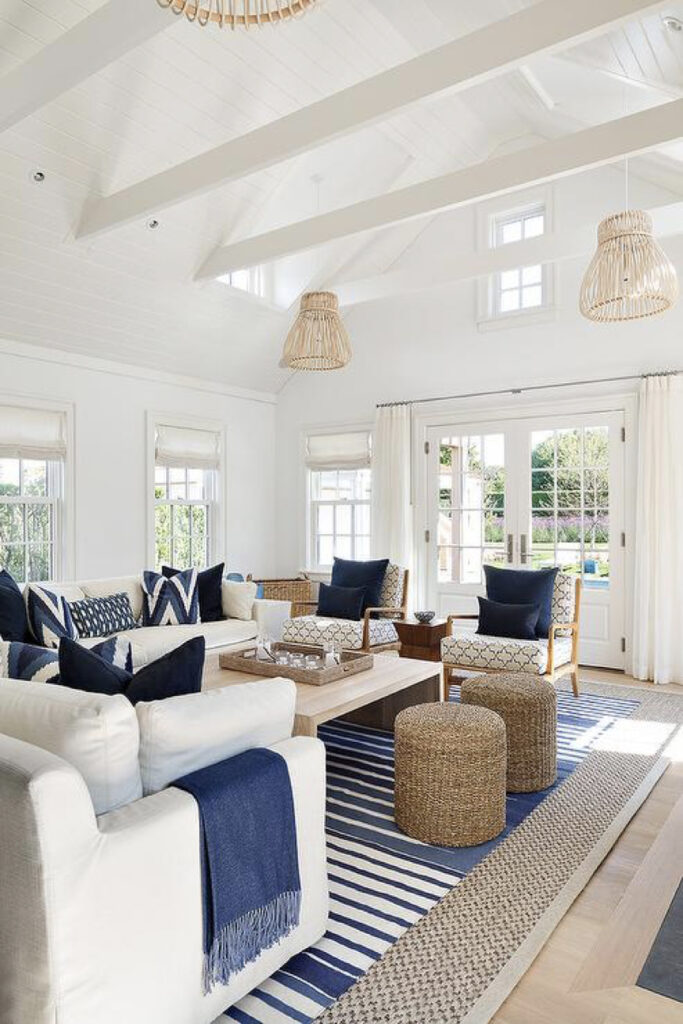
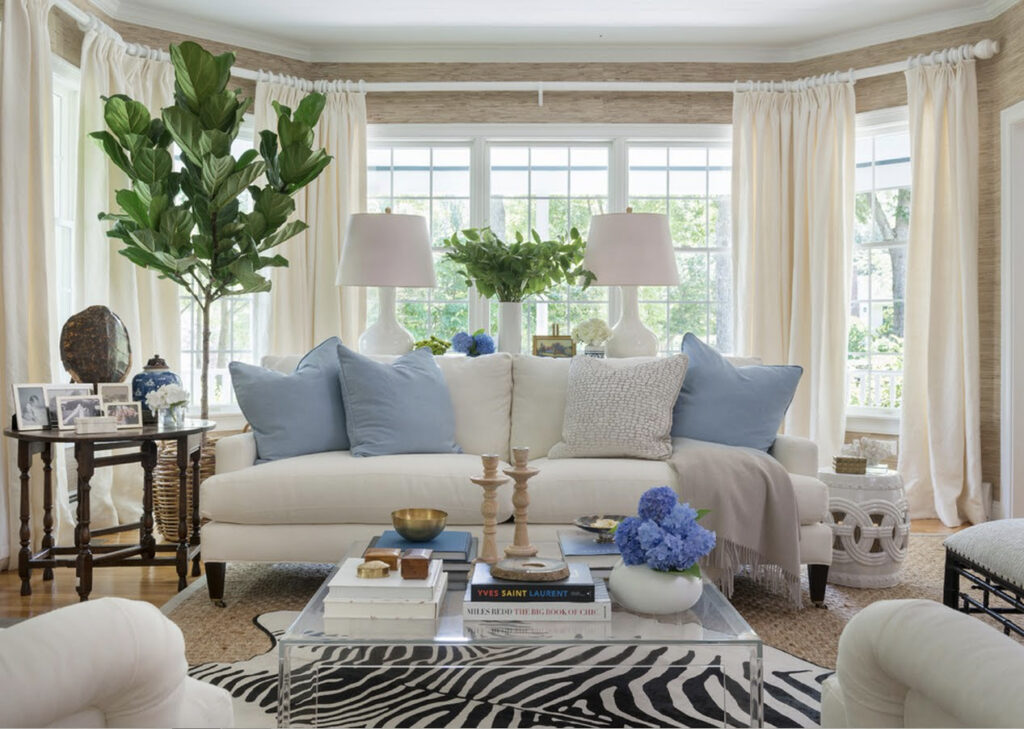
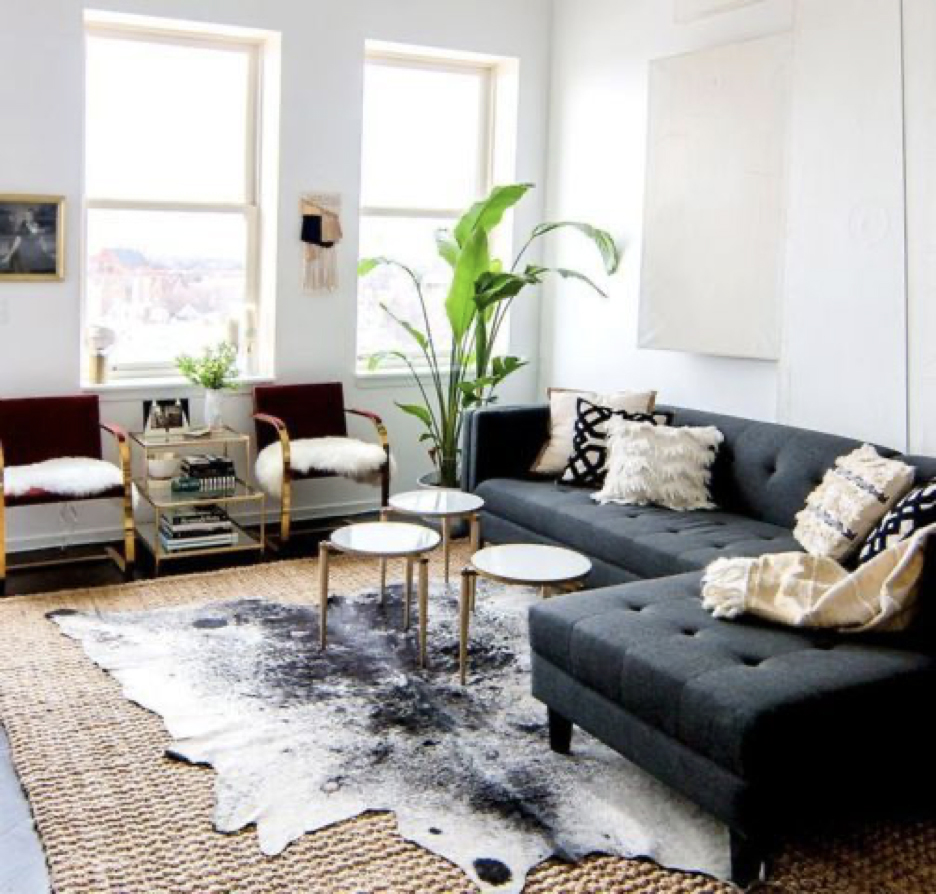
Rugs can be expensive, like super expensive. A perfect alternative to breaking your budget is to layer a smaller version of the pricey rug you have your eye on, ON TOP OF a less expensive rug. A basic sisal rug can be found very moderately priced and serves a a rich, textural backdrop for a more “statement” piece. Think large, solid, inexpensive as the base rug and smaller, richer, even trendier as the top layer. The result is stunning and something you don’t see everywhere.
4. Buy Your Pillow Inserts One Size Larger Than Your Cover
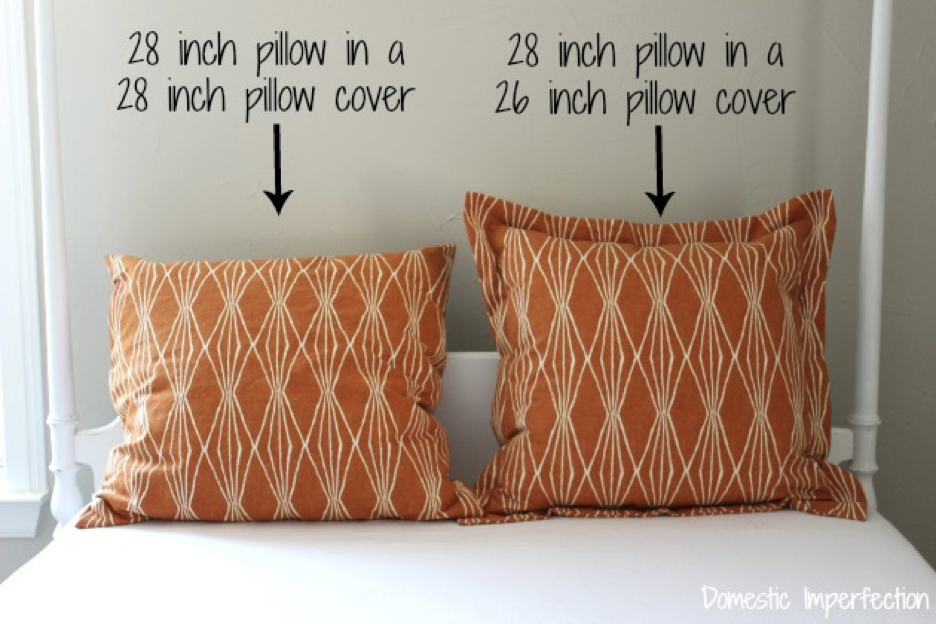
No one wants a wimpy pillow. You know the kind; lifeless, pathetic and downright distracting. Purchase the pillow insert the next size up and you’ve instantly given the pillow (and room, really) a makeover. For example, for a 20″ pillow cover, I use a 22″ insert. A 18″ cover gets a 20″ insert and so on. While your at it, splurge on a down or synthetic down fill. Full, down pillows are one of the easiest ways to revive a room!
5. To Hang Artwork, Use Your Eye and Hand Height
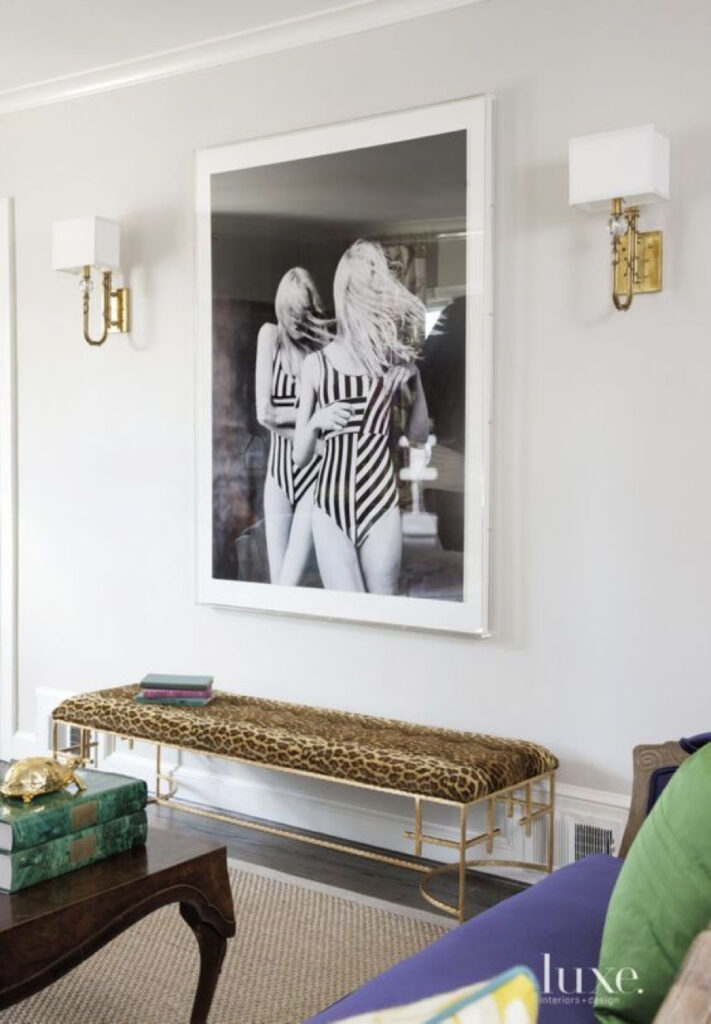
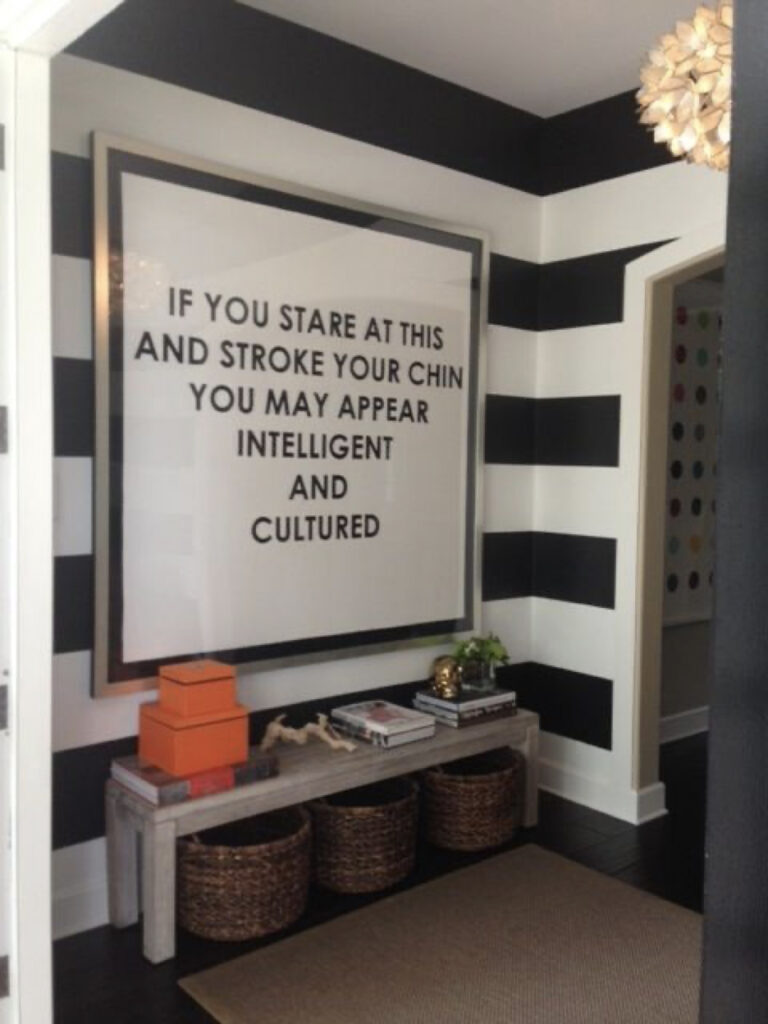
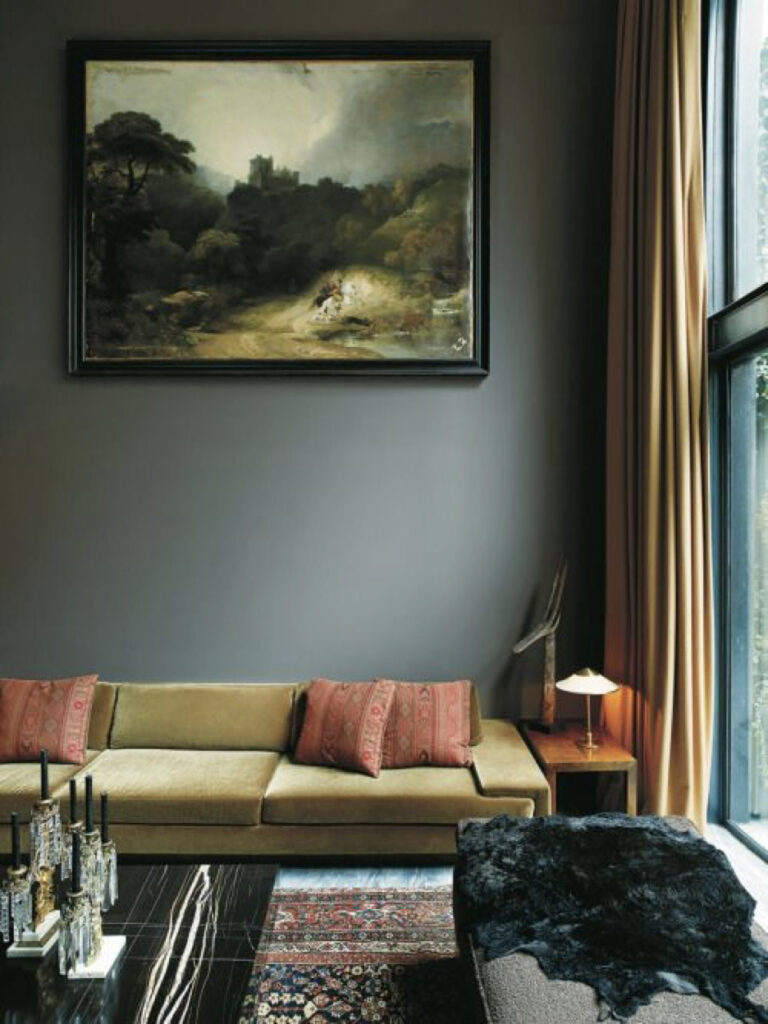
It can be scary to hang the piece of artwork you love on big, bare wall. Hanging it over a fireplace or a piece of furniture you love isn’t any easier. Too high or too low really cheapens the piece and the room overall. My rule of thumb, if hanging on a bare wall, is to hold the piece in front of you so that the CENTER of the art is AROUND your eye level, then go up just a smidge. Scientific, I know, but it works every single time. ? The rule of thumb when hanging over a piece of furniture or fireplace is to use the WIDTH of your HAND(S) for the correct spacing above. Just place your hand sideways, then place the other on top (sideways) and you have the perfect spacing somewhere in-between the first and second hand. No measuring! Once you’ve settled on the height, lick your finger, slide your hand up, feel for the wire behind and tap on the wall where you want the nail to go. Gross, I know, but it saves a whole lot of measuring. Just don’t tell anyone what you did, it’ll be our little secret.
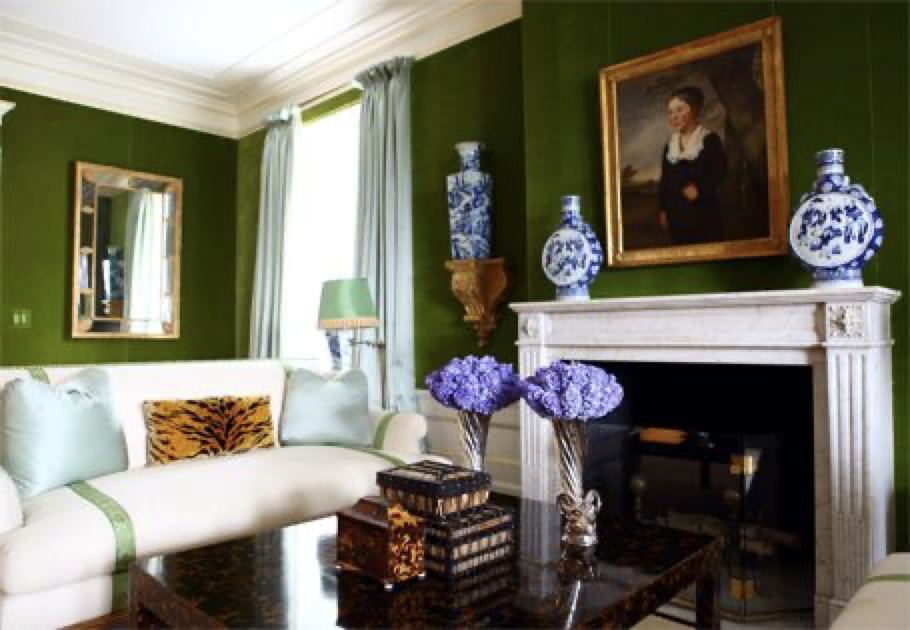
6. Keep High, High and Low, Low
When you’re putting together the perfect tabletop vignette, it’s hard to know what to put where. Stacking items on books and choosing frames to use? It’s overwhelming. Keeping the taller pieces “high” and the shorter pieces “low” will create an interesting, layered display. For example, start with a tall lamp, then keep your books low, add a frame in the middle and you have an interesting flow. If you had chosen a shorter lamp, stacked your books up too high and selected a frame around the same height, you’d end up with one level throughout, which isn’t nearly as interesting.
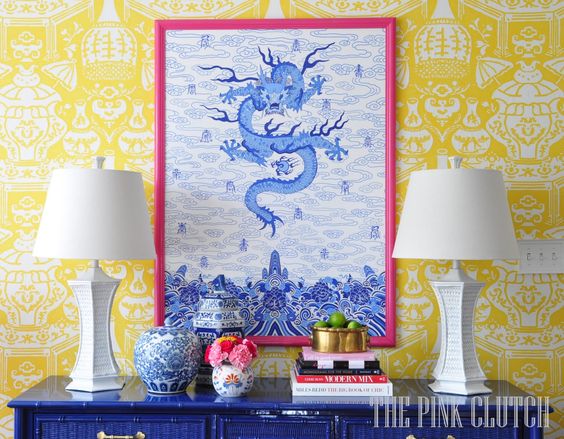
nice flow, high to the sides and low in the center {the pink clutch}
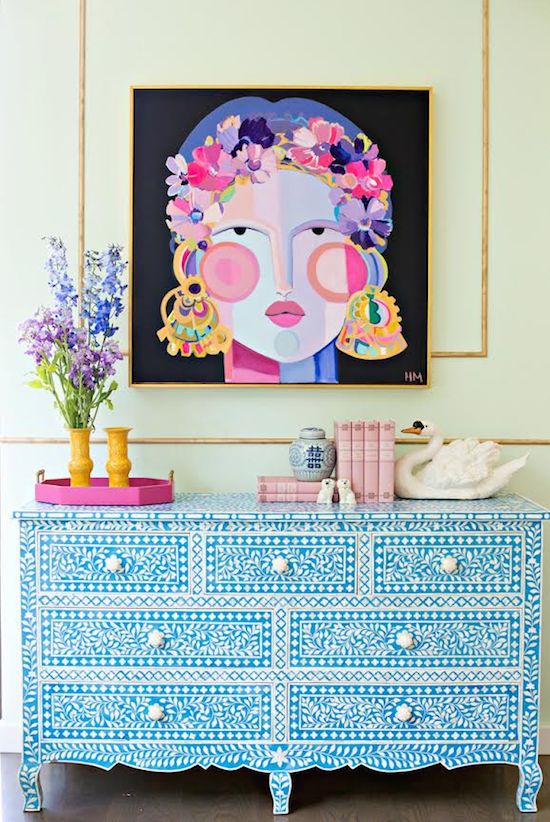
vignette perfection! high to the left, low to the right {mimosa lane}
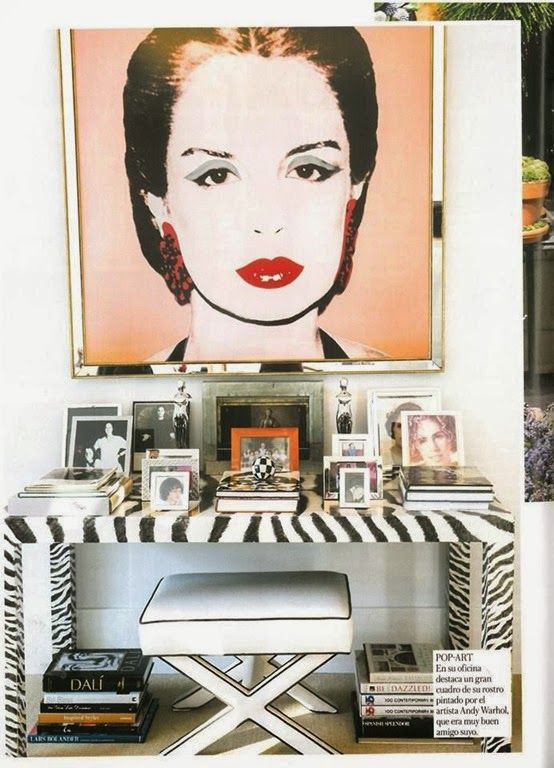
all one height, could look much better with varying heights {vanity fair}
7. Add Dimmers EVERYWHERE
What’s cheap and will instantly transform your entire home? Dimmers! I don’t want to oversell this, but they are literally life changing. Literally. ? Adding dimmers to your main living areas will completely transform the space, I promise. Harsh, overly lit rooms suddenly become soft, candlelit looking spaces. I actually suggest having them everywhere, like in every single room. Don’t believe me? Try just one and see what you think. You can go with a basic version, fancy smart versions, or even one made just for lamps. It’s super easy to switch out your current old-school switches for new dimmers. You can get them at Lowes, Home Depot or even order them online and it takes under 10 minutes. Home Depot has a quick tutorial here.
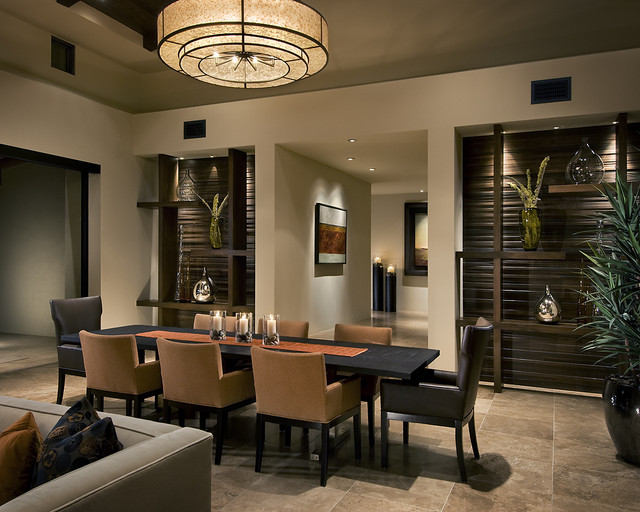
warm ambience in this dining room {ownby design}
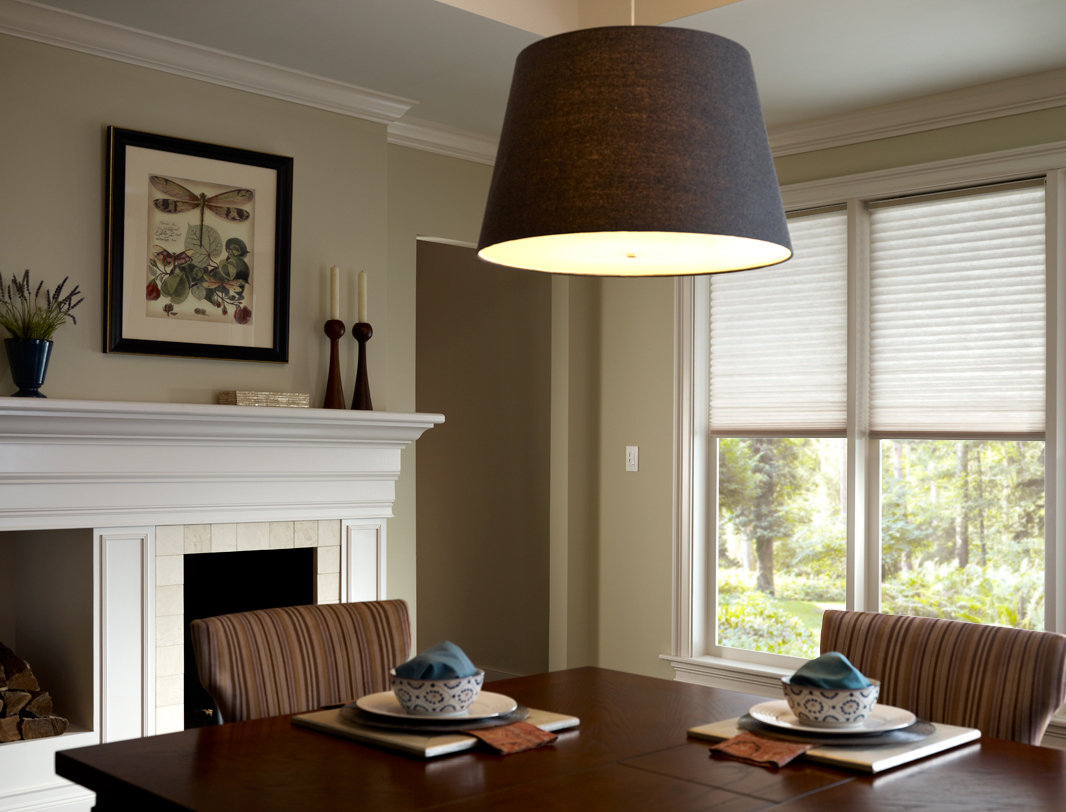
dimmers allow for softer lighting here {leviton}
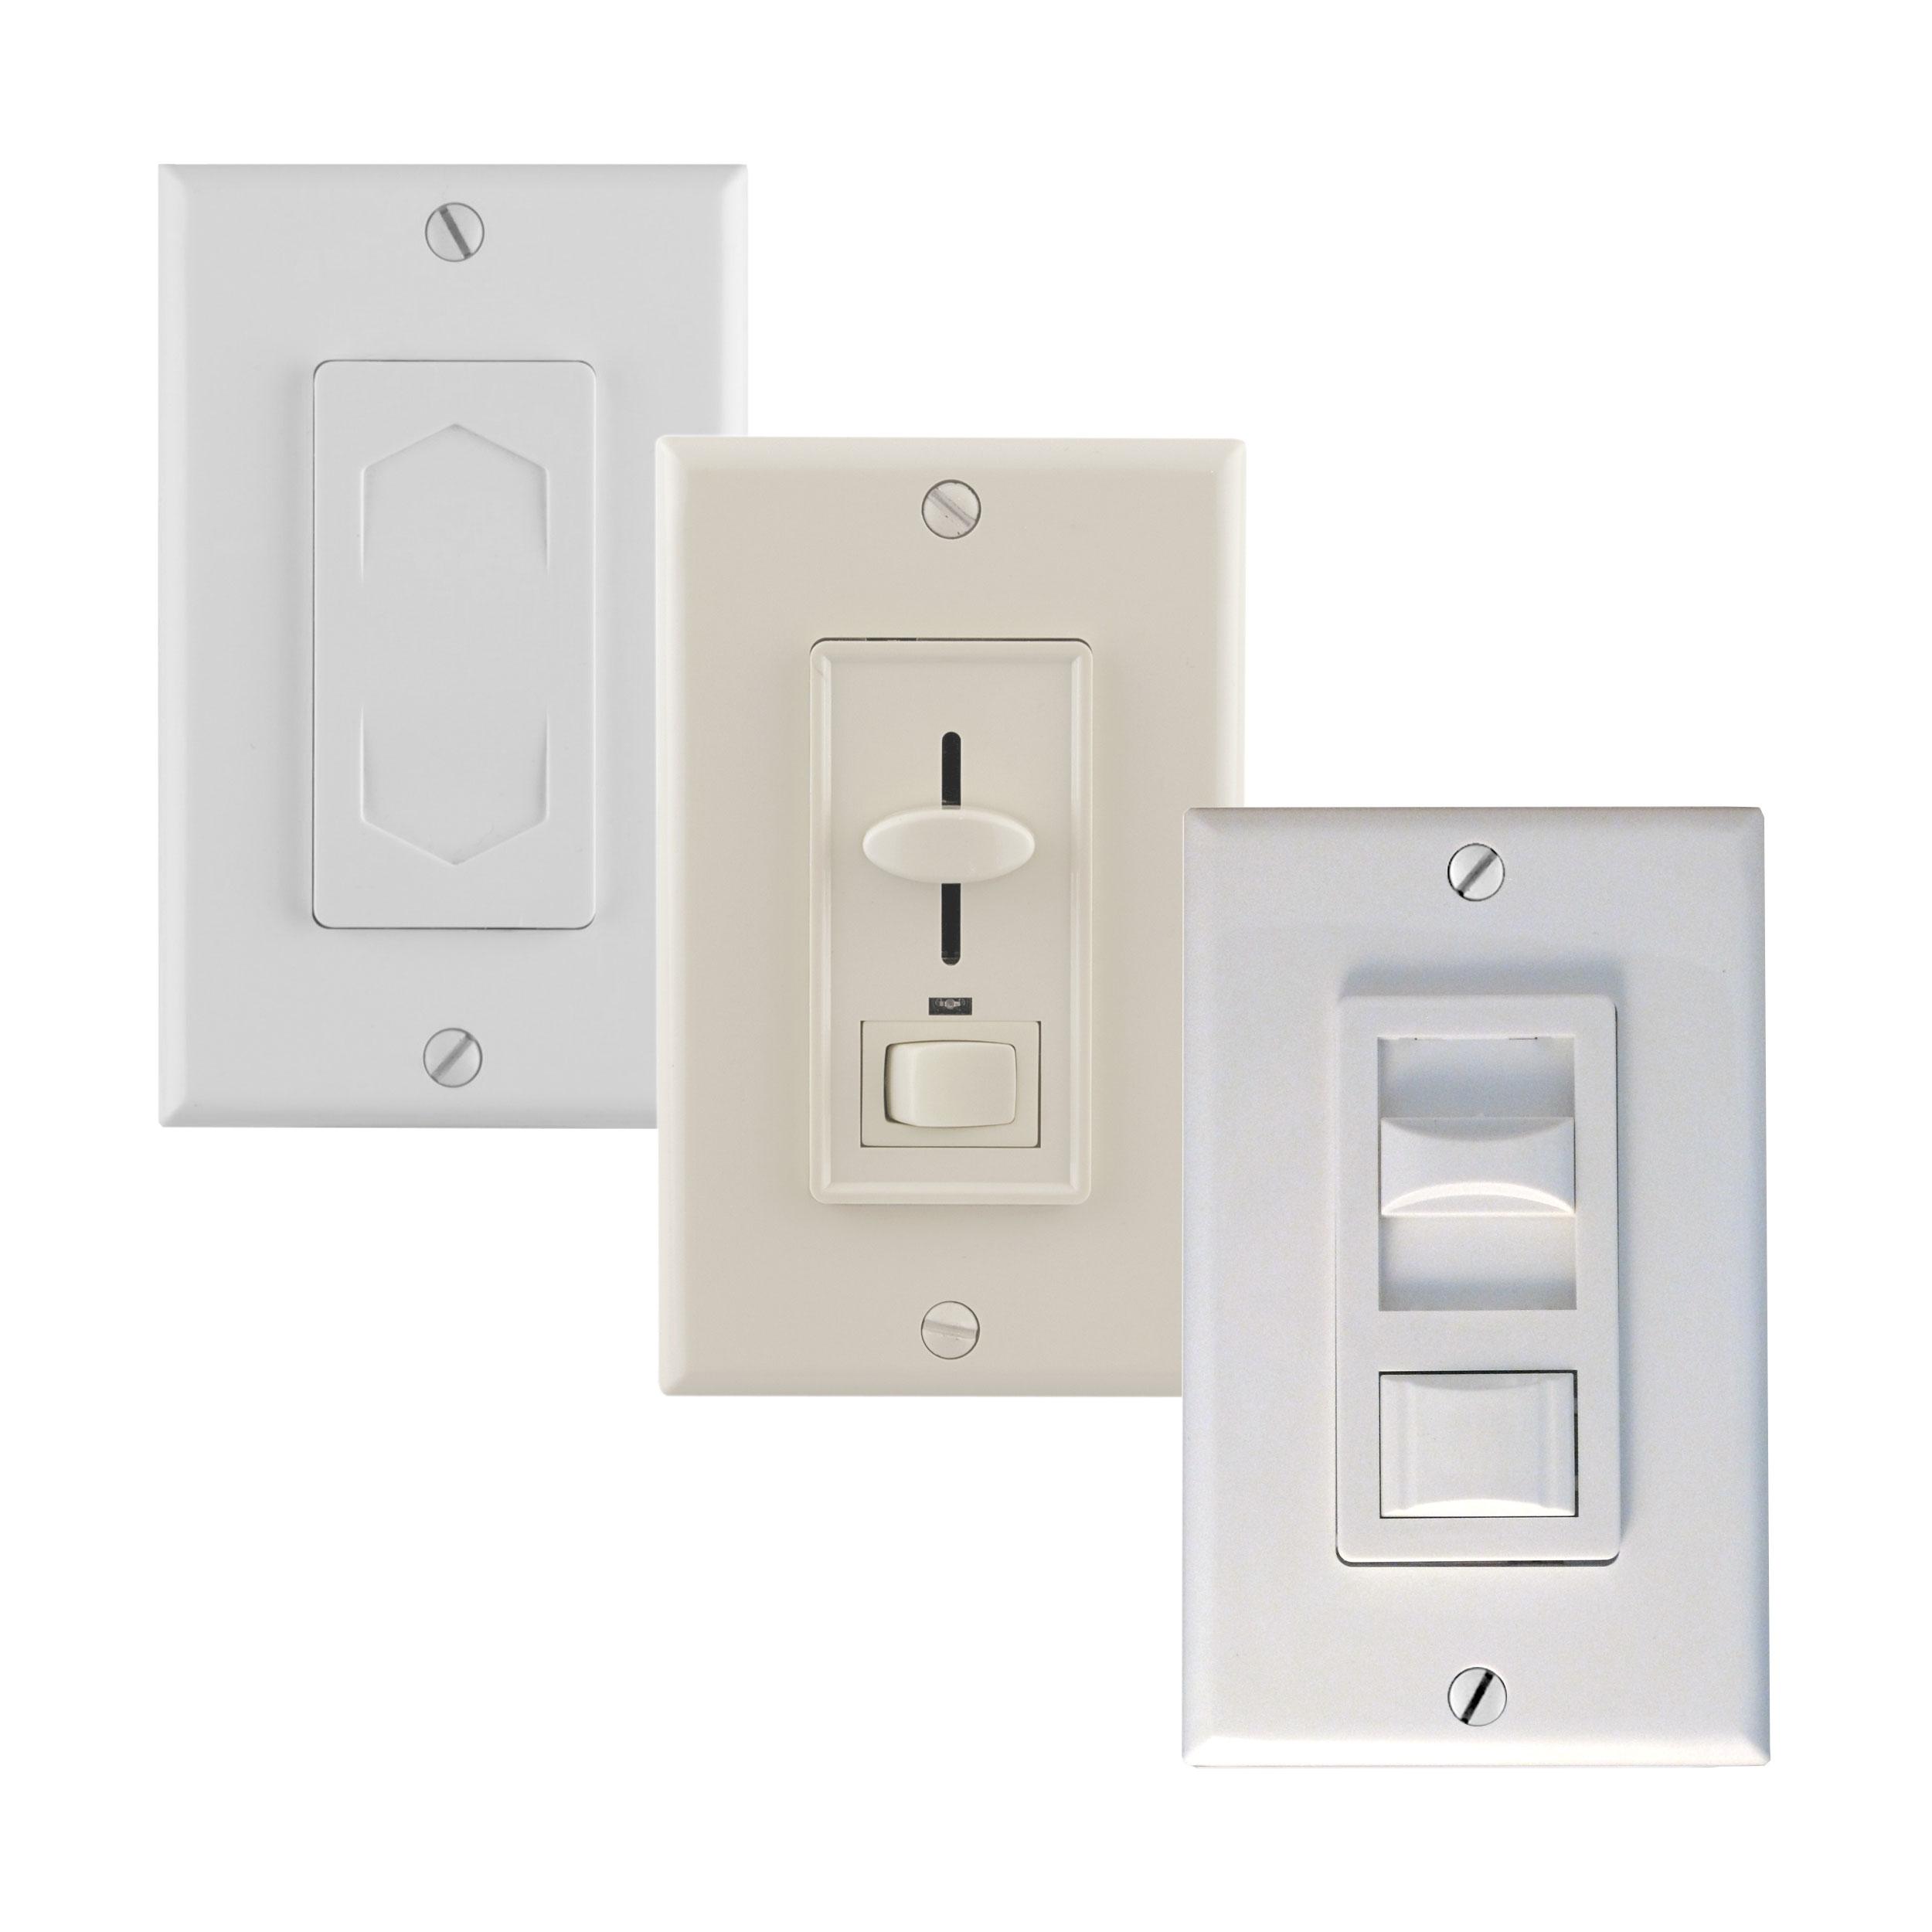
what a dimmer looks like, in case you didn’t know ? {elemental led}

And a handy dandy pin for your Pinterest boards!
Well, there you have it. Seven designer secrets that I just had to share. Do you think you might try one? Do you have any tips or tricks to share? I would love to hear them, please comment below!


