*If you’re just joining us, this is the sixth installment of a year long series documenting the building of our personal dream home. So far we’ve tackled Inspiration, Floorplans, Location, Breaking Ground and Roofing.

Where Do You Even Start
Selecting windows can be daunting. Such a prominent feature of your home, they really set the style for the exterior…and interior. For this project (our personal home) we wanted to start with best. Andersen Windows was the logical choice, but which ones? I had a vision of what I wanted the house to look like and started there. We visited our window showroom and dove into the selection process, head first. I like to see, touch and feel the products before selecting, if at all possible. So, what are the considerations? Let’s take a look.
Product Style
For a project as important as our dream home, we wanted to really look at our options and consider a variety of styles of windows: see casement, some double and some specialty. Bringing the plan along with you to the showroom, going over each and every window to determine the KIND you’ll need, is critical. There are requirements for windows that you may not even realize, as different rooms call for different styles. The basic kinds of windows are:
- Awning
- Casement
- Double or single hung
- Bay
- Gliding
- Picture
- Specialty

Although your plan will determine many of the selections, there are many areas to customize to your liking. I wanted to be able to open the windows in my kitchen, for example, so we selected the crank out style Casement windows. They remind me of the old Jalousie windows we had growing up in Miami, which was an extra bonus. (I love when a design element can spark memories and really make a connection for the homeowner…me!) For the breakfast nook, we decided to keep the windows fixed, since we likely wouldn’t be opening them with a table directly in front. The kids’ rooms upstairs called for easement windows, for example, which make getting out of the room easier in case of a fire. There are many considerations and your dealer or contractor can help you determine which you need.
There’s even an online tool here that explains the differences in detail.
Material
Now that we know the style, let’s think about the materials. There are 5 basic materials to use.
- Wood– Strong and beautiful with the best thermal performance. These never need painting
- Composite – 2x’s as strong as vinyl, holds up under extreme temperatures and own’t flake or peel.
- Vinyl – Used as a protective clad for wood windows
- Aluminum – Virtually maintenance free and resists the elements.
- Fiberglass – Weather resistant. Used on the exterior with wood on the interiors.

Series
Now that we have a style and material selection, we needed to decide on which series from Andersen to use. Each series offers different things. Let’s take a look:

We chose to go with A Series windows, which are Andersen’s best performing, most energy efficient windows and a mix of materials! Wood interiors with fiberglass and composite exteriors make for a durable, strong, lifetime window. Done and done.
Color
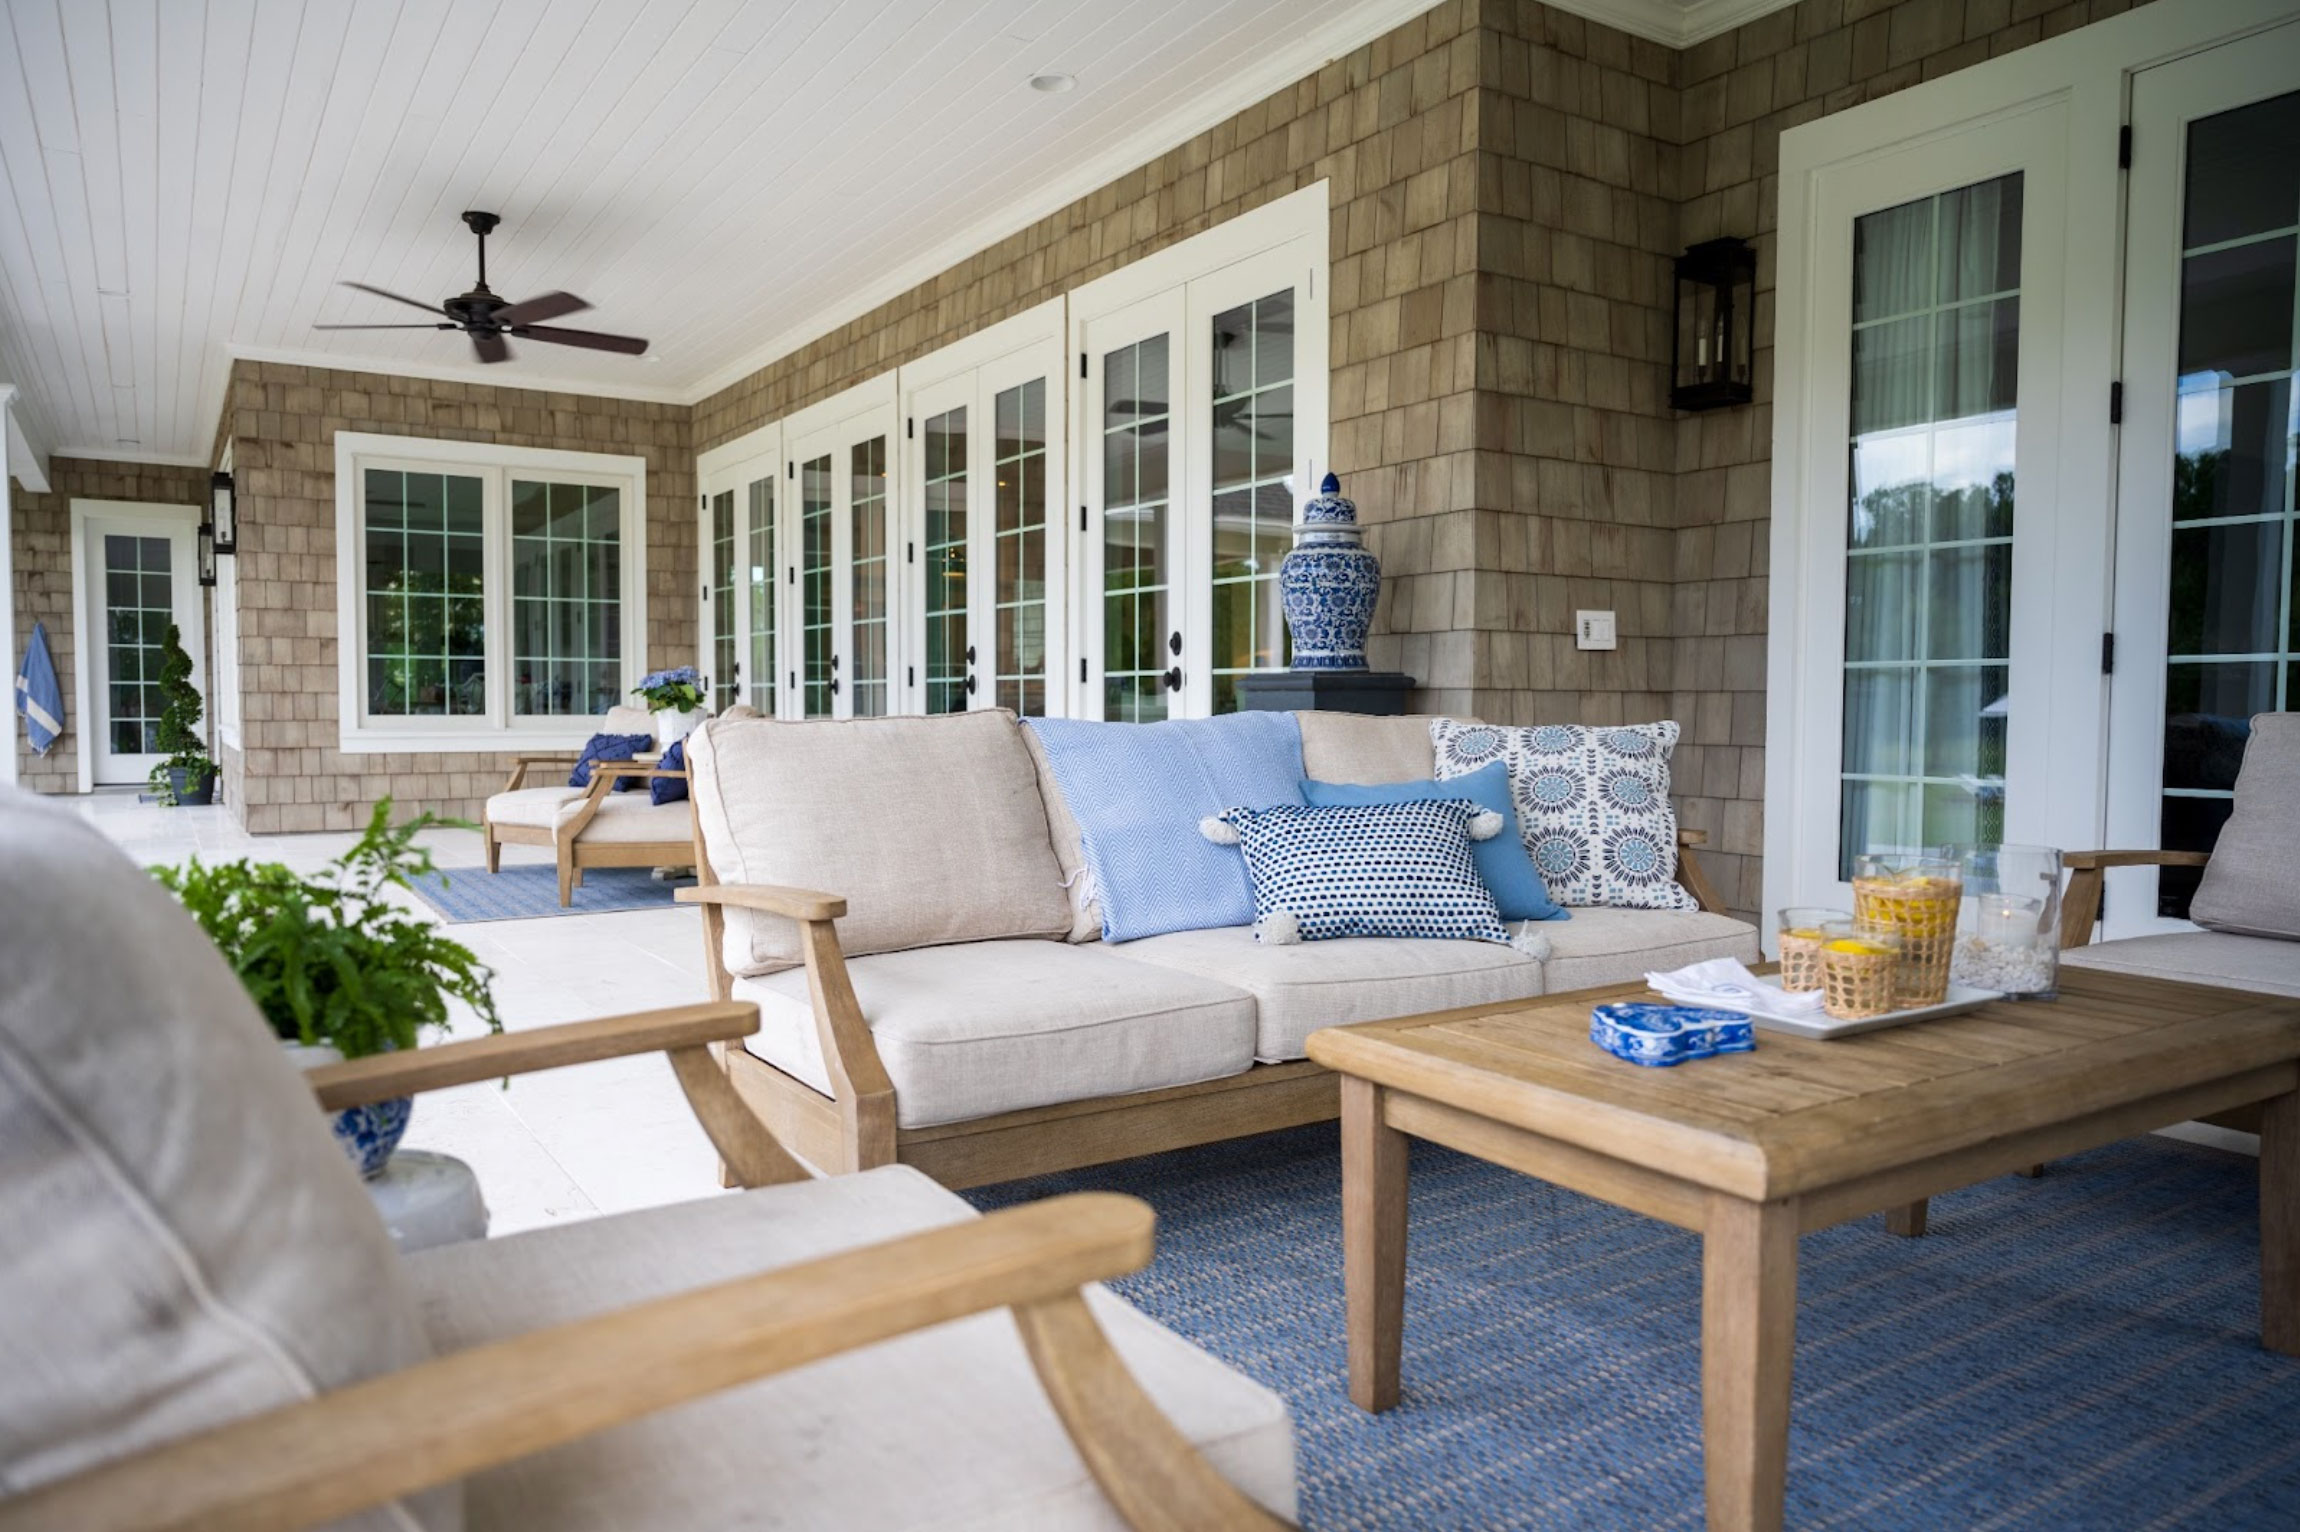
For color, we knew we wanted to go with white, hands down. Andersen’s white is more of a crisp grayish-white, which is really striking. They have even worked with Sherwin Williams to offer an exact match for the trim paint, which you can ask any dealer for, or see the color here! Anyway, the white windows fit with our overall “Hamptons Chic” vibe. They offer great colors, including on-trend black, but white was definitely for us.

Our original color scheme. I mean, it has to be white for the windows, right?

Grids
Grid patterns can definitely change the look of your home…really! Also known as “grille” patterns, this is pattern that’s on top of the glass part of the window. There are a few standard styles, but really you can create whatever you’d like!

play around with the options here
Since I wanted to stay true to the vision I originally had, we stuck with a traditional colonial pattern. My decision was reinforced when I came across the Style Guide, showing several popular style homes and what the windows look like that go into them. Let’s look at that next!
Design Style
Style guides for many popular home styles are provided by the window manufacturer and are so helpful! When I dove into these, it really reinforced my selections. In retrospect, I probably should have started there. Each home style is broken down and suggestions for color, style, grids, etc are offered to create the look you’re gravitating towards. Let’s take a look:

I immediately recognized the Cape Cod style as most similar to the “Hamptons Chic” look I was going for. Once I clicked on the home, it showed all the components. Talk about a confidence boost! 🙂 This is exactly what we selected!


There are 14 styles identified and broken down by components. You can find them all here.
Weighing the Pros and Cons
Before we pulled the trigger and placed the order, we sat down and looked back over our choices, reconfirming we had all of our ducks in a row. Did we have the right material, color, grid pattern? Did the series we selected offer everything we needed? Yes it did! The A Series was the clear choice. We resisted the super helpful chart below, which reconfirmed our selection.
We placed the order with our local window company and counted the days until they arrived.
Installation

Our trusty installer…my husband 😉
The windows arrived and we jumped right on the installation!


The Results
We couldn’t be happier with the results…these windows are amazing! Solid, heavy and perfectly proportioned. Let’s take a look at them installed.


Even Lulu the dog likes the windows!

We couldn’t be more excited! These windows look amazing! They are just perfect for the vision we had and are so solid and strong.
Thanks for following along in the process of building our dream home. Catch up on the series here:
*This post was in partnership with Andersen Windows. All thoughts, opinions and selections were my own.