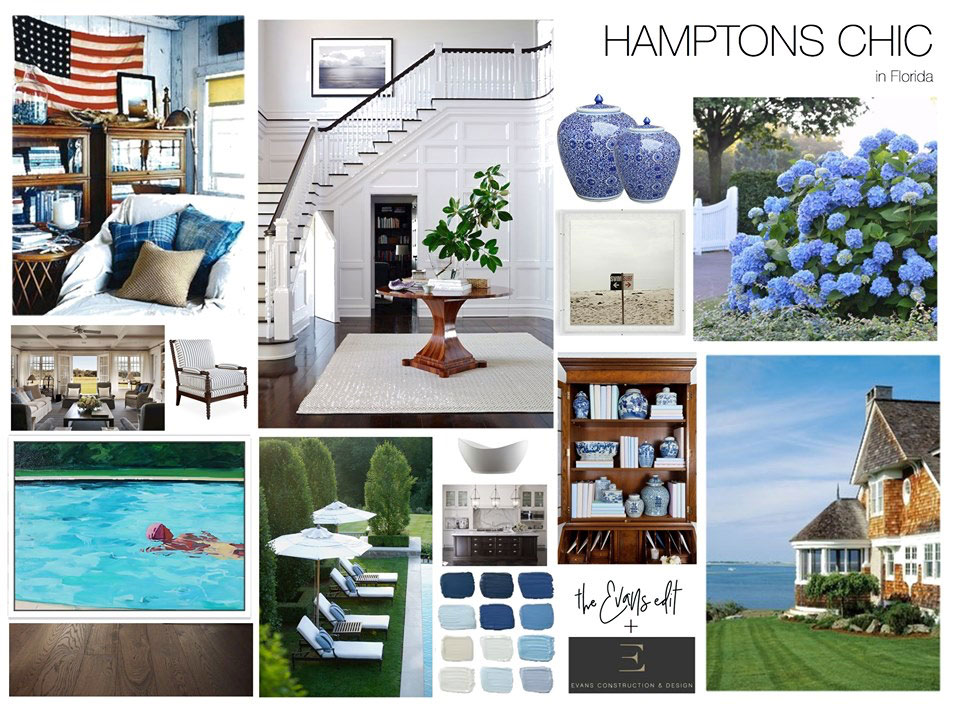
After a very unforeseen hiatus, we are back on job. It’s time to wrap this home building process up! Last time I shared the selecting lighting process with you, and today I want to share another important decision process – Ceiling Fans. So how did we choose all the fans for an entire home? Let’s walk through the process together!
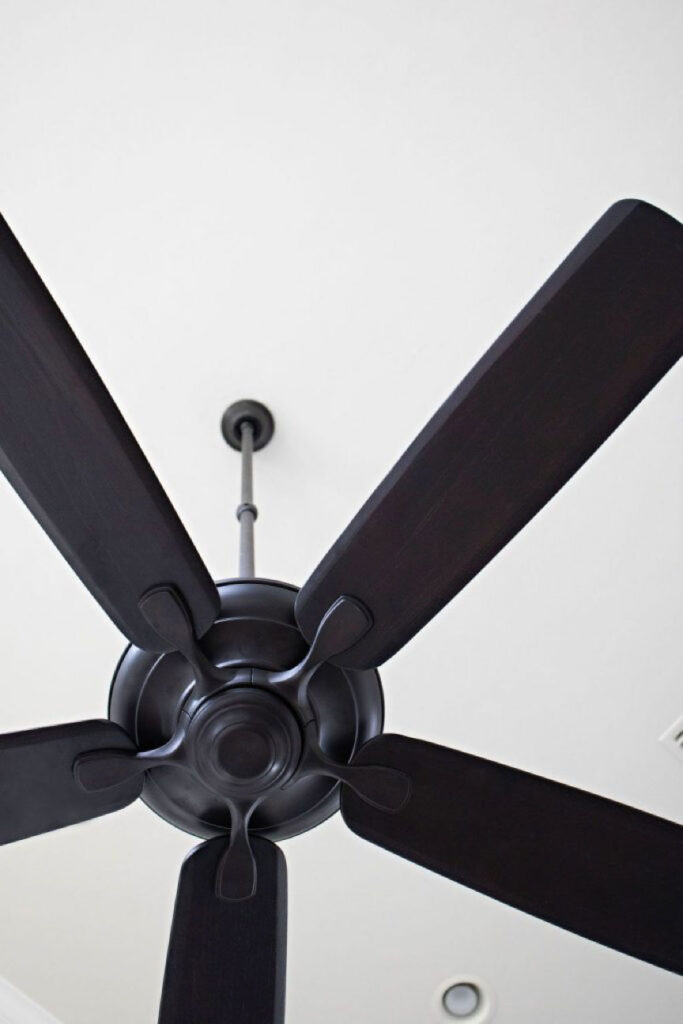
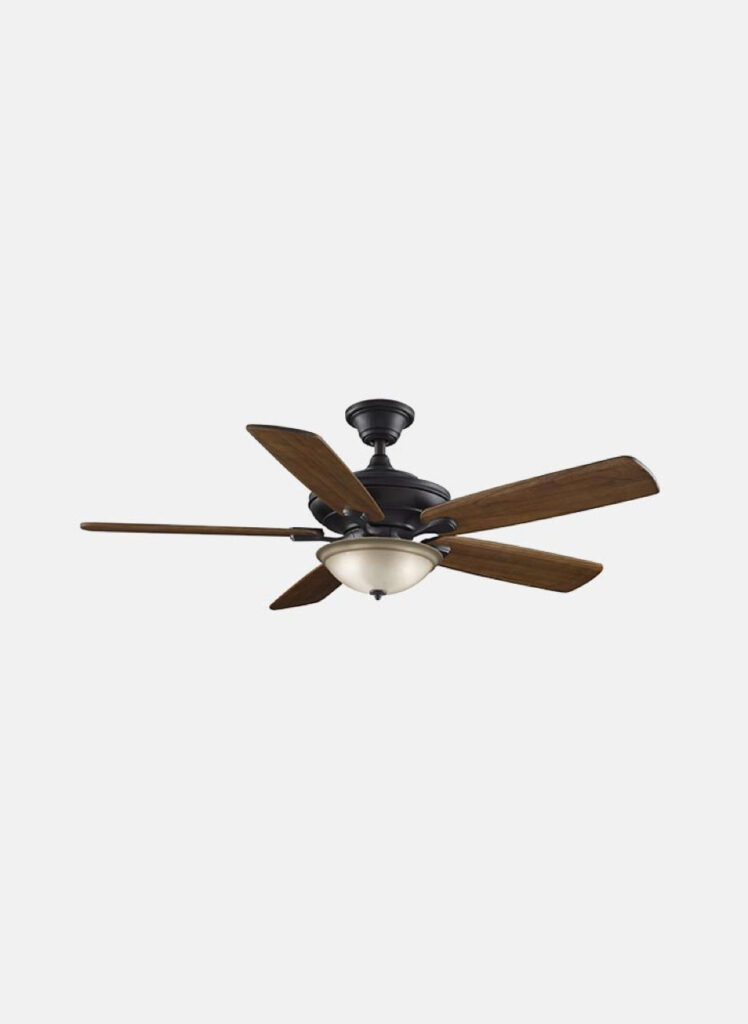
Selecting ceiling fans for an entire house can be pretty daunting. The old school fans from the 90’s (with chains and light canopies) weren’t too designer friendly. Well, they’ve come a long way! I live in Florida…we need ceiling fans in every single room…so if we’re going to use them, let’s “make them fashion”. Here is the one I started with. Simple, clean, traditional but fresh.
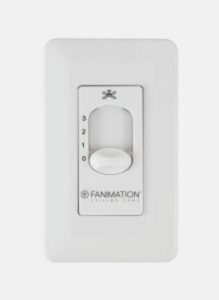
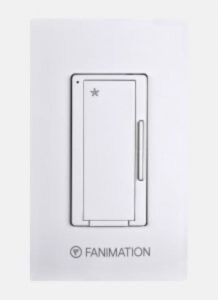
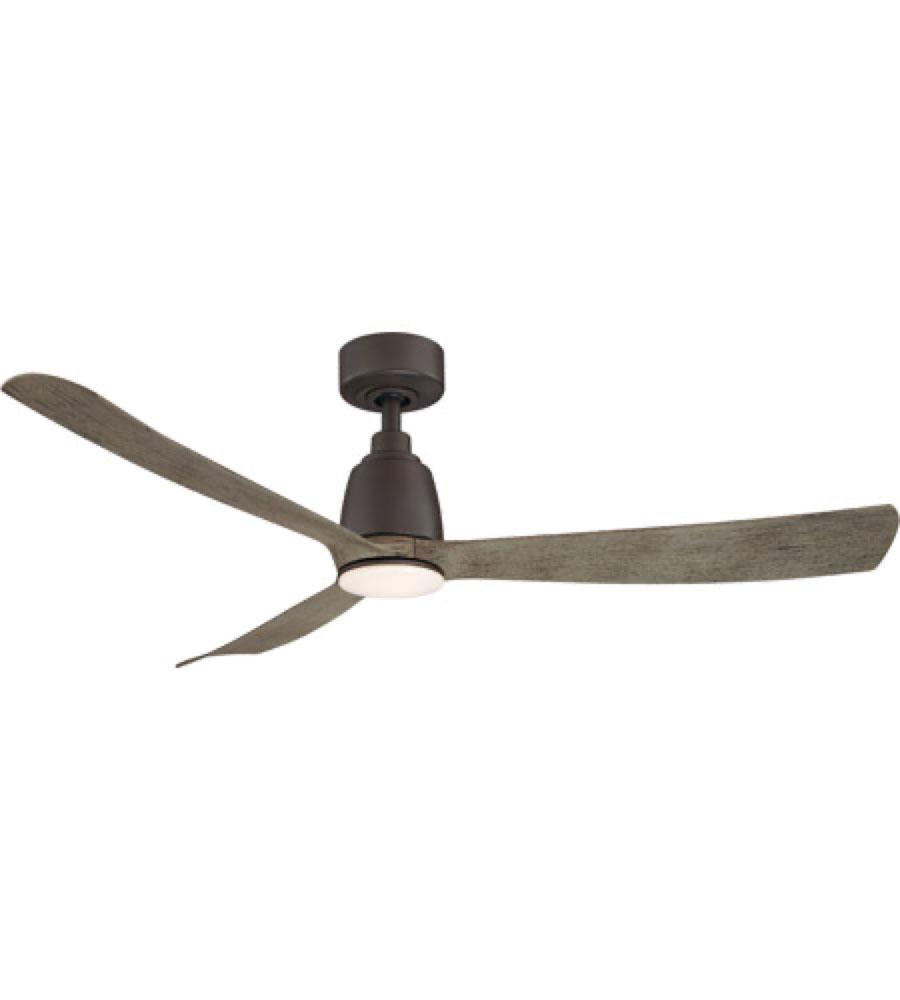
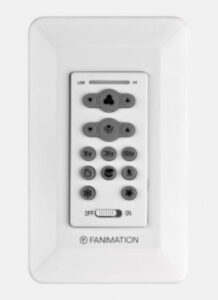
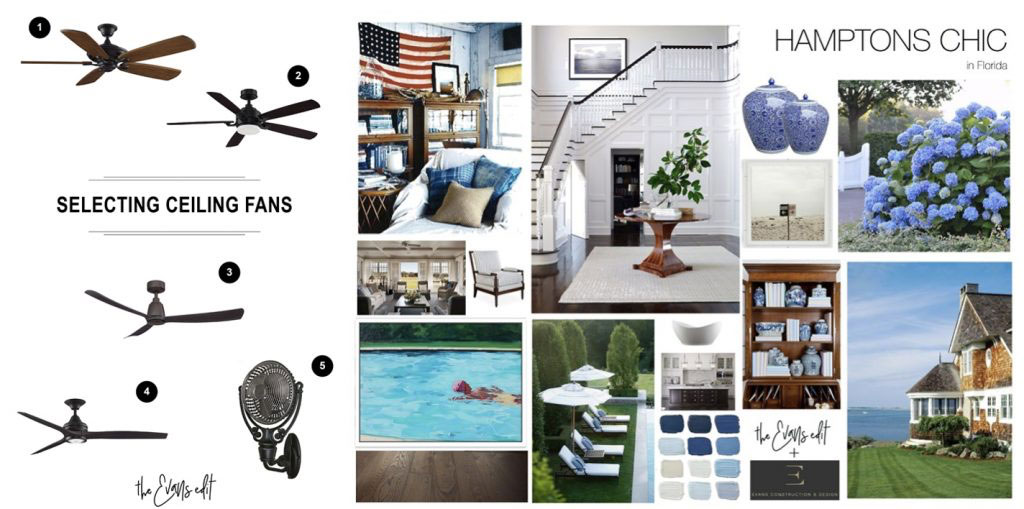
Just like the other decisions I have made for the new house, I started off by selecting one line as my supplier. It makes things easier and the finishes go together instantly. Fanimation is my to go every single time…solid fans with a wide range of GREAT styles. You can select different finishes for the blades and the motor individually to fully customize each fan, along with different wall control panels. If you don’t know about them, you should totally look them up. Their Pinterest boards are inspiration enough. If you want to go down the rabbit hole, you can dive into their boards here and my blackhole of Pins for our new house here.
Style
The concept for this house. Hmmm…what type of fan would go nicely with this?
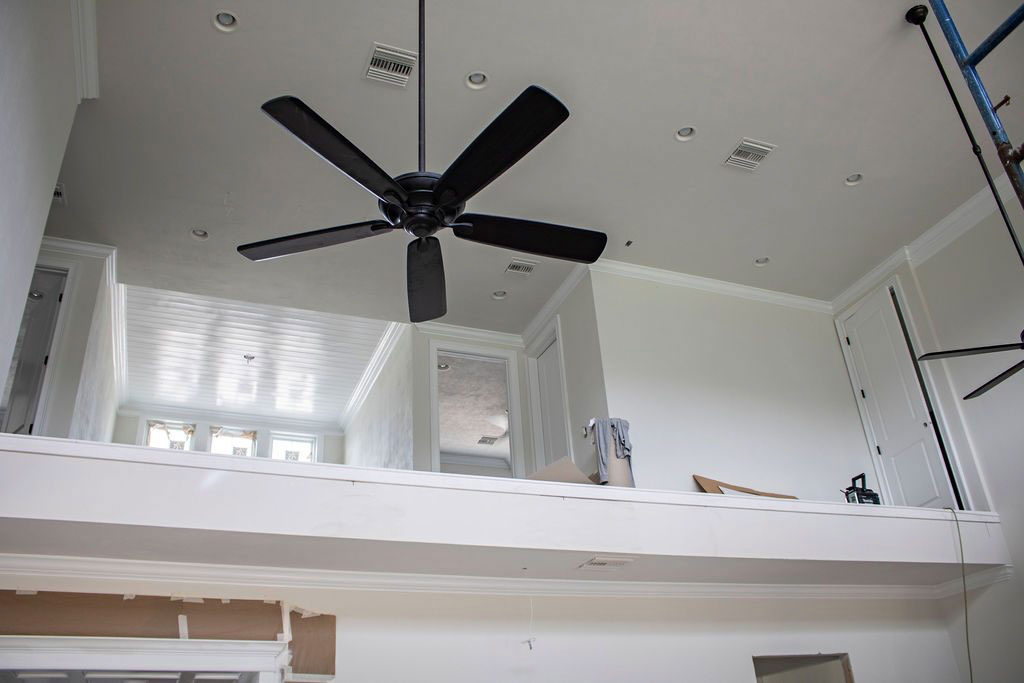
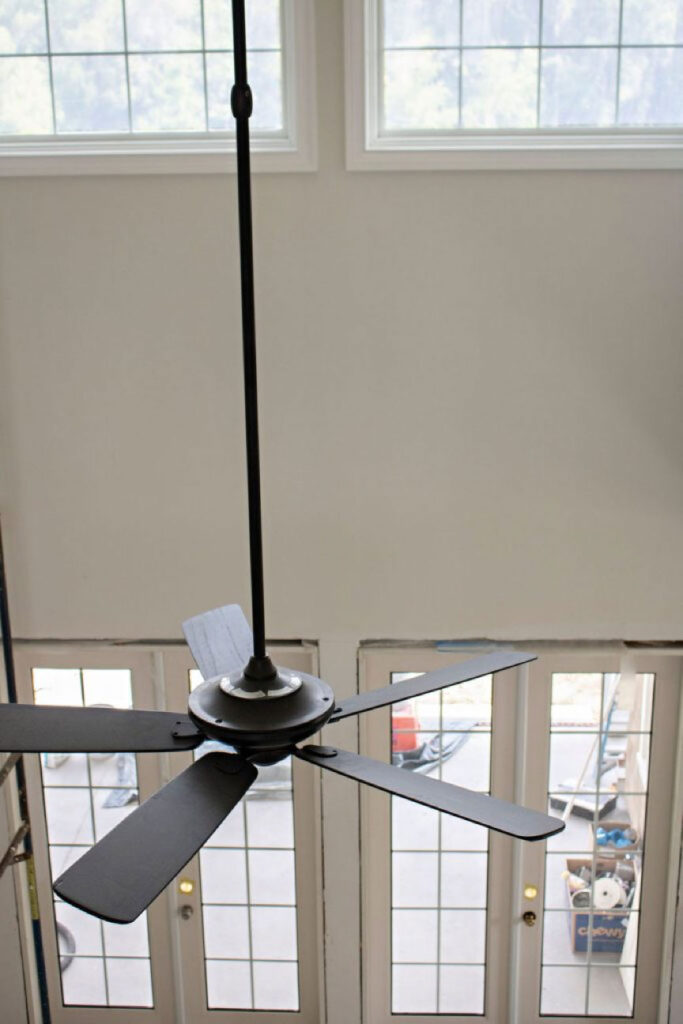
The design for ceiling fans lie greatly in the style of blades. It’s more about the blades than the motor itself, and choosing between a centrally housed fan (a circular metal ring with the blades within it), or exposed (main motor with open blades coming off it from the center). From previous experience I knew I wanted to have the exposed style ceiling fans throughout the new house as the performance is better. It’s important to decide what sort of style of ceiling fan is applicable and suitable for each room so you can narrow down suppliers based on this if necessary. Next the quantity of blades is a key consideration… Generally this is totally down to personal taste – 3 blades creates a minimal barely-there look and 4 or 5 blades is fairly standard. Most importantly though, the number of blades does correlate to the performance and efficiency of the ceiling fan too. As the number of blades go up, the quieter the fan but circulates less air.
Rules
Sticking to simple, tried and true rules I’ve created for myself over the years makes selections much easier. Here are my rules for fans:
-No chains. None. Don’t do it.
-Clean lines. Nothing frilly.
-Dark and as monochromatic with the blades as possible
This is pretty...
Size
OK, now for the logistics. Your fans need to fit in the rooms they’re going in! There are some critical factors to take in to consideration, particularly for small rooms or low ceiling heights. If you install a large fan in a small room it looks silly and equally a small fan in a large room looks weak and isn’t effective!
As a general rule:
-Rooms 75 square feet or smaller, the ceiling fan should be no bigger than 36 inches
-Larger rooms of 75 – 144 square feet, the ceiling fan should be 36 – 42 inches
-Rooms 144-200 can hold a fan with a 60 or 70″ span
-Rectangular rooms over this size can usually hold 2 fans. Space them out consistently
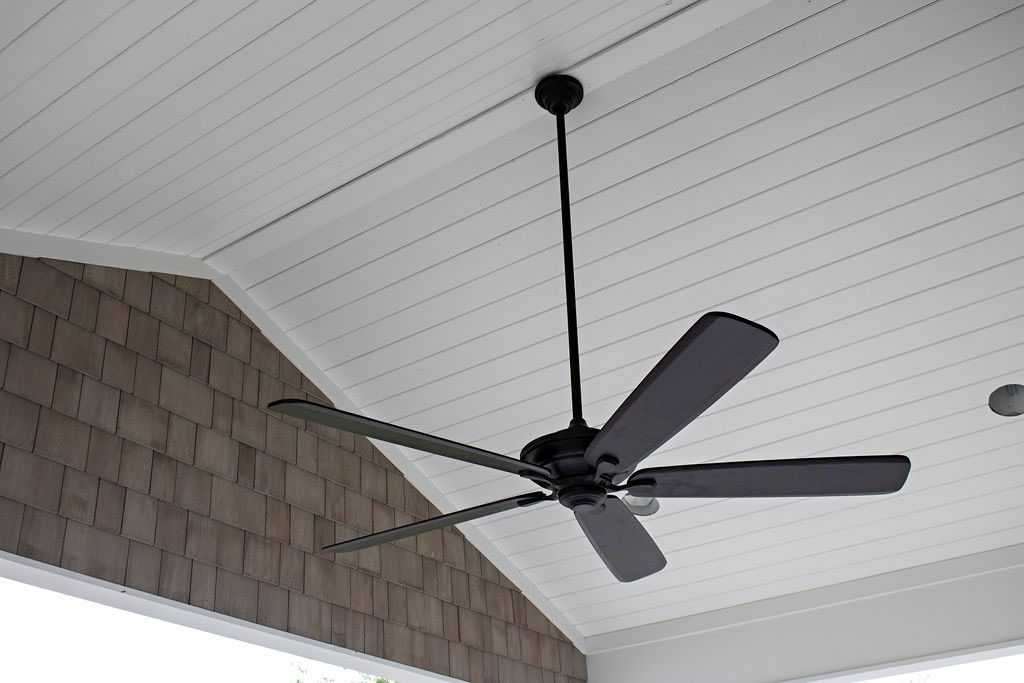
-Ceilings over 10′ or so will need a down rod… or 2! Read about the sizing here.
This room needs 2 fans and doubled up down rods.
Finish
Once you have decided on a style and how many blades you prefer, thinking about the finish of the ceiling fan is another important consideration. Typically the finish of ceiling fans should relate to the lighting fixtures and hardware within each room. This may be different for each area and that’s perfectly ok! So long as the finish works with the room the ceiling fan is in.
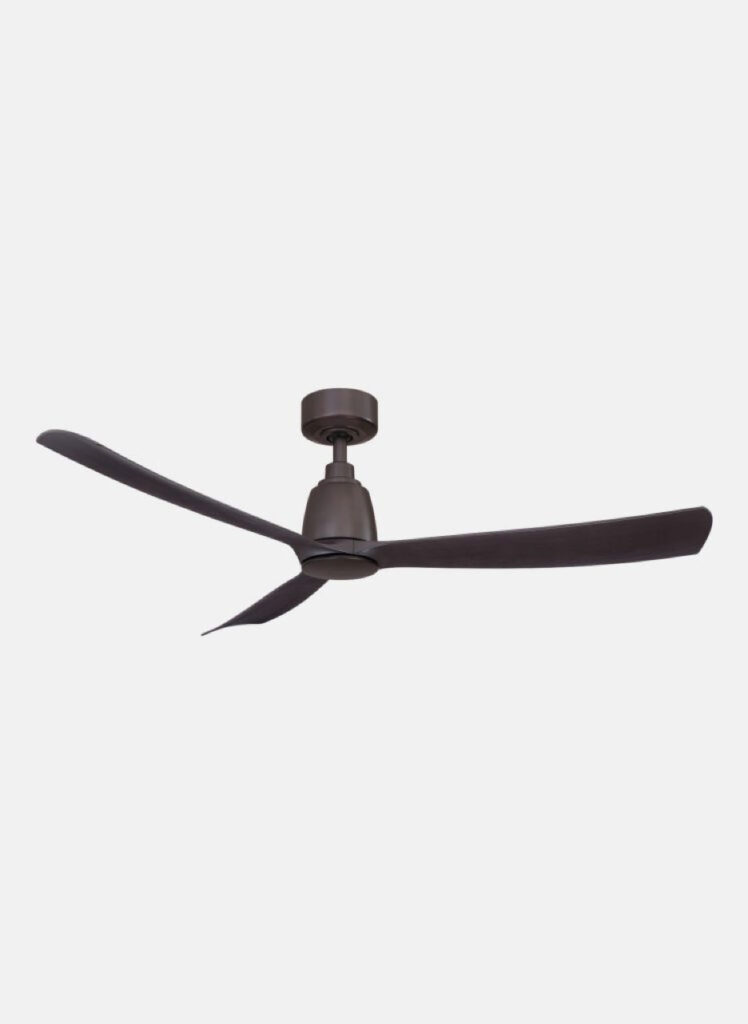
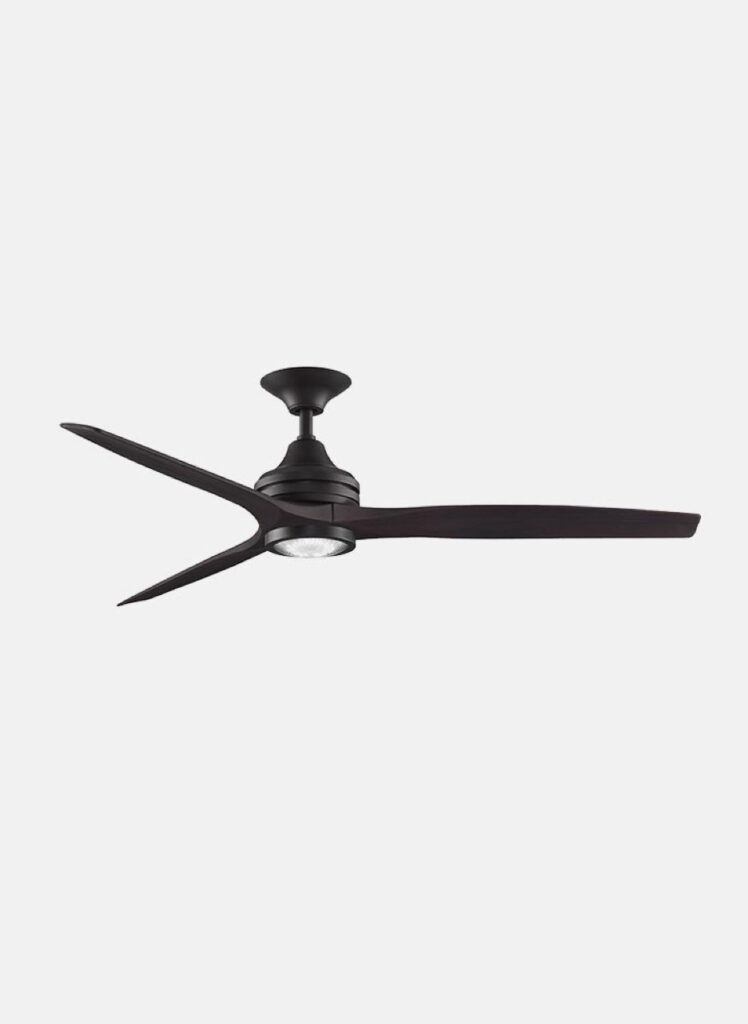
I stuck with the Dark Bronze finish from Fanimation because we chose a mix of aged brass and polished nickel for internal rooms and a vintage finish for external lighting. I always knew I wanted darker ceiling fans throughout so they had a strong presence in the spaces and make up part of the overall design to each room. I paired the Dark Bronze finish with Dark Walnut blades for all of the ceiling fans which creates a cohesiveness throughout the house.
Selections
So here’s a round up of the ceiling fans I’ve chosen for each key room…
I chose different styles of ceiling fans for most rooms, but kept the finishes the same throughout for consistency.
Scroll down to the bottom for links to each
Family Room
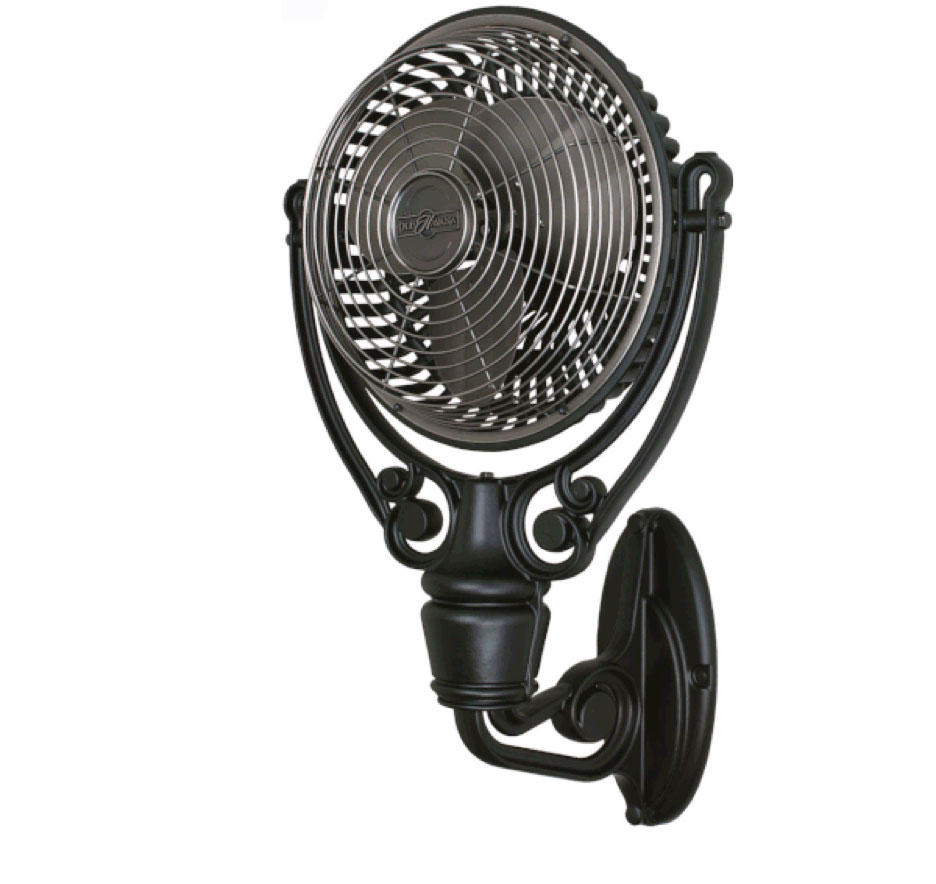
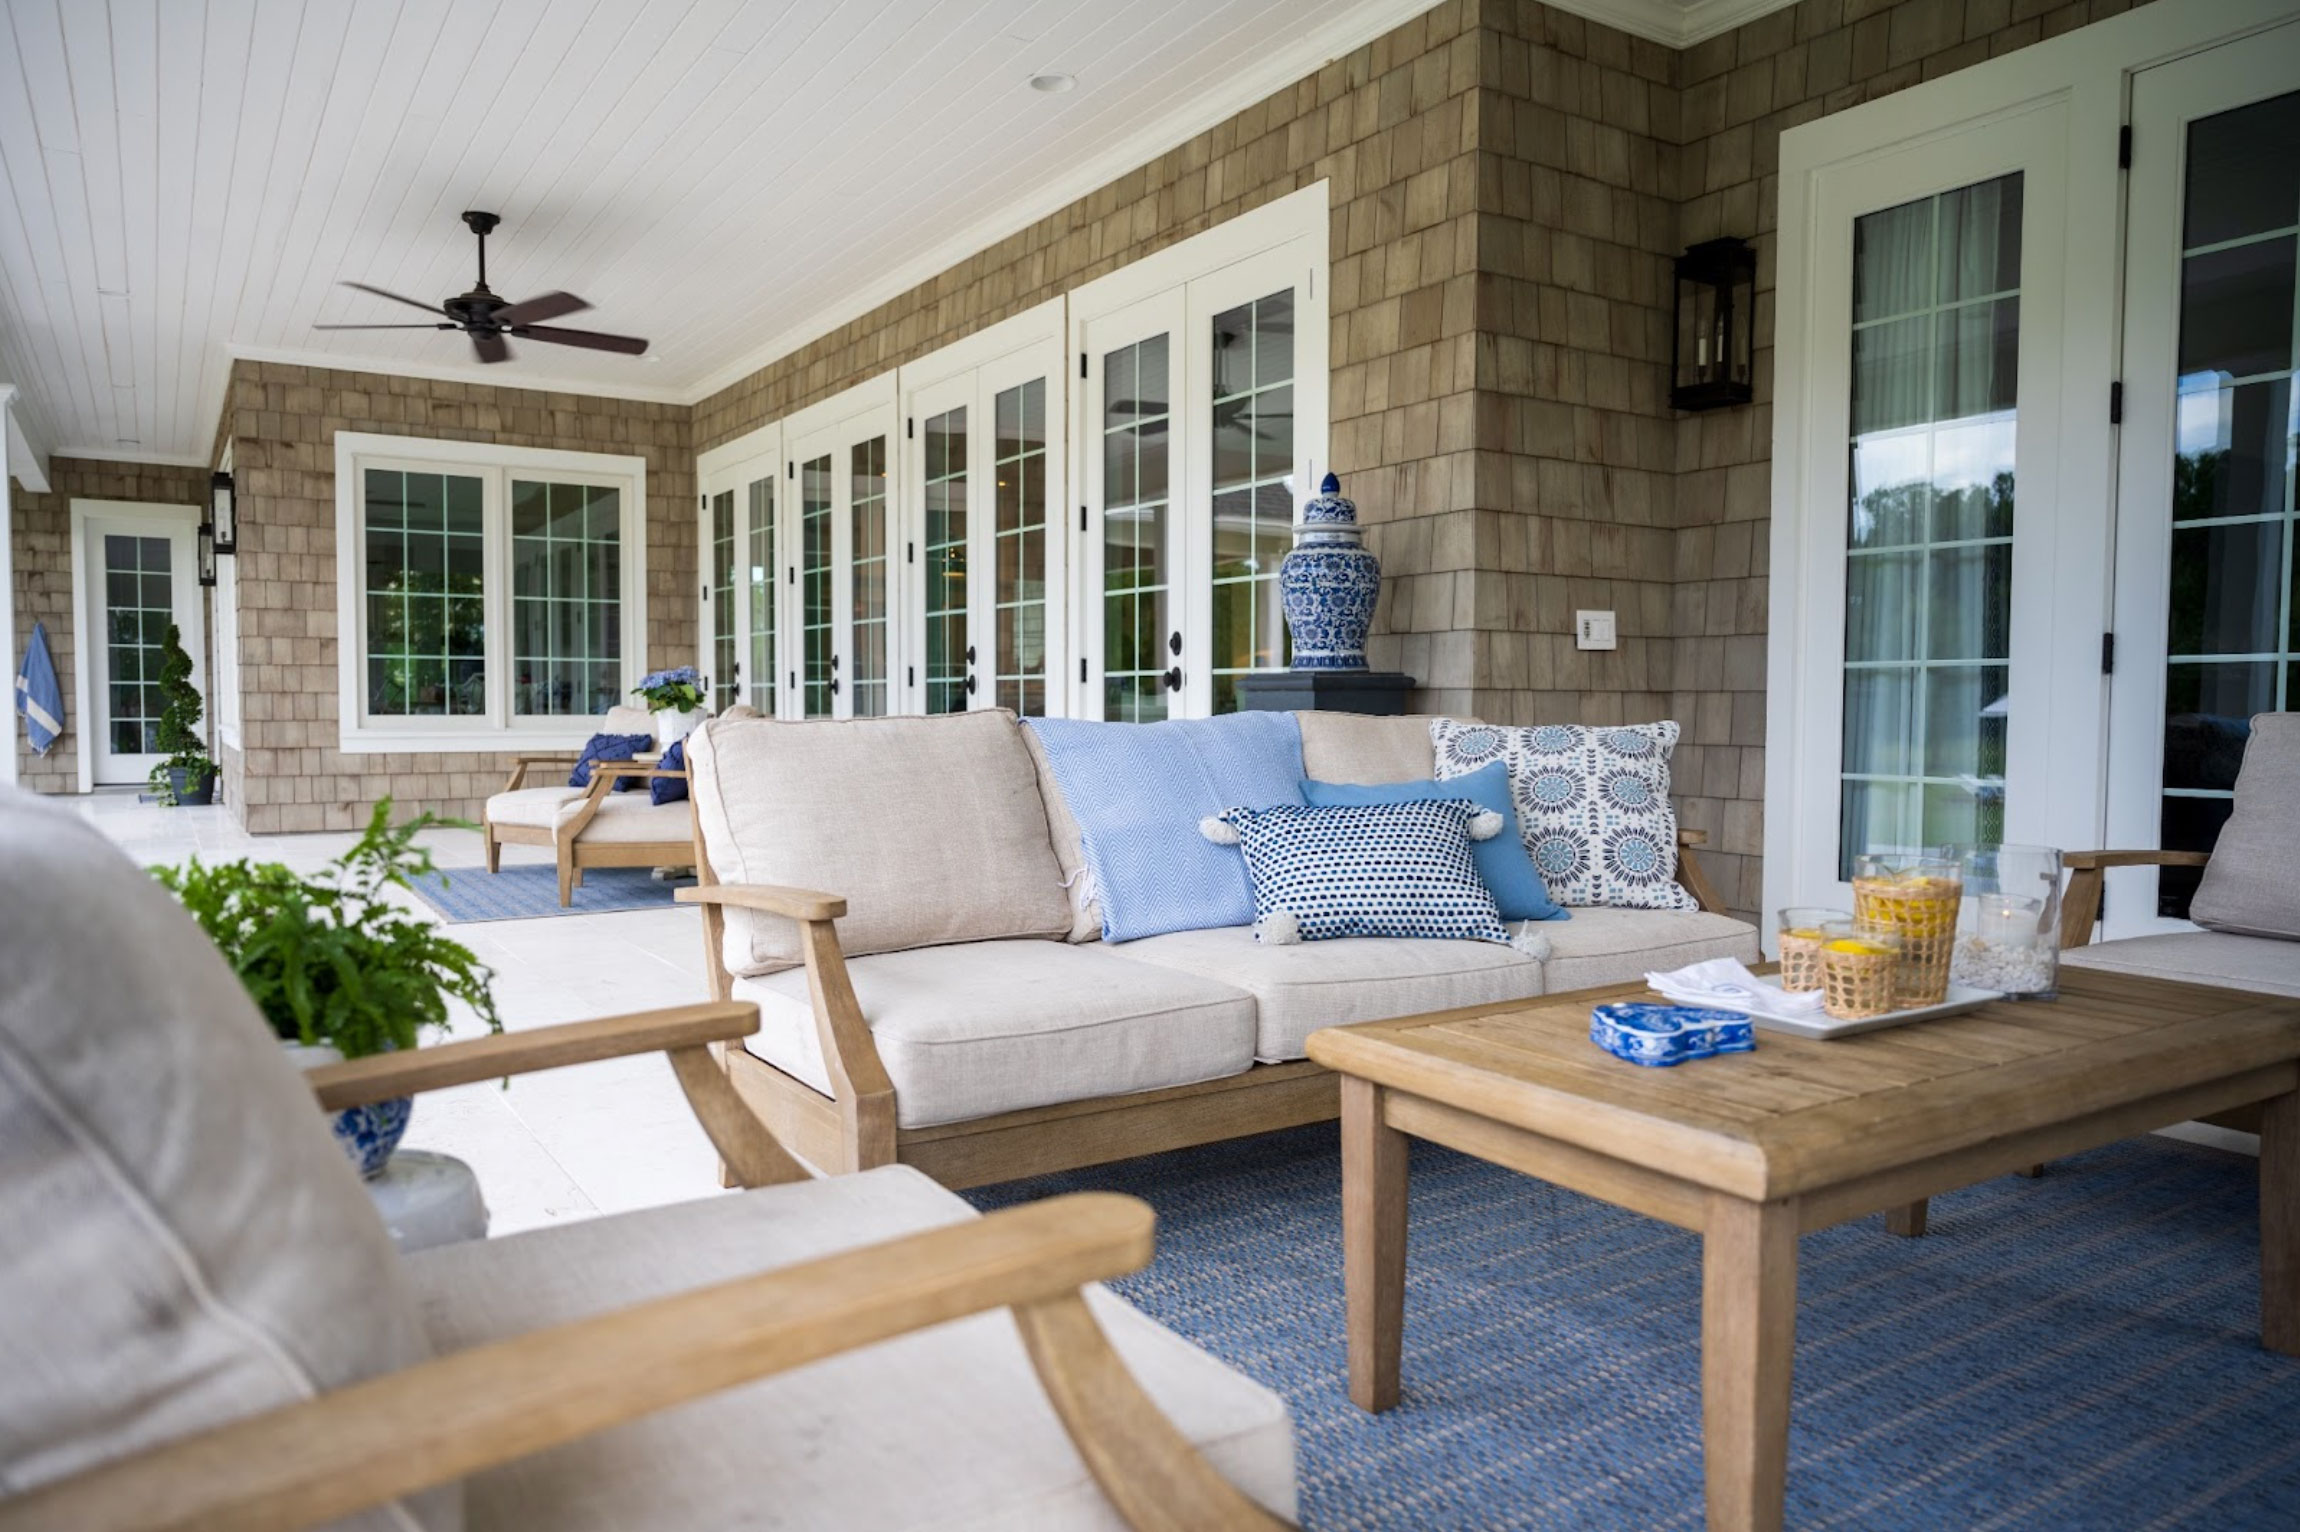
For the family room I decided to keep the design of the ceiling fan simple, as the overall design is very Hamptons chic. We need two fans for this space so opted for the 60″ blades. This is without a lighting kit as we have alternative light sources going in here.
For the master I’ve chosen this classic 5 blade ceiling fan, again because it relates nicely to other aspects of the design for this room specifically. This is without a lighting kit.
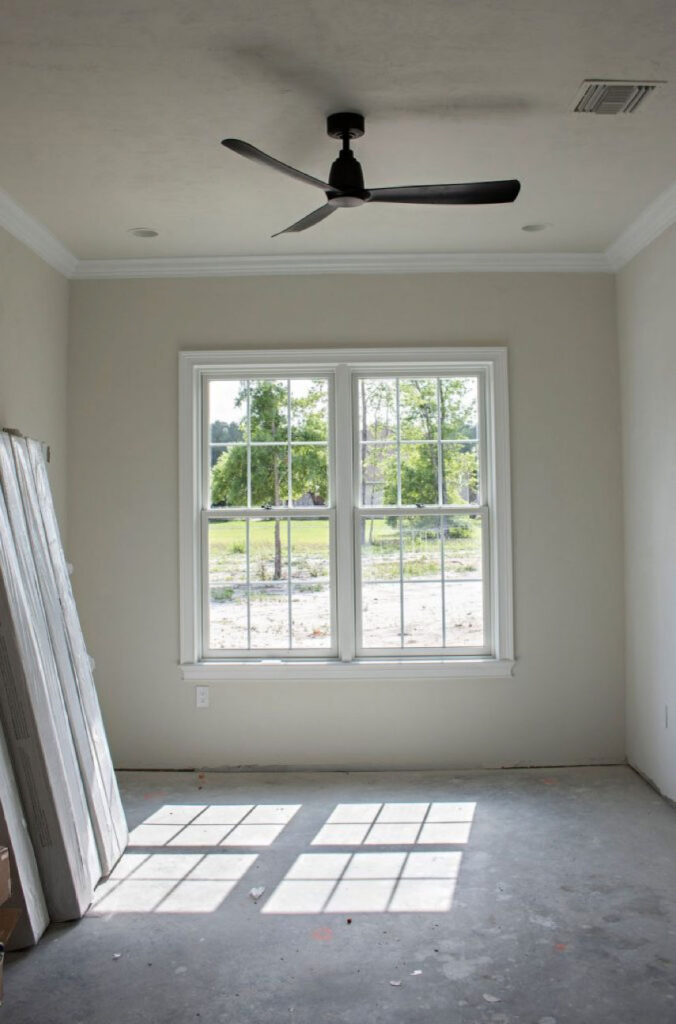
I chose the same ceiling fan style for these two bedrooms as we needed the same size blades so it made sense to simplify these. This is a really sleek and modern 3 blade ceiling fan which will look amazing with the other furniture and finishes used in these bedrooms! I chose to add a lighting kit to these fans so it provides some of the lighting for the rooms.
For my son’s bedroom we chose this sleek yet simple 3 blade ceiling fan to keep the ceiling minimal as the room is slightly smaller in size to the others. Again, it actually has a lighting kit with it because this is one of the main central source of light for the room.
So here it is! The final selection of ceiling fans for the new house below! I am so in love with them, I love how they all relate to each other but are slightly different in blade styles.
Hello there! I’m Lori Evans, Interior Designer and co-owner of Evans Construction & Design. Welcome to my world! I created this blog to share all the projects, tips, ideas and inspiration that I have. My goal is to help you make your rooms look even better than your Pinterest boards!